Standing at your kitchen counter, flour dusted across your hands, you might wonder: should you roll out a chewy naan, crisp up a tortilla, or try a simple skillet bread? Flatbreads are one of the world’s oldest, most adaptable staples, but deciding which home flatbread type to make—and how to make it safely and well—can feel like a leap into culinary geography. This practical guide charts a handful of classic flatbreads, with step-by-step advice for mixing, shaping, cooking, and storing, so you can confidently explore global traditions right at your own stove.
Flatbread Dilemmas: The Right Type for Your Kitchen
Most home cooks have faced it: the craving for something to scoop up stew, wrap leftovers, or just snack on warm from the pan. But with so many home flatbread types—naan, pita, tortillas, and more—the first hurdle is choosing which style suits your meal and your available tools. Do you want something leavened and pillowy, or quick and unleavened? Will you cook it on a skillet, in the oven, or over an open flame? The most forgiving, pantry-friendly flatbreads skip special gear. If you’re new to flatbreads, start with a simple flour-water-salt dough and branch out as you gain confidence. Consider your meal: naan and pita pair well with saucy dishes, tortillas are ideal for wraps, and simple skillet breads can stand in for toast or crackers. Each style has its own rhythm, but all share a foundation of basic ingredients and straightforward techniques.
Flour, Water, and Salt: Building the Base
Nearly every flatbread starts with a simple combination: flour, water, and salt. For most home flatbread types, all-purpose flour works well, though you can substitute whole wheat or other grains for flavor and texture. Always measure by weight for consistency, and sift your flour to avoid lumps. Add water gradually, mixing until a soft dough forms. Salt not only seasons but strengthens the dough, improving texture. If your recipe calls for yeast or baking powder, add it with the dry ingredients to distribute evenly. Knead until the dough is smooth—about 5–8 minutes by hand. For unleavened flatbreads, a short knead is enough to bring the dough together, while leavened styles benefit from longer kneading to develop gluten. If using whole grain flours, add a splash more water to account for extra absorption. Once the dough is ready, cover with a damp towel or plastic wrap to prevent drying out as it rests.
Knead or Not: Doughs for Every Schedule
Leavened flatbreads like naan or pita need time to rise, so plan ahead—an hour for a quick rise, or overnight in the fridge for better flavor. Unleavened styles, such as tortillas or chapati, come together faster and can be rolled out right after a short rest. Resting, even for 20 minutes, relaxes the gluten and makes shaping easier. If you’re thawing frozen dough, always do so in the refrigerator to avoid the food safety 'danger zone' where bacteria can multiply rapidly (see FoodSafety.gov, Cold Food Storage Charts: https://www.foodsafety.gov/food-safety-charts/cold-food-storage-charts). A slow, cold rise in the fridge can improve the flavor and texture of yeasted doughs, but always keep doughs containing dairy or eggs chilled if not cooking right away. For busy days, mix dough in the morning and let it rise while you go about your day; for unleavened breads, a brief rest while you prep fillings or toppings is enough.
Shaping: Circles, Ovals, and Rounds
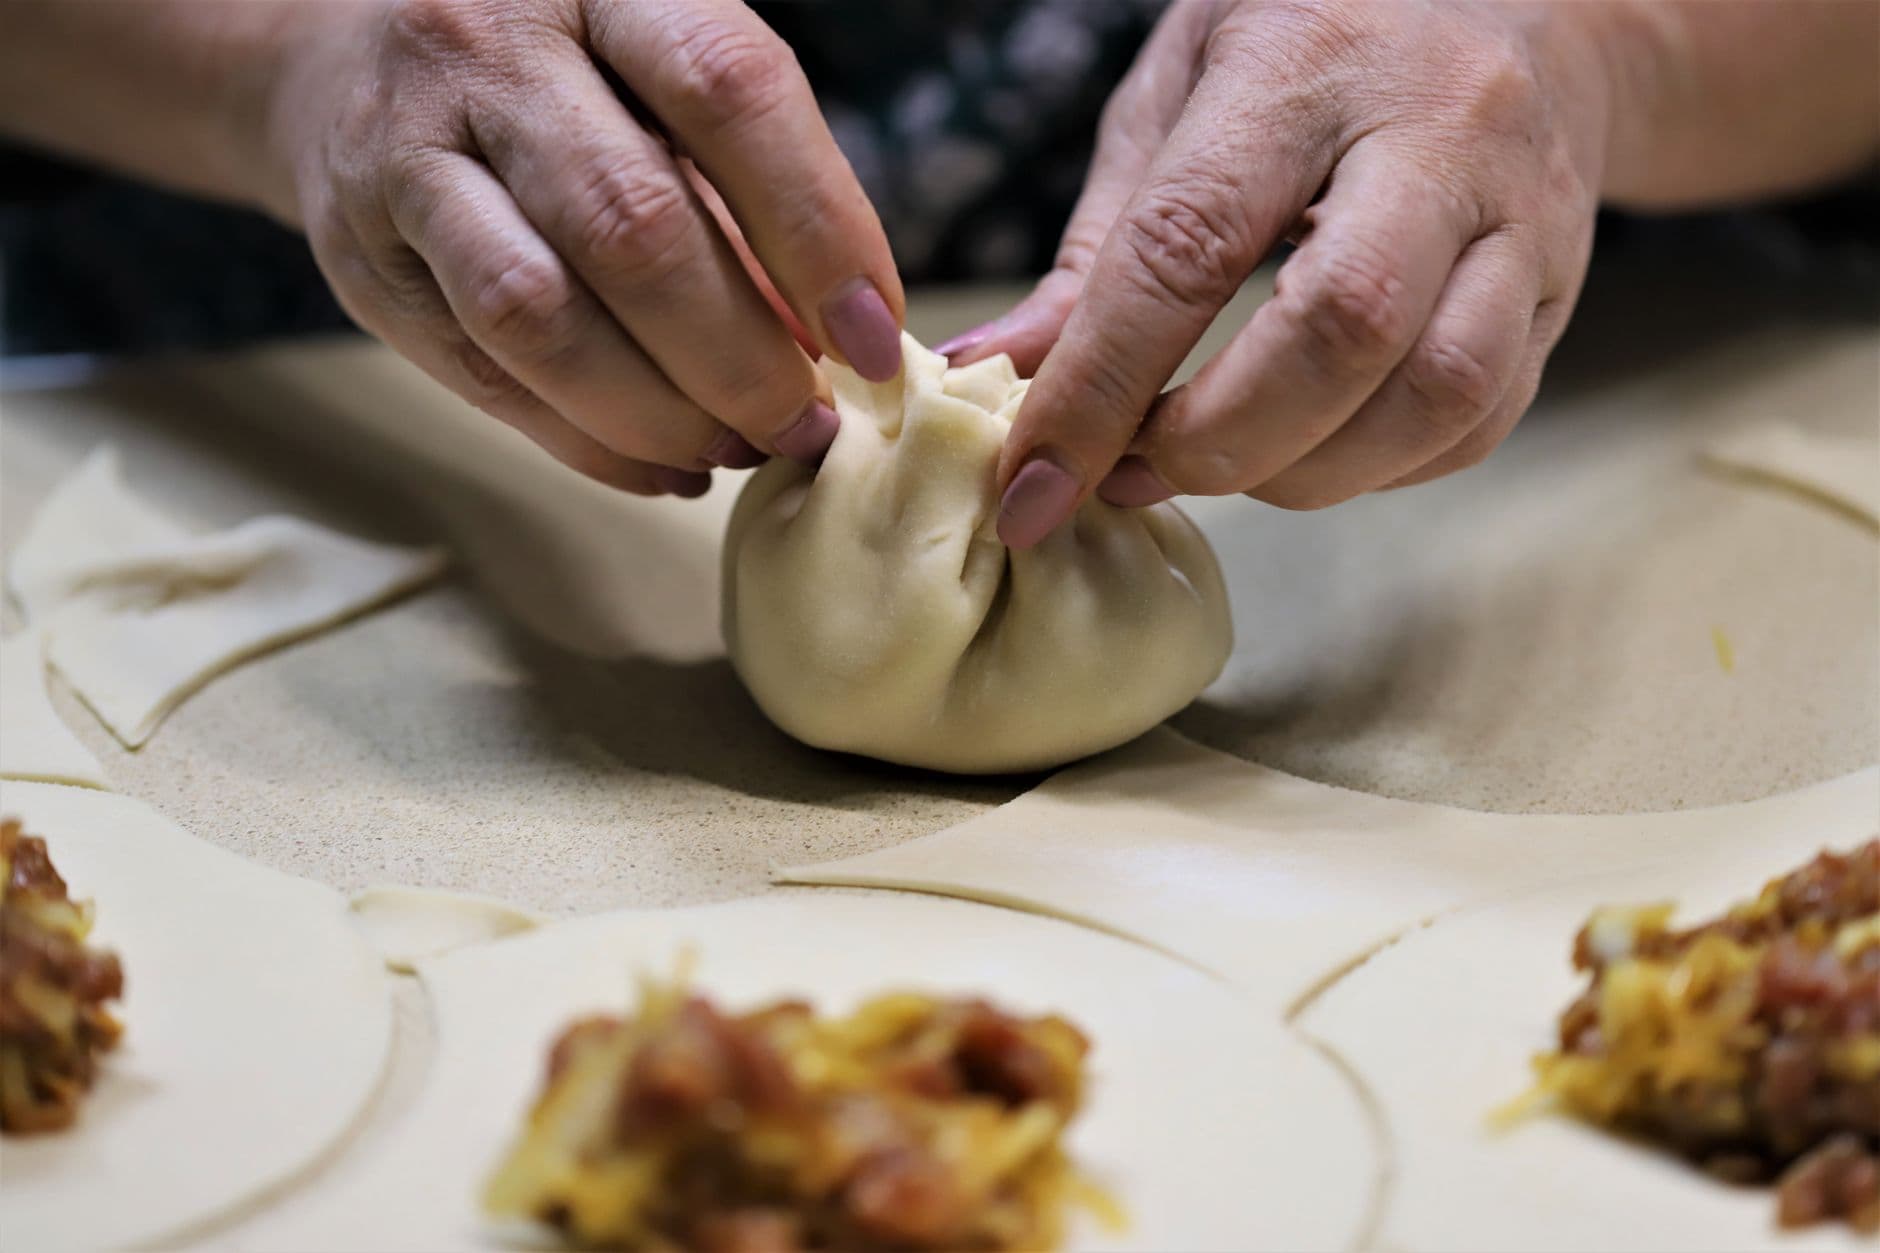
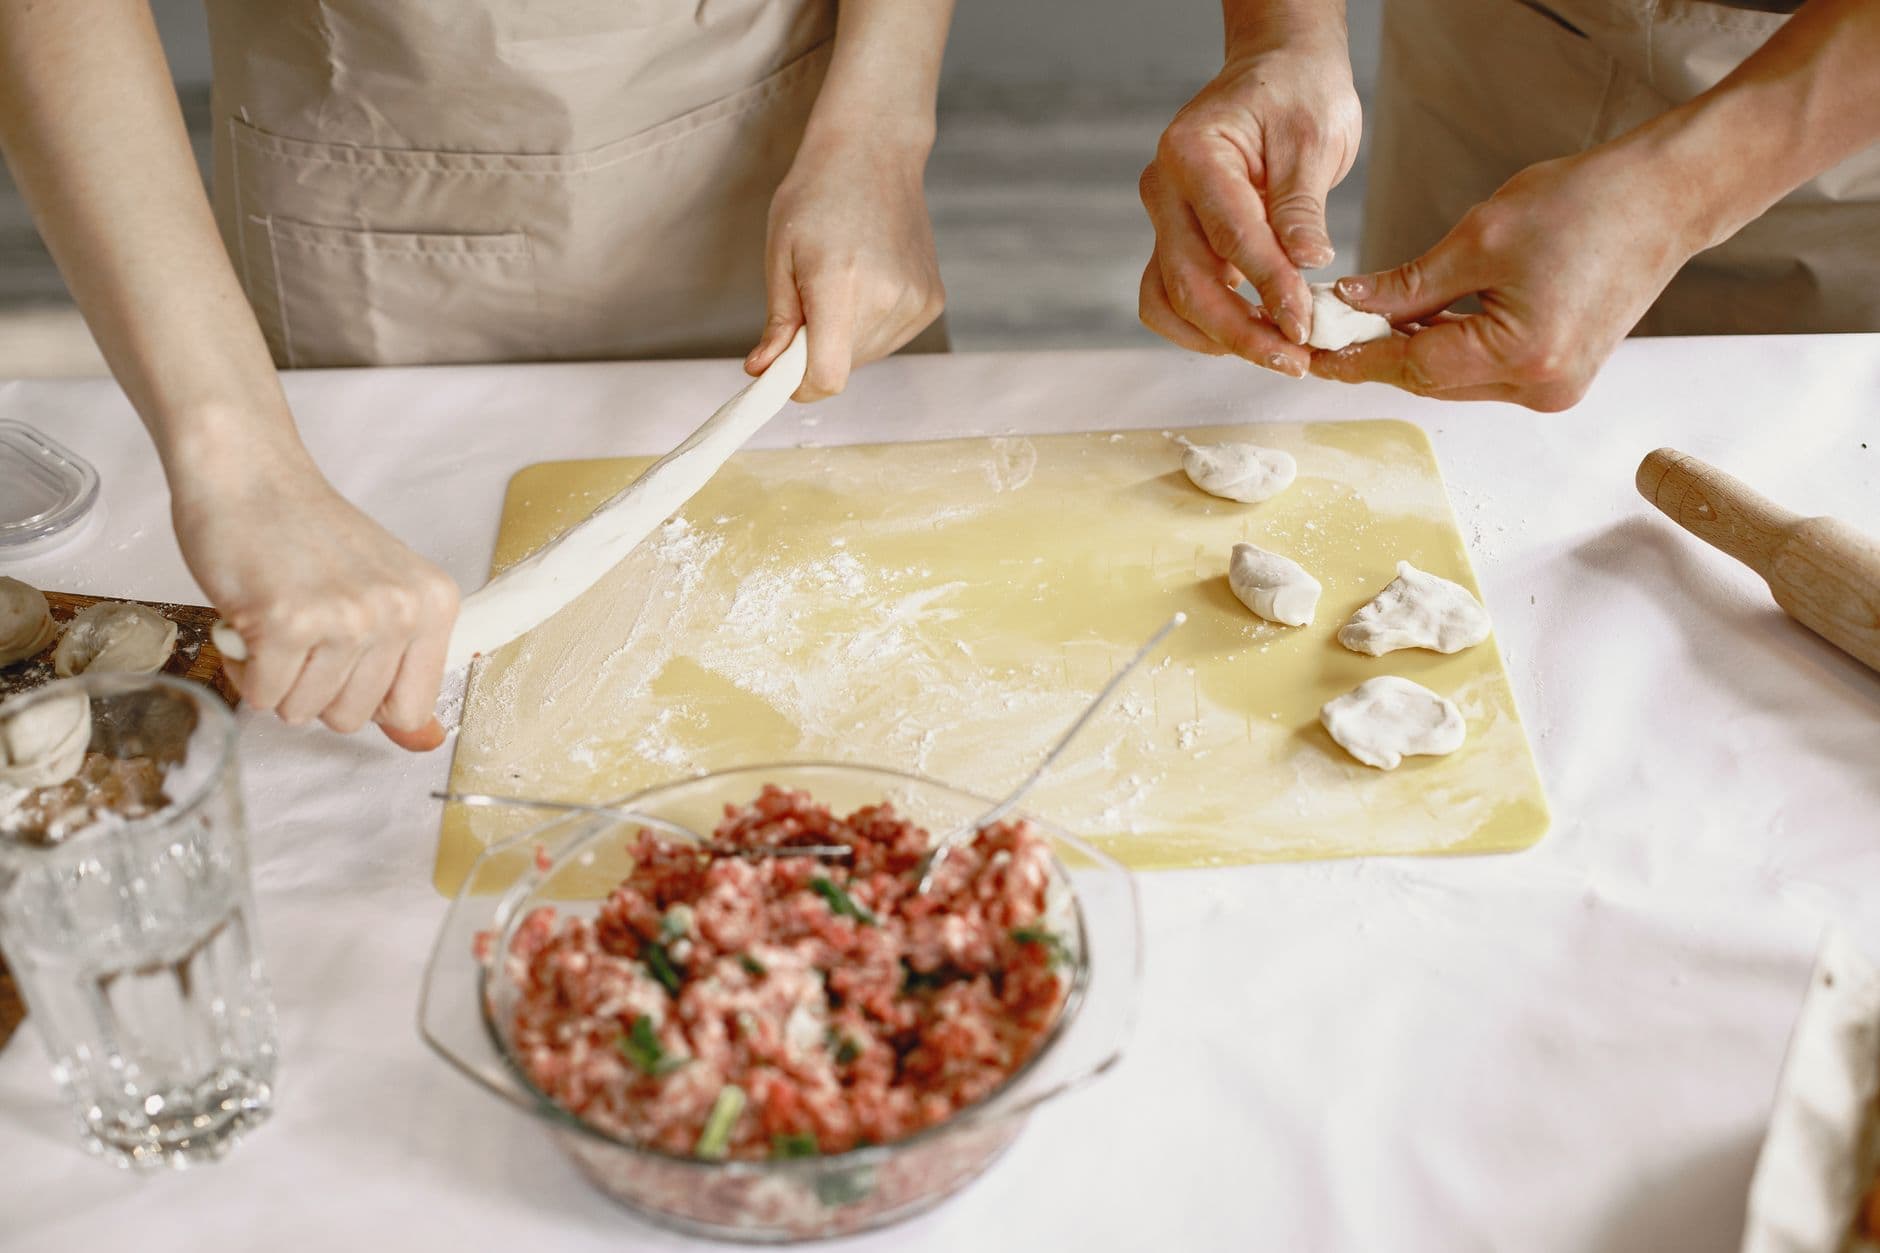
For most flatbreads, divide the dough into equal balls and cover with a damp towel as you work. Dust your work surface lightly with flour to prevent sticking. Use a rolling pin or your hands to flatten each piece to the desired thickness—thinner for crispier breads, thicker for chewier results. Don’t worry about perfect circles; rustic shapes are part of the charm. If using produce as a topping or filling (like scallion pancakes), wash and dry all vegetables thoroughly before adding, per U.S. FDA guidance (Selecting and Serving Produce Safely: https://www.fda.gov/food/buy-store-serve-safe-food/selecting-and-serving-produce-safely). For stuffed flatbreads, flatten a ball of dough, add filling to the center, then pinch the edges closed and gently roll or press flat again. If making layered breads, brush with oil or melted butter between layers before rolling. Keep shaped dough covered until ready to cook to prevent drying.
Cooking Methods: Skillet, Oven, or Flame
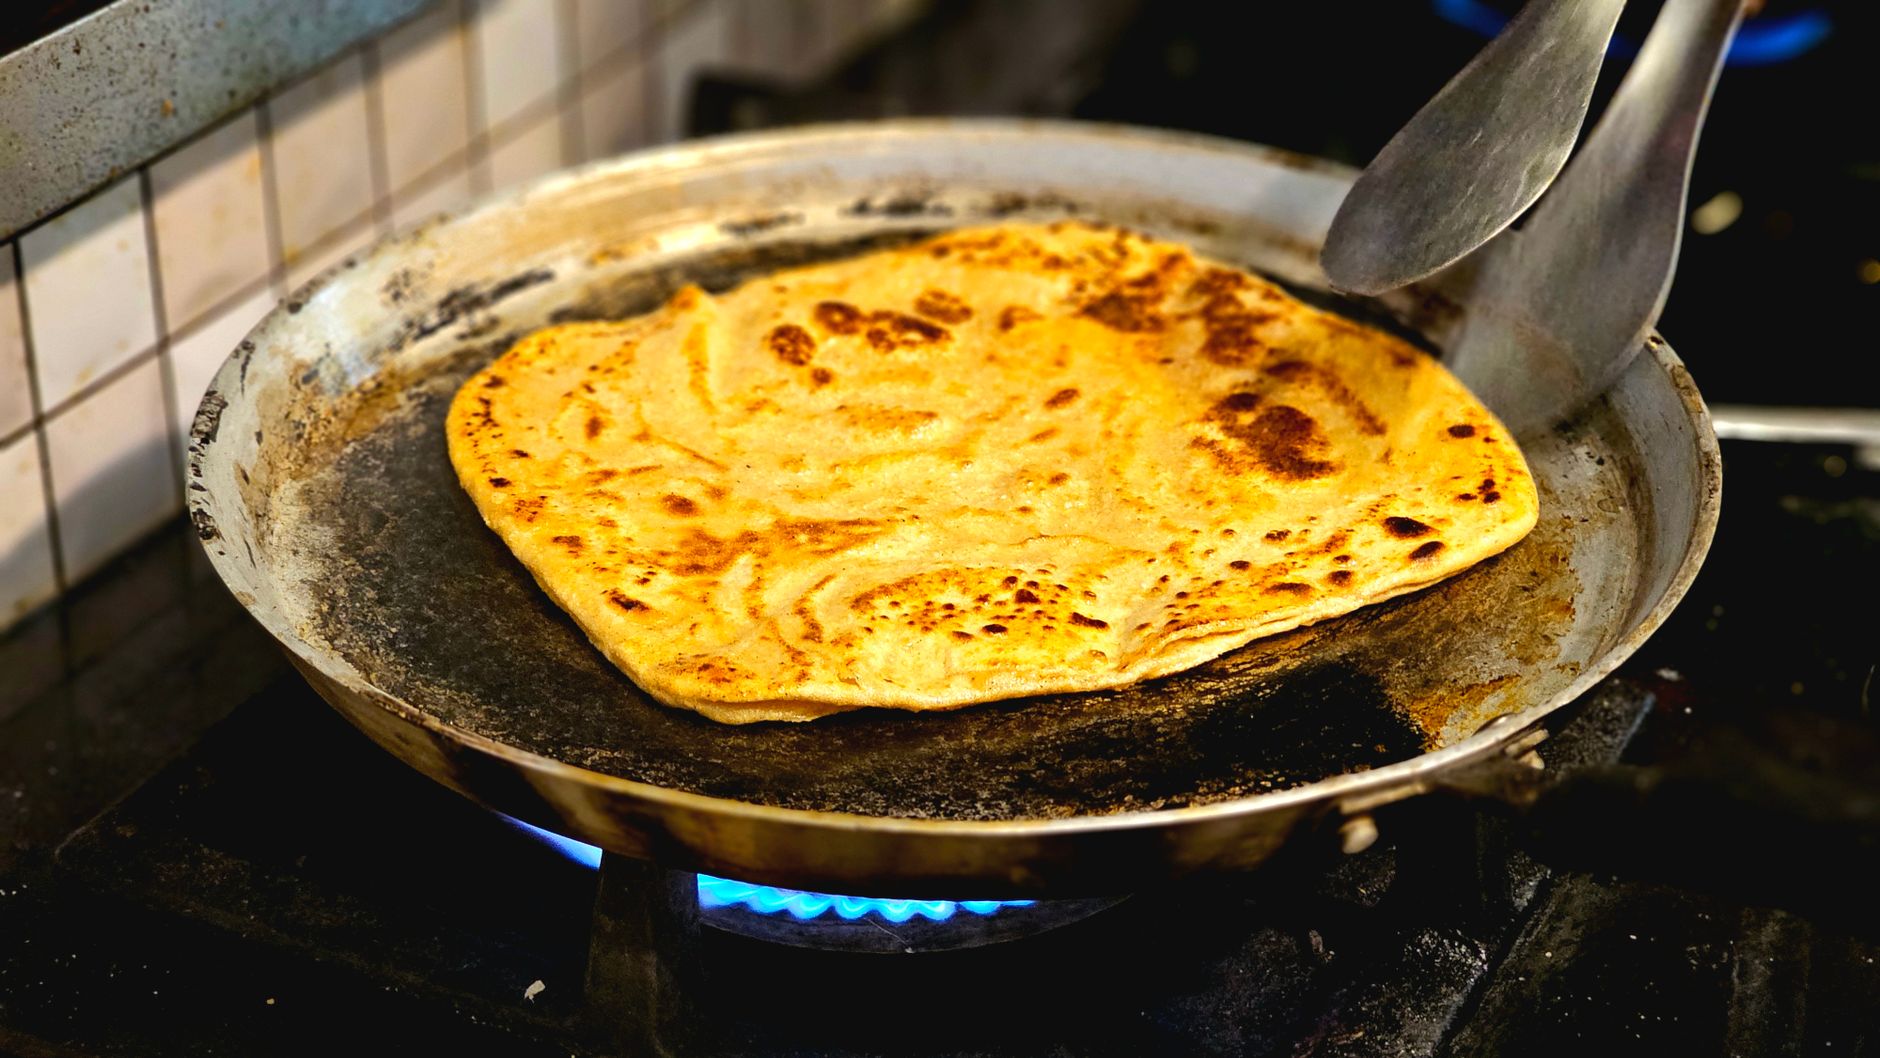
A heavy skillet (cast iron is ideal) is your best friend for home flatbread types. Preheat the pan until a drop of water sizzles. Cook each flatbread for 1–3 minutes per side, flipping when you see bubbles and light browning. For pitas or naan, a very hot oven or broiler can create signature puffing and char. Brush with oil or butter after cooking for extra flavor—see /posts/oil-smoke-point-home-cooking for tips on choosing oils that won’t burn. Always keep a close eye to avoid burning; flatbreads cook fast. For open-flame methods, such as cooking directly over a gas burner, use tongs and caution—this creates blistered, smoky edges. If baking in an oven, use a preheated baking stone or inverted sheet pan for best results. For tortillas, a dry skillet is key; for naan, a little oil or ghee adds richness. Adjust heat as needed to avoid scorching while ensuring thorough cooking. Stack cooked flatbreads in a towel to keep them soft and warm.
Safety First: Handling Dough and Leftovers
Uncooked dough with dairy, eggs, or meat needs careful handling. Wash hands and surfaces after contact. Store unused dough or cooked flatbreads in airtight containers. Refrigerate leftovers within two hours to prevent bacteria growth, and consume within three to four days for best quality (FoodSafety.gov, Cold Food Storage Charts: https://www.foodsafety.gov/food-safety-charts/cold-food-storage-charts). For longer storage, freeze flatbreads and reheat directly from frozen or after thawing in the refrigerator (USDA FSIS, The Big Thaw: https://www.fsis.usda.gov/food-safety/safe-food-handling-and-preparation/food-safety-basics/big-thaw-safe-defrosting-methods). When freezing, separate each flatbread with parchment or wax paper to prevent sticking. Label containers with the date so you know how long they’ve been stored. Never thaw dough or cooked flatbreads at room temperature—instead, use the refrigerator, cold water (in a sealed bag), or the microwave’s defrost setting, following USDA guidance. Discard any flatbreads that develop off smells, mold, or sliminess, and always reheat leftovers to at least 165°F for safety.
Flatbread Variations: Global Inspiration
Once you master the basics, experiment with different home flatbread types. Try adding yogurt for tangy naan, semolina for Italian piadina, or oil for extra tenderness. Stuff with mashed potatoes for aloo paratha, or sprinkle herbs and seeds on top for flavor and crunch. For dumpling-style foldovers, see /posts/dumpling-fold-overview-home-cooks for shaping ideas. Flatbreads are endlessly adaptable—let regional traditions inspire your own kitchen experiments. For a Mediterranean twist, top with za’atar and olive oil before baking. In Central Asia, roll dough thin and cook on a griddle for lavash. For a Scandinavian-style crispbread, roll extra thin and bake until golden. If using fresh produce as fillings or toppings, always wash thoroughly and dry before use, following FDA produce safety recommendations. For gluten-free options, experiment with chickpea or rice flour, adjusting hydration as needed. Each variation opens the door to new flavors and textures, making flatbread a canvas for creativity.
Serving and Storing: Keeping Flatbreads Fresh
Serve flatbreads warm, wrapped in a towel or stacked in a covered dish to keep them soft. To store, cool completely before sealing in a bag or container. Refrigerated flatbreads stay fresh for several days; reheat in a dry skillet or wrapped in foil in a low oven. For longer keeping, freeze in layers with parchment between each bread. Thaw in the fridge or use the microwave’s defrost setting, following USDA recommendations for safe thawing (USDA FSIS, The Big Thaw: https://www.fsis.usda.gov/food-safety/safe-food-handling-and-preparation/food-safety-basics/big-thaw-safe-defrosting-methods). Avoid leaving flatbreads at room temperature for more than two hours, especially if filled or topped with perishable ingredients. For lunchboxes or picnics, pack flatbreads with an ice pack if not eating right away. If storing dough for later use, coat lightly with oil and refrigerate, using within two days for best results. For homemade flatbreads with added dairy or eggs, err on the side of caution and consume sooner rather than later. For large batches, freeze extras promptly after cooling to lock in freshness.
Troubleshooting: When Flatbreads Go Wrong
If your flatbreads turn out tough, you may have overworked the dough or added too much flour. Dry, crumbly breads often result from under-kneading or not enough water. Uneven browning usually means the pan wasn’t hot enough or the dough was rolled too thick. Practice, and a willingness to embrace imperfections, is part of the fun. Each batch brings you closer to your favorite style. If flatbreads don’t puff, check that the dough rested sufficiently and the cooking surface is hot enough. For sticky dough, dust hands and surfaces with flour, but avoid adding too much. If flatbreads stick to the pan, ensure it’s fully preheated and lightly oiled if needed. For flatbreads that dry out quickly, stack and wrap in a towel as soon as they come off the heat. If storing, let cool completely before sealing to prevent condensation and sogginess. Adjust hydration, kneading, and cooking times as you learn how your dough behaves in your kitchen’s humidity and temperature.
Preserving Homemade Flatbreads: Beyond the Freezer
For those interested in longer-term storage beyond freezing, consider traditional preservation methods such as drying or canning, though these require careful attention to food safety. The National Center for Home Food Preservation (https://nchfp.uga.edu/) provides guidelines on safe drying of breads and crackers. To dry flatbreads, slice thin and bake at a low temperature until crisp and moisture-free, then store in airtight containers in a cool, dry place. Avoid storing dried breads in humid environments, as moisture can lead to spoilage. For any preserved flatbread, inspect regularly for signs of mold or staleness. If using home-canned fillings for stuffed flatbreads, ensure jars are processed according to tested recipes and guidelines from trusted sources such as NCHFP or your local extension office (see https://extension.umn.edu/food-safety). Always label preserved goods with the preparation date and use within recommended timeframes for best quality and safety. When in doubt, err on the side of caution and discard any questionable preserved foods.
National Center for Home Food Preservation — offers detailed guidance on safe home drying and preservation of breads and baked goods at https://nchfp.uga.edu/.
University of Minnesota Extension, Food Safety — provides practical food safety tips and home preservation resources at https://extension.umn.edu/food-safety.
Charlotte Flynn writes FeedsAtlas guides to pantry staples and culinary traditions. The pieces map techniques and ingredients so home cooks can understand a method, not a restaurant visit.
Most home cooks have faced a pot of rice that’s gummy, scorched, or stubbornly crunchy. The root of the problem often lies in choosing the right rice method, knowing its quirks, and troubleshooting when things go sideways. Absorption, pilaf, and pasta-style cooking each fail in different ways. Match the method to the grain and the meal, then fix the usual mistakes instead of starting over.
Every home cook eventually faces the broth vs stock debate, especially when a recipe simply calls for 'chicken stock' or 'vegetable broth' and your pantry offers neither. Do the differences actually matter for a Tuesday night soup or a freezer stash of winter stews? Here’s a practical, myth-free look at what sets broth and stock apart, how to make each with what you have, and why you shouldn’t stress over labels—plus, essential food safety steps that keep your homemade liquids safe and delicious.
Dumpling fold techniques look intimidating for beginners, but a few simple, reliable folds can open up a world of homemade comfort food. This walkthrough covers the best starter folds, how to keep fillings safe and fresh, and why the right fold matters for steaming, boiling, or pan-frying. If you’ve ever wondered whether your dumplings will hold together, or how to avoid gummy bottoms and leaks, this guide helps you get hands-on without the overwhelm.
When the urge for dumplings strikes, home cooks face a crucial choice: reach for a packet of store-bought wrappers or make dough from scratch. Each path shapes the cooking experience and final result, from the texture of the dumpling skin to how it behaves under your fingertips. This practical editorial guides you through the trade-offs—speed, tradition, texture, and food safety—so you can confidently choose the right wrapper for your next batch, whether you’re folding for a family feast or a solo experiment.
You’re eyeing a pack of chicken thighs and a drawer of vegetables, but you want more than salt and oil. Yogurt marinade promises flavor and tenderness—but what goes in, how long is enough, and can you toss in your carrots and peppers too? This planning narrative lays out the evening step-by-step: prepping, marinating, food safety, and roasting, so you can confidently build a yogurt marinade for chicken and vegetables, adapting to what’s in your fridge. Along the way, you’ll learn how yogurt’s tangy base helps flavor and tenderness, how to handle produce and poultry together, and what to do with leftovers for safe, delicious results.
Every home cook eventually faces the question: which aromatic base should I use to jumpstart flavor—sofrito, mirepoix, or something else? Understanding the differences between these foundational mixes is not just about tradition, but about practical results in your pot. This article untangles the similarities and distinctions of sofrito vs mirepoix, explores their global cousins, and shows, step by step, how to build a versatile soup using whatever you have on hand—without sacrificing food safety or flavor.