Rice-Cooking Families: Absorption, Pilaf, and Pasta-Style
Charlotte Flynn··10 min read
Most home cooks have faced a pot of rice that’s gummy, scorched, or stubbornly crunchy. The root of the problem often lies in choosing the right rice method, knowing its quirks, and troubleshooting when things go sideways. Absorption, pilaf, and pasta-style cooking each fail in different ways. Match the method to the grain and the meal, then fix the usual mistakes instead of starting over.
Rice is often treated as a simple staple, but even experienced home cooks find that it can be unpredictable. One night, the grains are fluffy and separate; the next, they’re stuck together in a gluey mass or scorched onto the bottom of the pot. The most common frustration is inconsistency, and it’s not always the rice’s fault. The choice of method—absorption, pilaf, or pasta-style—plays a big role in the outcome, and each comes with its own set of common failure modes. Recognizing the signs of trouble early and knowing how to recover can mean the difference between a passable side and a meal-ruining disaster. Rice mishaps often stem from mismatched technique and rice type, imprecise measuring, or simply not knowing how to adapt when things start to go sideways. Understanding the quirks of each method is the first step toward reliably good rice, whether it’s destined for a weeknight stir-fry or a special occasion pilaf.
References
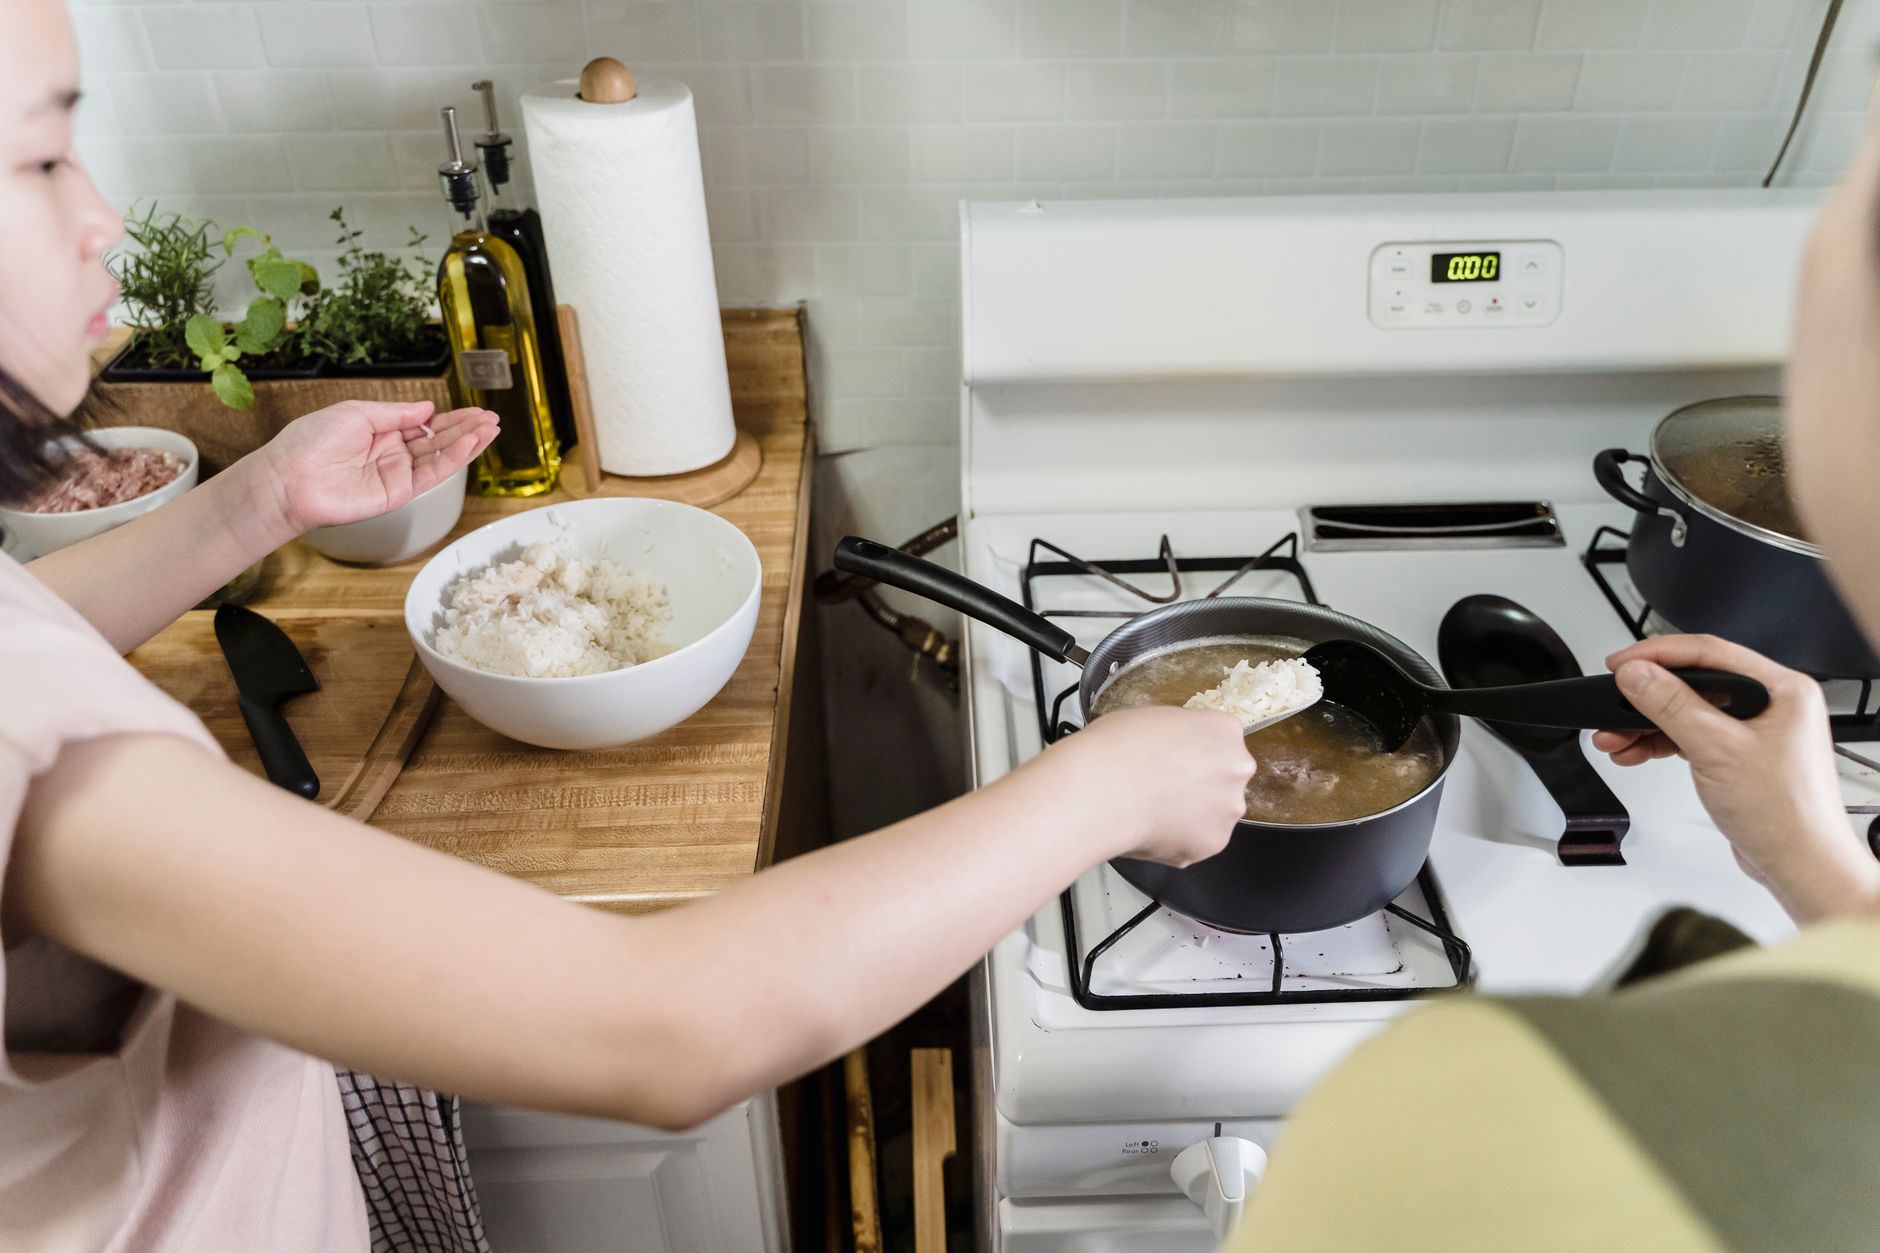
The absorption method is the default for most home cooks and the foundation of countless recipes. It’s straightforward: combine rice, water, salt, and optional fat in a pot, bring to a boil, cover, and simmer until the liquid is absorbed. But this method is also where the most common rice problems show up.
Crunchy, undercooked grains are usually the result of too little water or simmering over too high a heat. When water evaporates too quickly, the rice cooks unevenly and the bottom may scorch before the top is tender. On the other hand, gummy or clumpy rice points to too much water or impatience—lifting the lid too early releases steam, which is essential for even cooking. Stirring during cooking can also break grains and turn the pot sticky. A scorched bottom is often a sign of a pot that’s too thin or heat that’s too aggressive after the water is absorbed.
Troubleshooting starts with careful measurement. Use a heavy-bottomed pot to distribute heat evenly, and keep the lid on for the entire simmering and resting period. If the rice is still hard at the end, add a splash of water, cover, and steam gently for a few extra minutes. For scorched rice, avoid scraping up burnt bits—transfer the unburned rice to another bowl instead.
Food safety is another concern. Cooked rice should be cooled quickly and stored in shallow containers in the refrigerator within two hours. According to the USDA FSIS, reheating leftovers to at least 165°F (74°C) is essential to prevent foodborne illness. For more, see: https://www.fsis.usda.gov/food-safety/safe-food-handling-and-preparation/food-safety-basics/leftovers-and-food-safety.
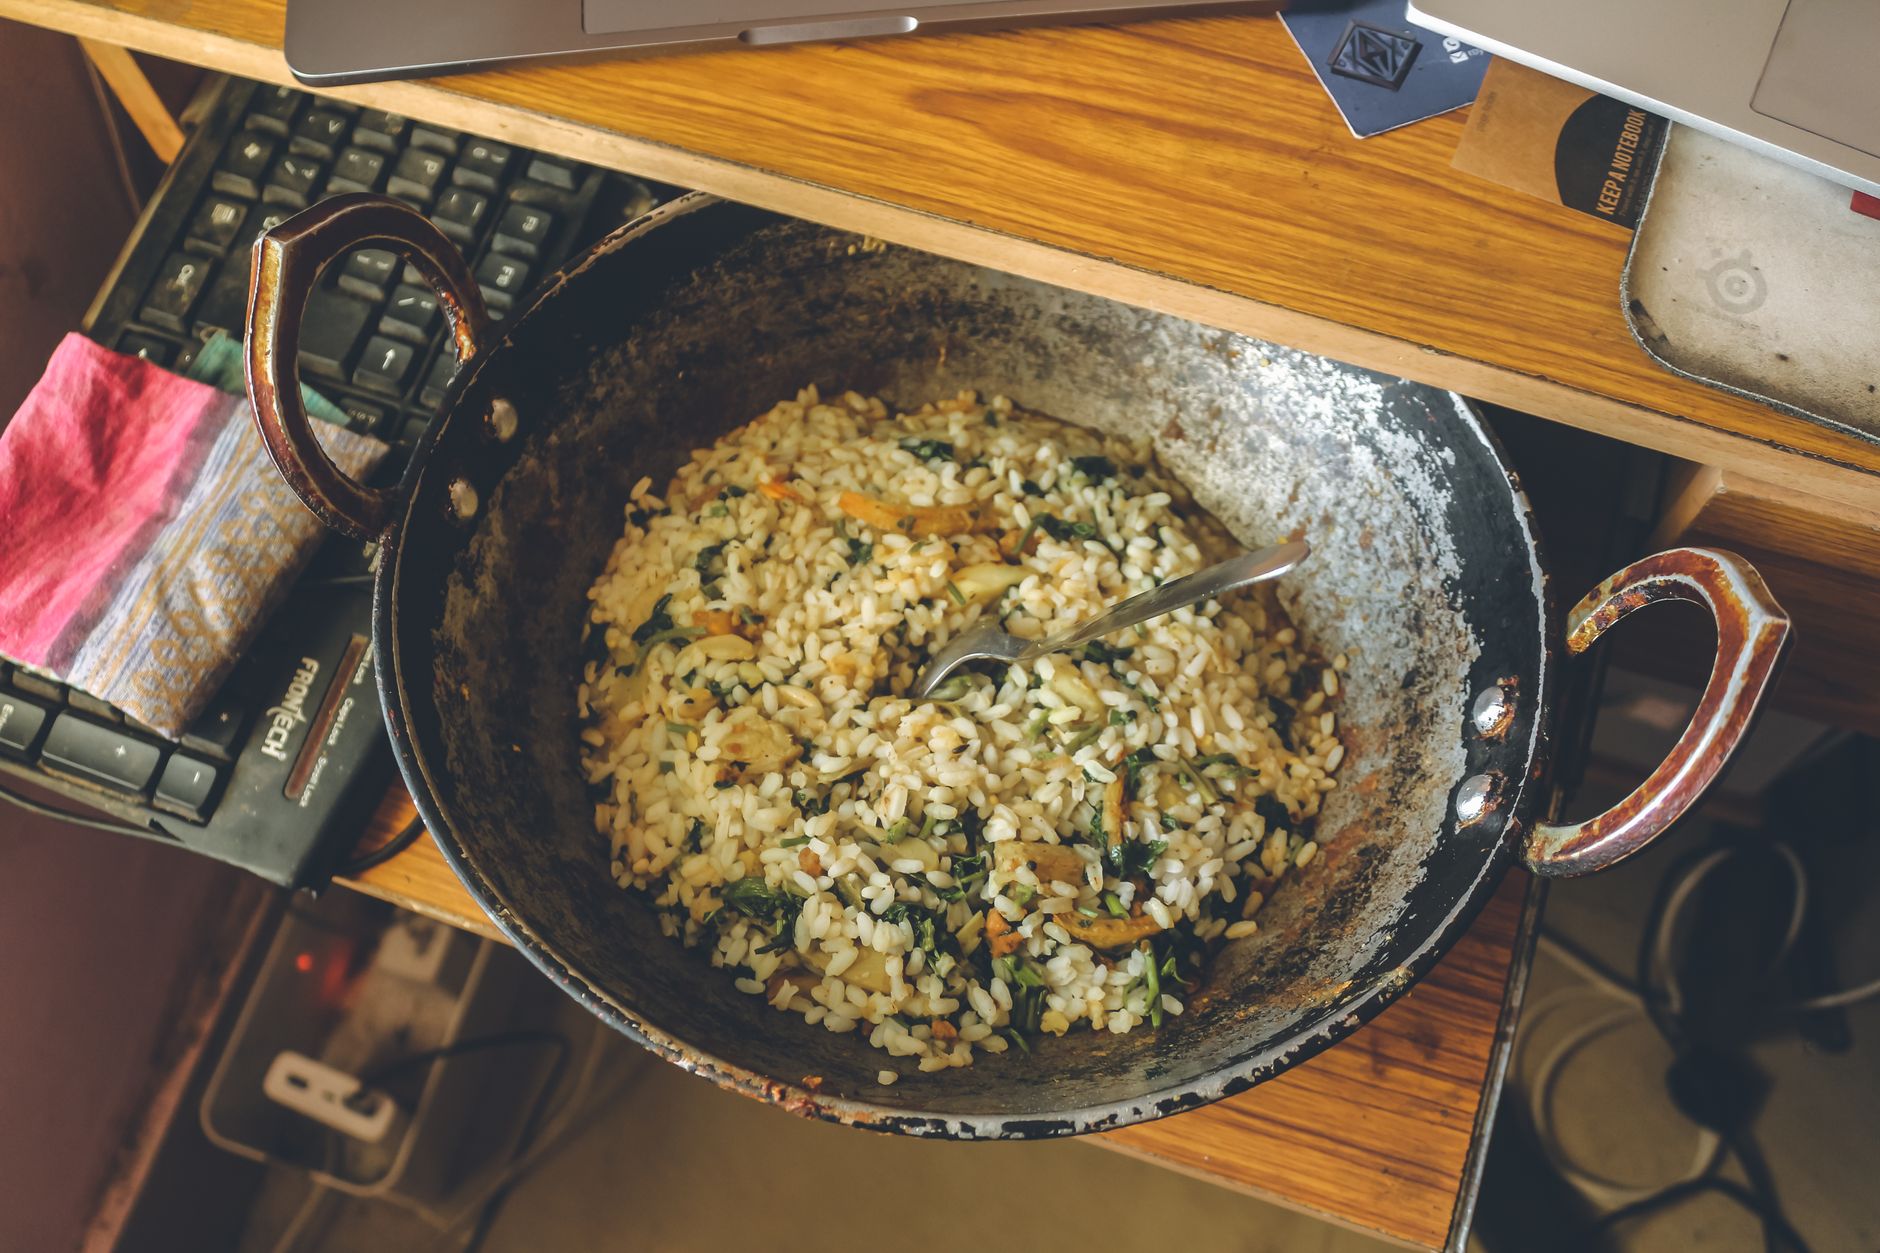
The pilaf method begins by sautéing rice in fat—usually butter or oil—before adding liquid. This step coats each grain, helping them stay separate and adding a layer of flavor. Pilaf is ideal for long-grain rice and dishes where fluffy, distinct grains are the goal. But this method isn’t immune to trouble.
Undercooked centers are a sign of not enough liquid or not simmering long enough. If the rice is oily or heavy, too much fat was used in the toasting step. Soggy rice often results from a loose-fitting lid, which lets steam escape and tempts cooks to add more water. To avoid these pitfalls, use just enough fat to coat the rice—about one tablespoon per cup—and make sure the lid fits tightly. Once the liquid is added, bring the pot to a boil, then reduce to a gentle simmer and leave it alone. Stirring or peeking interrupts the cooking process and can lead to uneven results. If the rice is cooked but still wet, let it rest off the heat, covered, for ten minutes to allow the steam to finish the job. Fluff with a fork before serving for the best texture.
Pasta-Style: For When Everything Else Fails
Pasta-style rice cooking is a reliable fallback for rices that don’t behave with other methods. The process is simple: boil rice in a large pot of water, just like pasta, then drain. This method is nearly foolproof for very starchy or unpredictable rices, and it’s a rescue for rice that refuses to cook evenly with absorption or pilaf.
The most common mistake is waterlogged rice, which happens when the rice isn’t drained thoroughly after boiling. Mushy grains are another risk if the rice is left in the water too long, since there’s no absorbed moisture to limit how soft the rice gets. To avoid these issues, start tasting the rice a few minutes before the package’s suggested cooking time. Drain as soon as the grains are just tender, then spread the rice on a tray or baking sheet to let excess moisture evaporate. This method is especially useful if you want to cool rice quickly for salads, fried rice, or meal prep. It’s also the best starting point for unfamiliar or unlabeled rice varieties, since it’s the most forgiving.
Choosing the Right Method for Your Rice
Success with rice starts with matching the method to the rice variety. Long-grain white rice generally works best with absorption or pilaf, which preserve its fluffy texture. Short-grain and sticky rices need the absorption method and careful water measurement to avoid turning mushy. Brown rice, wild rice, and some specialty blends have tougher outer layers and often benefit from pasta-style or pilaf, which provide more water and time for the grains to soften.
When the rice is unlabeled or you’re not sure what you’re dealing with, pasta-style is the safest bet. It’s easier to adjust for doneness and texture, and you can always fine-tune your approach on the next batch. The flexibility of these three methods means there’s always a way to adapt, no matter what rice you have on hand.
Common Rice Problems: Quick Fixes
Even with careful technique, rice sometimes misbehaves. Here’s how to save a batch:
Dry and Crunchy: Sprinkle a few tablespoons of water over the rice, cover, and gently steam on low for 3–5 minutes. This can help finish cooking underdone grains without making the rest soggy.
Wet and Soggy: Spread the rice on a baking sheet and dry in a low oven (300°F/150°C) for 10 minutes, or leave covered off heat to absorb steam. This helps evaporate excess moisture and restores some fluffiness.
Sticky Clumps: Rinse with hot water in a colander to separate, especially if you need to use the rice in stir-fries or salads. This removes excess starch and can salvage rice that’s stuck together.
Food safety is non-negotiable. Always use clean utensils and surfaces when handling cooked rice, and refrigerate promptly to avoid foodborne illness. The FDA recommends following basic food safety practices: clean, separate, cook, and chill. For more, see: https://www.fda.gov/food/buy-store-serve-safe-food/food-safety-your-kitchen.
Cooked rice is one of the most common sources of foodborne illness in home kitchens, mainly because it’s easy to forget how quickly bacteria can multiply at room temperature. After serving, leftovers should be cooled in shallow containers and refrigerated within two hours. Never leave rice out overnight, and discard any rice that has been sitting at room temperature for more than two hours, even if it looks and smells fine.
When reheating, bring rice to an internal temperature of at least 165°F (74°C). Use a food thermometer if you’re unsure. The USDA and foodsafety.gov both emphasize that reheating rice thoroughly is crucial, as some bacteria can survive initial cooking and multiply if the rice is left out too long. For more details on safe storage and reheating, see: https://www.foodsafety.gov/keep-food-safe and https://www.fsis.usda.gov/food-safety/safe-food-handling-and-preparation/food-safety-basics/leftovers-and-food-safety.
Temperature Basics: Safe Cooking and Holding
Rice is rarely served alone. When paired with proteins or vegetables, the safety of the whole meal depends on proper cooking and holding temperatures. According to the USDA FSIS, hot foods should be kept at 140°F (60°C) or above until served, and leftovers should be reheated to at least 165°F (74°C). These temperatures help prevent the growth of harmful bacteria. If rice is being held for a buffet or family-style meal, use a warming tray or rice cooker with a keep-warm function that maintains safe temperatures. Never let cooked rice sit in the 'danger zone' (40°F–140°F or 4°C–60°C) for more than two hours. For a full safe temperature chart, see: https://www.fsis.usda.gov/food-safety/safe-food-handling-and-preparation/food-safety-basics/safe-temperature-chart.
Rice as a Foundation for Family Meals
Once the basics are mastered, rice becomes more than a side dish—it’s a foundation for family dinners, dumpling fillings, and next-day lunches. Leftover rice can be transformed into fried rice, added to soups, or used as a base for grain bowls. It’s also a practical way to stretch proteins and vegetables, making meals more filling and economical. For cooks looking to expand their rice repertoire, pairing rice with homemade dumplings or experimenting with different herbs and spices opens up a world of possibilities. With a working knowledge of absorption, pilaf, and pasta-style methods, a bag of rice becomes a versatile ingredient, not an unpredictable challenge.
Charlotte Flynn writes FeedsAtlas guides to pantry staples and culinary traditions. The pieces map techniques and ingredients so home cooks can understand a method, not a restaurant visit.
Every home cook eventually faces the broth vs stock debate, especially when a recipe simply calls for 'chicken stock' or 'vegetable broth' and your pantry offers neither. Do the differences actually matter for a Tuesday night soup or a freezer stash of winter stews? Here’s a practical, myth-free look at what sets broth and stock apart, how to make each with what you have, and why you shouldn’t stress over labels—plus, essential food safety steps that keep your homemade liquids safe and delicious.
Standing at your kitchen counter, flour dusted across your hands, you might wonder: should you roll out a chewy naan, crisp up a tortilla, or try a simple skillet bread? Flatbreads are one of the world’s oldest, most adaptable staples, but deciding which home flatbread type to make—and how to make it safely and well—can feel like a leap into culinary geography. This practical guide charts a handful of classic flatbreads, with step-by-step advice for mixing, shaping, cooking, and storing, so you can confidently explore global traditions right at your own stove.
Dumpling fold techniques look intimidating for beginners, but a few simple, reliable folds can open up a world of homemade comfort food. This walkthrough covers the best starter folds, how to keep fillings safe and fresh, and why the right fold matters for steaming, boiling, or pan-frying. If you’ve ever wondered whether your dumplings will hold together, or how to avoid gummy bottoms and leaks, this guide helps you get hands-on without the overwhelm.
When the urge for dumplings strikes, home cooks face a crucial choice: reach for a packet of store-bought wrappers or make dough from scratch. Each path shapes the cooking experience and final result, from the texture of the dumpling skin to how it behaves under your fingertips. This practical editorial guides you through the trade-offs—speed, tradition, texture, and food safety—so you can confidently choose the right wrapper for your next batch, whether you’re folding for a family feast or a solo experiment.
You’re eyeing a pack of chicken thighs and a drawer of vegetables, but you want more than salt and oil. Yogurt marinade promises flavor and tenderness—but what goes in, how long is enough, and can you toss in your carrots and peppers too? This planning narrative lays out the evening step-by-step: prepping, marinating, food safety, and roasting, so you can confidently build a yogurt marinade for chicken and vegetables, adapting to what’s in your fridge. Along the way, you’ll learn how yogurt’s tangy base helps flavor and tenderness, how to handle produce and poultry together, and what to do with leftovers for safe, delicious results.
Every home cook eventually faces the question: which aromatic base should I use to jumpstart flavor—sofrito, mirepoix, or something else? Understanding the differences between these foundational mixes is not just about tradition, but about practical results in your pot. This article untangles the similarities and distinctions of sofrito vs mirepoix, explores their global cousins, and shows, step by step, how to build a versatile soup using whatever you have on hand—without sacrificing food safety or flavor.