Every home cook faces the moment when a pan, once bustling with sizzling meat or vegetables, is left with stubborn brown bits stuck to the bottom. These aren’t burnt mistakes—they’re packed with flavor, waiting to be transformed into a sauce that elevates the entire meal. Learning how to deglaze a pan is a practical, kitchen-saving skill that turns cleanup into dinner’s final flourish. Here’s how to make those golden remnants work for you, step by step, on a typical weeknight.
A typical evening in the kitchen often starts with ambition: a plan for seared chicken, pork chops, or a heap of mushrooms destined for golden edges. As the main ingredient comes off the heat, what’s left behind is a pan with a stubborn, caramelized crust. This is the fond, and it’s easy to mistake it for burnt residue. But this layer is a kitchen secret: it’s the foundation for a sauce that can transform a meal from ordinary to restaurant-worthy. Instead of soaking or scrubbing, the next step is to see those brown bits as the start of something better. The evening pivots from just getting dinner on the table to making a meal with depth and character.
What Is Fond and Why Save It?
Fond, a French culinary term, refers to the browned, flavorful bits left on the bottom of a pan after searing or sautéing. These aren’t charred mistakes; they’re the result of the Maillard reaction, where proteins and sugars in food caramelize and develop complex flavors. Fond is the backbone of many classic sauces, providing a depth that can’t be replicated with pre-made mixes or shortcuts. Saving the fond means capturing all the flavor built up during the initial cooking. Whether it’s the golden residue from chicken, the savory bits from pork, or the earthy remnants from mushrooms, fond is the key to a sauce that tastes layered and rich. In the rhythm of a weeknight, this step is a shortcut to a meal that tastes like it took all day.
Choosing Your Deglazing Liquid
The next decision is what to use to deglaze. The liquid is more than just a solvent for the fond—it’s the first building block of your sauce’s flavor. Wine is a classic choice, especially for pan sauces that need acidity and aroma. Dry white wine works well with chicken or fish, while red wine pairs with beef or lamb. Broth or stock are excellent for a more savory, rounded sauce. Even water can work in a pinch, though it won’t add much flavor. A splash of vinegar, such as sherry or red wine vinegar, can brighten the sauce and help loosen the fond quickly. Avoid creamy or sweet liquids at this stage, as they can scorch or make the sauce cloying. The right choice depends on what’s in the pan and what’s on the menu, but the goal is always the same: lift every bit of fond and start building flavor.
Timing: When to Deglaze
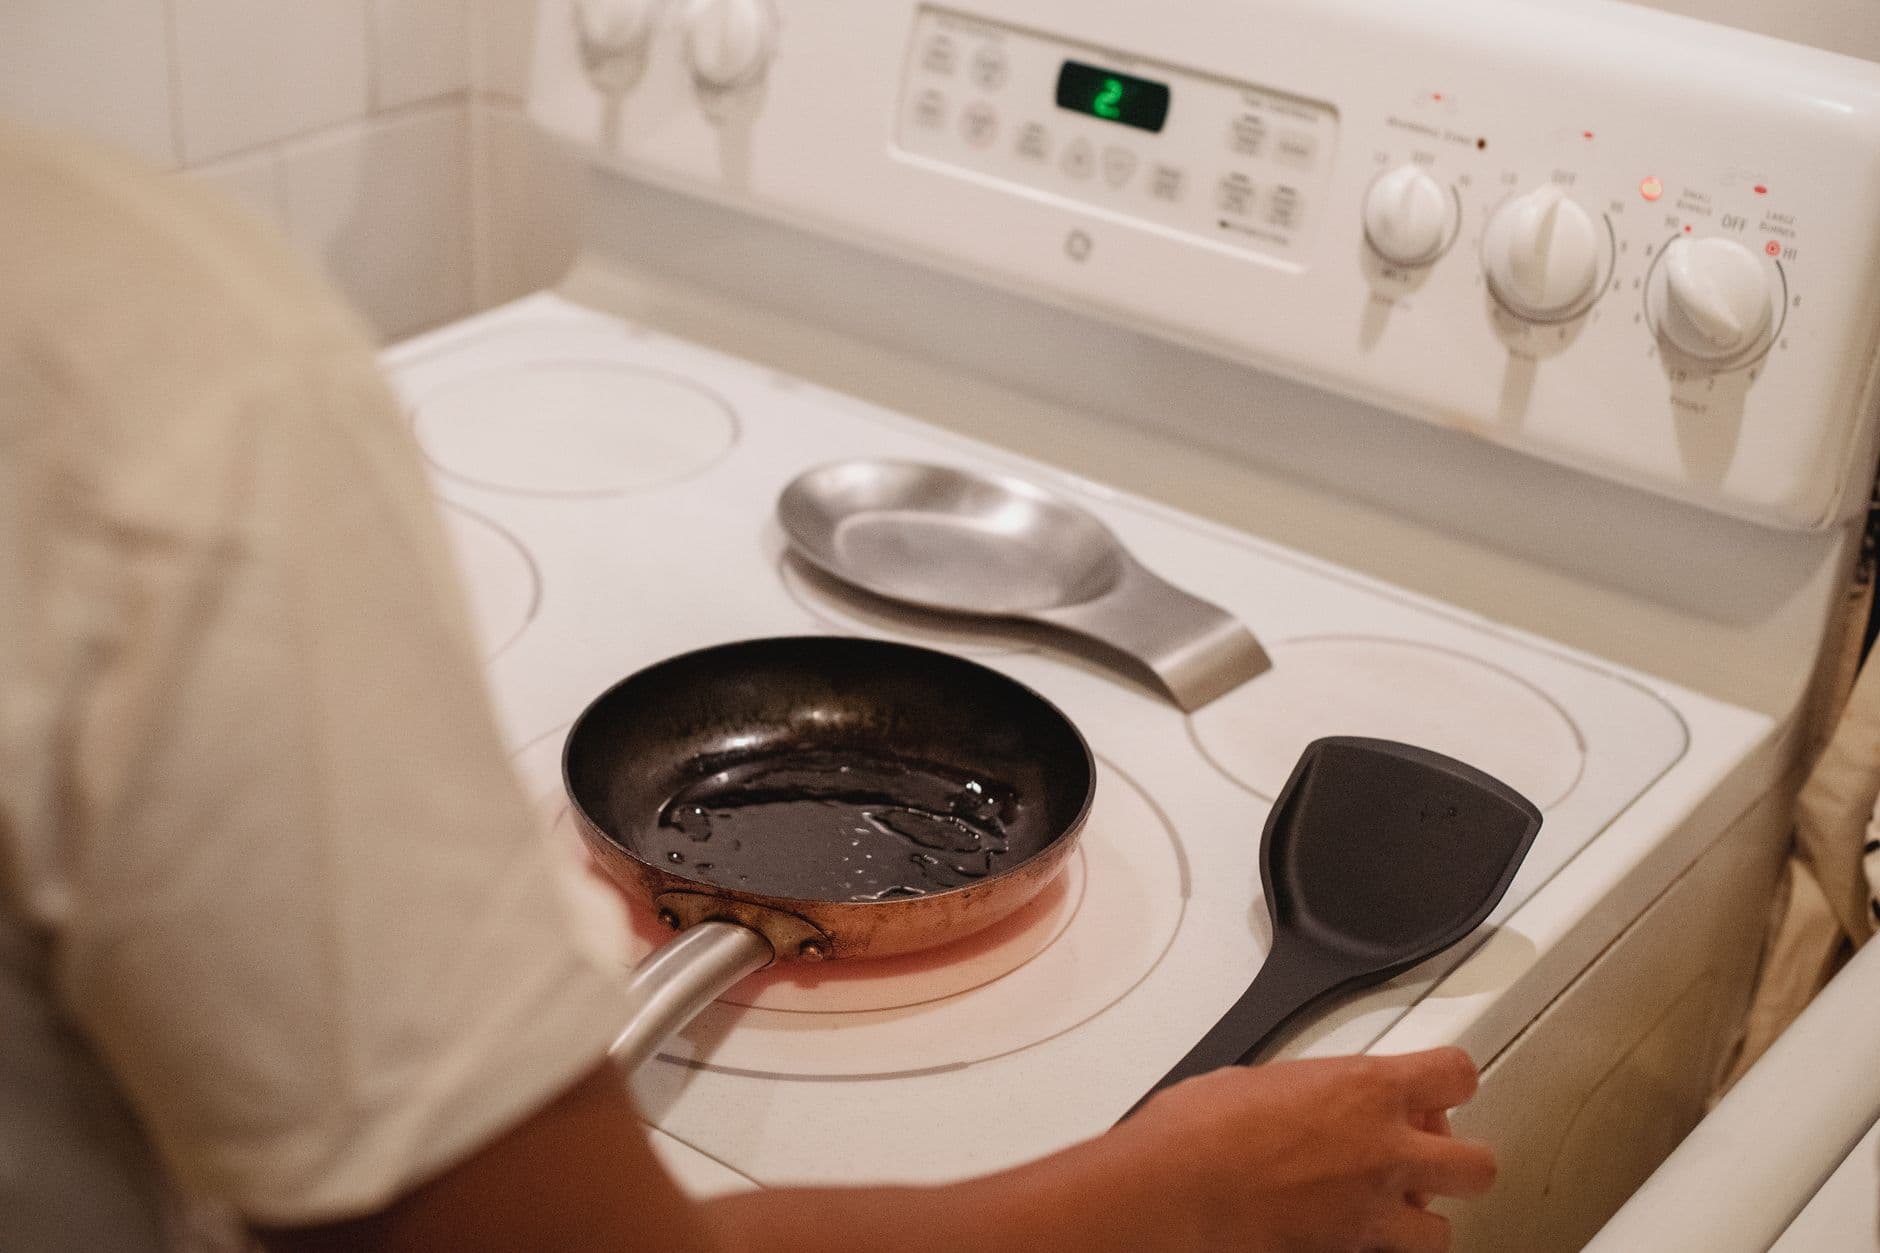
Timing is crucial. Deglazing should happen immediately after removing the main ingredient from the pan, while the fond is still hot and before it has a chance to burn. If the pan cools too much, the fond can become stubborn and harder to dissolve. If the pan is too hot, the liquid can evaporate instantly, reducing the chance to scrape up all the flavor. The sweet spot is a pan that’s hot but not smoking. With the main ingredient resting on a plate (covered loosely to keep warm and avoid contamination), the deglazing liquid is ready to go. Pour it in, and be prepared for a burst of steam and bubbling. Safety is key: keep hands and face clear, and use a long-handled wooden spoon or spatula to scrape up the fond. This moment is the pivot from cooking to sauce-making, and it’s often the most dramatic part of the evening.
Step-by-Step: Turning Fond into Sauce
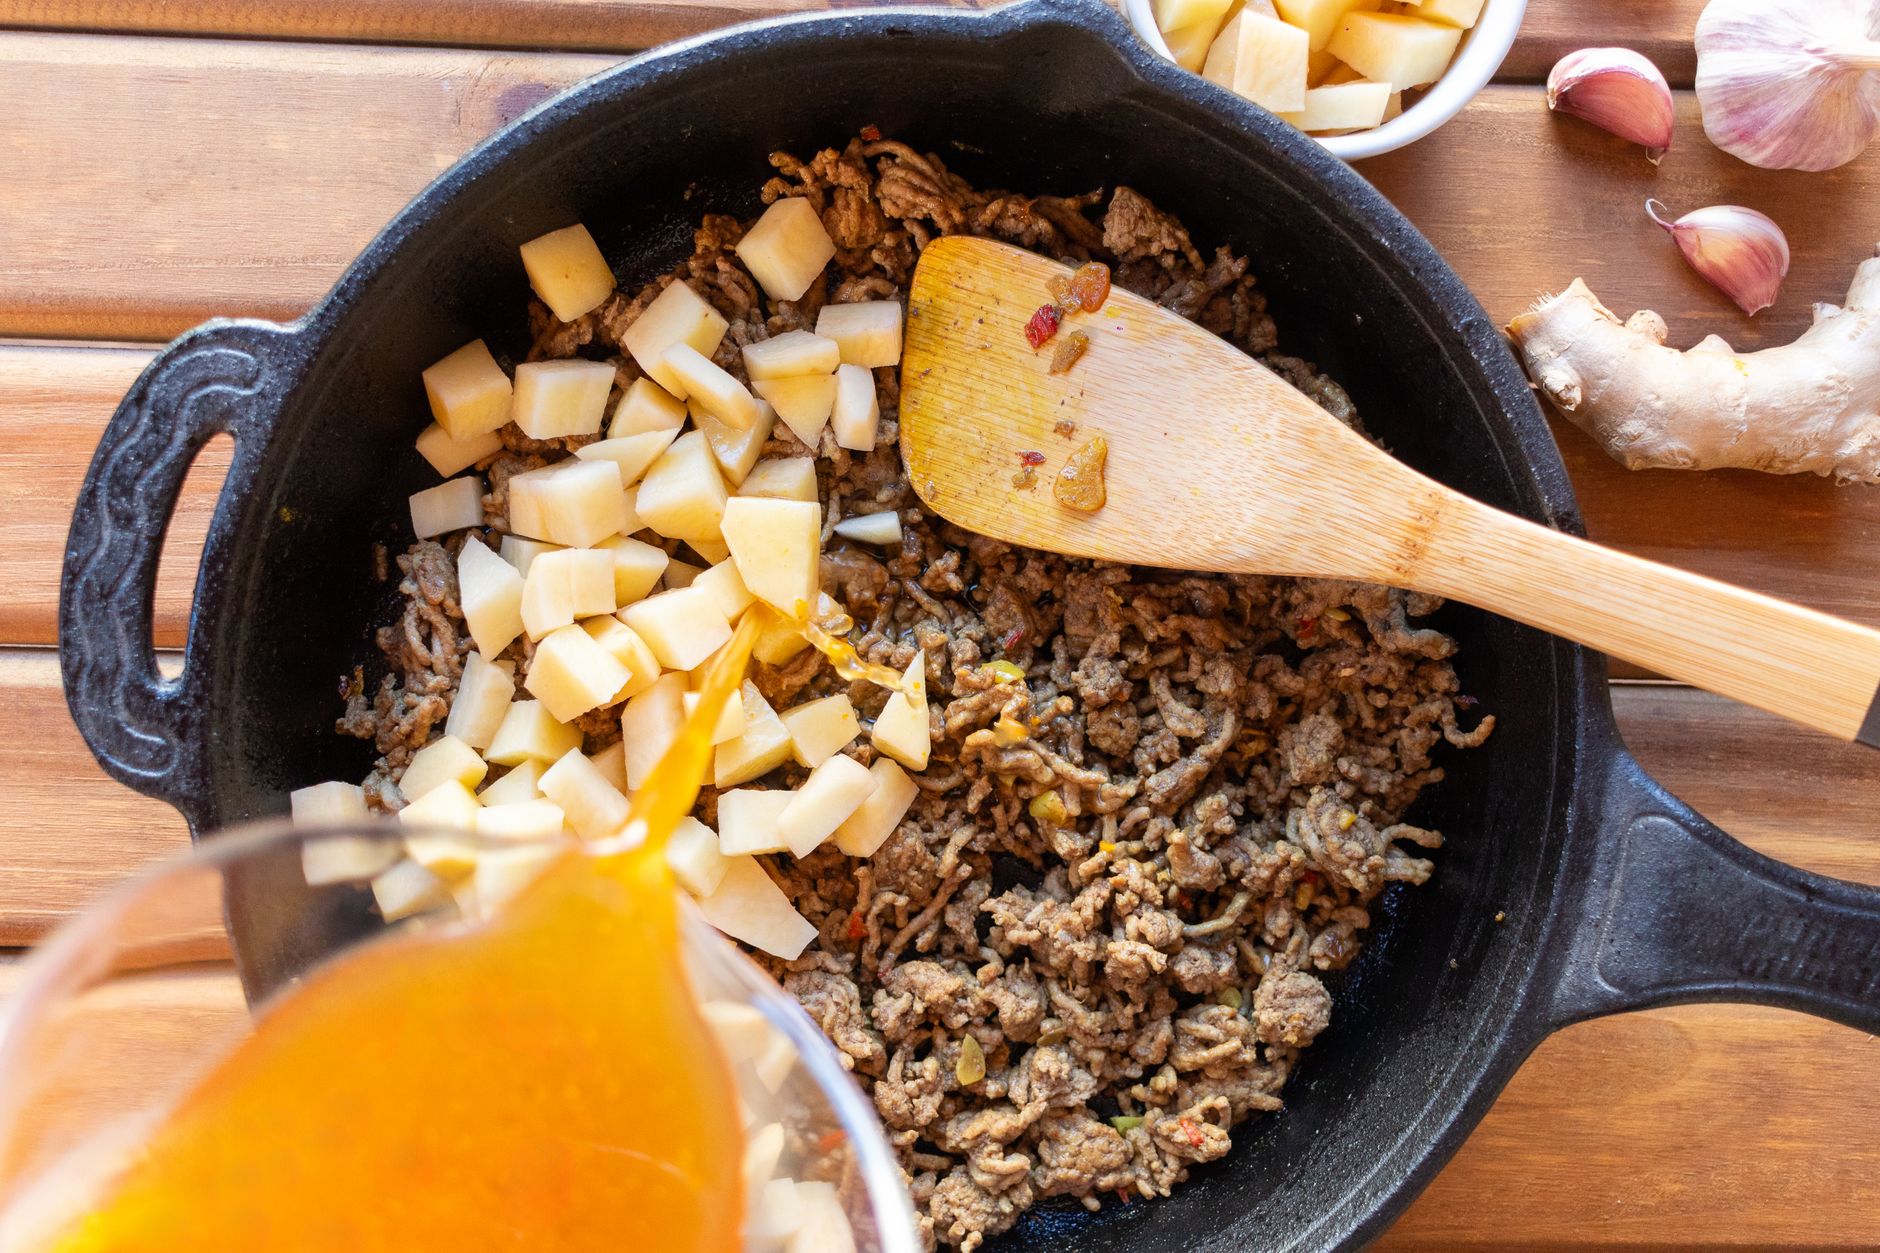
The process unfolds quickly, but each step matters. Start by removing the main ingredient and setting it aside, tented with foil to keep warm and safe from cross-contamination. Pour off excess fat from the pan, leaving just a tablespoon behind for flavor. With the burner set to medium-high, add about 1/4 to 1/2 cup of your chosen deglazing liquid. The pan will hiss and steam as the liquid hits the hot surface. Use a wooden spoon to scrape up every bit of fond, working it into the bubbling liquid. As the liquid reduces by half, the flavors concentrate. This is the moment to add aromatics—minced shallots, garlic, or even a sprig of thyme. Let them sizzle briefly, then swirl in a knob of butter for richness or a spoonful of mustard for tang. Taste and adjust seasoning with salt and pepper. The sauce should be glossy, flavorful, and just thick enough to coat the back of a spoon. For a finishing touch, chopped fresh herbs add brightness and color.
References
Throughout this process, food safety is as important as flavor. After handling raw meat, always wash hands, utensils, and cutting boards with hot, soapy water. Avoid using the same spoon for stirring and tasting. If the cooked protein will be returned to the pan to finish in the sauce, ensure it reaches a safe internal temperature before serving. According to the USDA, poultry and leftovers should be reheated to at least 165°F (73.9°C), while pork, beef, and fish have their own safe temperature guidelines. A quick check with an instant-read thermometer can prevent undercooking and foodborne illness. The FDA’s advice on keeping raw and cooked foods separate, and chilling leftovers promptly, is just as relevant during sauce-making as it is during any other stage of dinner prep. For more on safe kitchen practices, see the FDA’s food safety guidelines (https://www.fda.gov/food/buy-store-serve-safe-food/food-safety-your-kitchen).
With the fond dissolved and the liquid reduced, the sauce is nearly ready. This is the creative part of the evening, where small additions make a big difference. A pat of cold butter whisked in at the end gives the sauce a glossy finish. A spoonful of Dijon mustard or a splash of cream can add body and tang. Fresh herbs, such as parsley or tarragon, brighten the flavor and add a pop of color. Taste the sauce and adjust the seasoning as needed. If the protein is going back into the pan, nestle it into the sauce and let it simmer gently until heated through. For food safety, the USDA recommends that poultry and all leftovers reach an internal temperature of 165°F (73.9°C). For beef, pork, and fish, consult the USDA’s Safe Minimum Internal Temperature Chart (https://www.fsis.usda.gov/food-safety/safe-food-handling-and-preparation/food-safety-basics/safe-temperature-chart). Once the sauce is finished, pour it over the main ingredient or serve it on the side.
Serving and Storing: Make It Count Twice
Dinner is plated, and the sauce is the finishing touch. But the evening isn’t over yet. Leftovers are inevitable, especially with a generous pan sauce. The USDA recommends cooling leftovers quickly and refrigerating within two hours to prevent bacterial growth. Store the sauce and protein in shallow containers to speed cooling. When reheating, bring leftovers to at least 165°F (73.9°C) for safety. The flavor of a pan sauce often improves overnight, making leftovers something to look forward to. For more on safe storage and reheating, see the USDA’s guidelines on leftovers and food safety (https://www.fsis.usda.gov/food-safety/safe-food-handling-and-preparation/food-safety-basics/leftovers-and-food-safety).
Cold Storage and Kitchen Routine
After the meal, attention shifts to storing any remaining sauce or protein. The USDA’s cold food storage charts provide guidance on how long cooked foods can be safely kept in the refrigerator or freezer. Most cooked meats and sauces are best used within three to four days when refrigerated at 40°F (4°C) or below. Freezing extends shelf life, but labeling containers with the date helps keep track. A tidy fridge and proper storage not only prevent waste but also make future meals easier. For more on recommended storage times and temperatures, see https://www.foodsafety.gov/food-safety-charts/cold-food-storage-charts.
Cleanup: The Easiest Scrub of the Night
Deglazing doesn’t just make a great sauce—it makes cleanup easier. Once the fond is lifted and the sauce is poured off, the pan is left nearly spotless. Any remaining residue usually wipes away with a sponge and a little soapy water. There’s no need for overnight soaking or heavy scrubbing. The process turns what could be the most dreaded part of dinner into a quick, satisfying finish. A clean pan and a flavorful sauce are the rewards for a little extra attention during the cooking process.
The Full Evening Arc: From Sear to Sauce to Storage
The sequence of a typical weeknight kitchen session is transformed by the decision to deglaze. The process starts with a hot pan and a well-seared main ingredient, moves through the dramatic addition of deglazing liquid, and ends with a sauce that ties the meal together. Along the way, food safety routines—washing hands, using clean utensils, storing leftovers promptly—are woven into the flow. The result is a meal that’s both delicious and safe, with leftovers that are easy to store and reheat. The fond, once seen as a nuisance, becomes the highlight of the evening. Deglazing is more than a technique; it’s a way to make the most of every ingredient and every minute spent in the kitchen.
Benjamin Shaw covers kitchen skills and meal planning for FeedsAtlas. The writing stays practical: knife setup, heat cues, leftover plans, and shopping from a short list.
Every home cook has faced the heartbreak of pulling a roast or chicken from the oven, only to find it disappointingly dry after resting. The culprit is often carryover cooking—when residual heat keeps raising the internal temperature even after the heat source is off. Mastering this phenomenon lets you hit perfect doneness without overcooking, especially for proteins. This practical guide explains how carryover cooking works, when it matters most, and how to harness it for reliably juicy results, including a detailed chicken breast example.
Every home cook has faced the dilemma: you follow a recipe, add the recommended salt, and still end up with food that’s either bland or bracingly salty. Getting seasoning right isn’t just about quantity—it’s about timing. Salt behaves differently depending on when you add it, and understanding this can mean the difference between a dish that sings and one that disappoints. The usual problems are salting too late, salting only at the end, or treating every food the same. Below: when salt helps, when it just sits on the surface, and how to recover a bland or overly salty pan.
When prepping dinner, the way you hold your knife and set up your cutting board can mean the difference between a safe, enjoyable cooking session and a frustrating, risky one. Home cooks often inherit habits from TV, friends, or family, but not every grip or board placement works for every task or kitchen. Here is how to choose a knife grip and board setup for your space, your ingredients, and your comfort—without treating any one method as universal.
A dull kitchen knife can turn even basic meal prep into a hassle, slowing you down, squashing your tomatoes, and increasing the risk of slips. But do you need to sharpen, or simply hone? The difference is the steel’s alignment versus actually removing metal. Use the right one at the right time so the knife stays safe for onions, chicken, and everything in between.
You’re following a family recipe for dumplings or a new bean dish, and it simply says: 'Cook until done.' But does that mean steam or simmer? Navigating the 'steam vs simmer cooking' question can make the difference between soggy vegetables and crisp-tender perfection, or between a flavorful broth and a bland result. This clear explainer breaks down both techniques, when to choose each, and how to adapt when instructions are ambiguous—using a real-world example with broccoli. Food safety and best practices are woven throughout, so you can confidently interpret even the vaguest recipe instructions.
Every home cook knows the frustration of food that sticks, steams, or scorches because the pan wasn’t hot enough—or was far too hot—before the first ingredient hit. But how hot should a pan be? Even without a thermometer, your eyes and ears can tell you plenty. Watch the oil, listen for the first sizzle, and use those cues for sautéing, searing, and stir-frying so you are not guessing every time.