A Stable Knife Grip and Board Setup for Home Cooks
Benjamin Shaw··13 min read
When prepping dinner, the way you hold your knife and set up your cutting board can mean the difference between a safe, enjoyable cooking session and a frustrating, risky one. Home cooks often inherit habits from TV, friends, or family, but not every grip or board placement works for every task or kitchen. Here is how to choose a knife grip and board setup for your space, your ingredients, and your comfort—without treating any one method as universal.
Every home cook faces the same split-second decision: do you quickly chop onions the way you always have, or pause to check your grip and cutting board? The answer impacts not just your speed, but your safety and the quality of your food. Using an unstable grip or a slippery board can lead to accidents, uneven cuts, and even cross-contamination. Instead of defaulting to habit, it’s worth learning how to choose the right knife grip and board setup for each job. The right combination can help prevent slips, reduce fatigue, and improve both efficiency and enjoyment in the kitchen. It also plays a critical role in maintaining food safety, since the way you handle your tools and workspace can either minimize or increase the risk of foodborne illness. Recognizing the importance of this decision is the first step toward safer, more effective home cooking.
The Basics: Pinch Grip vs. Handle Grip
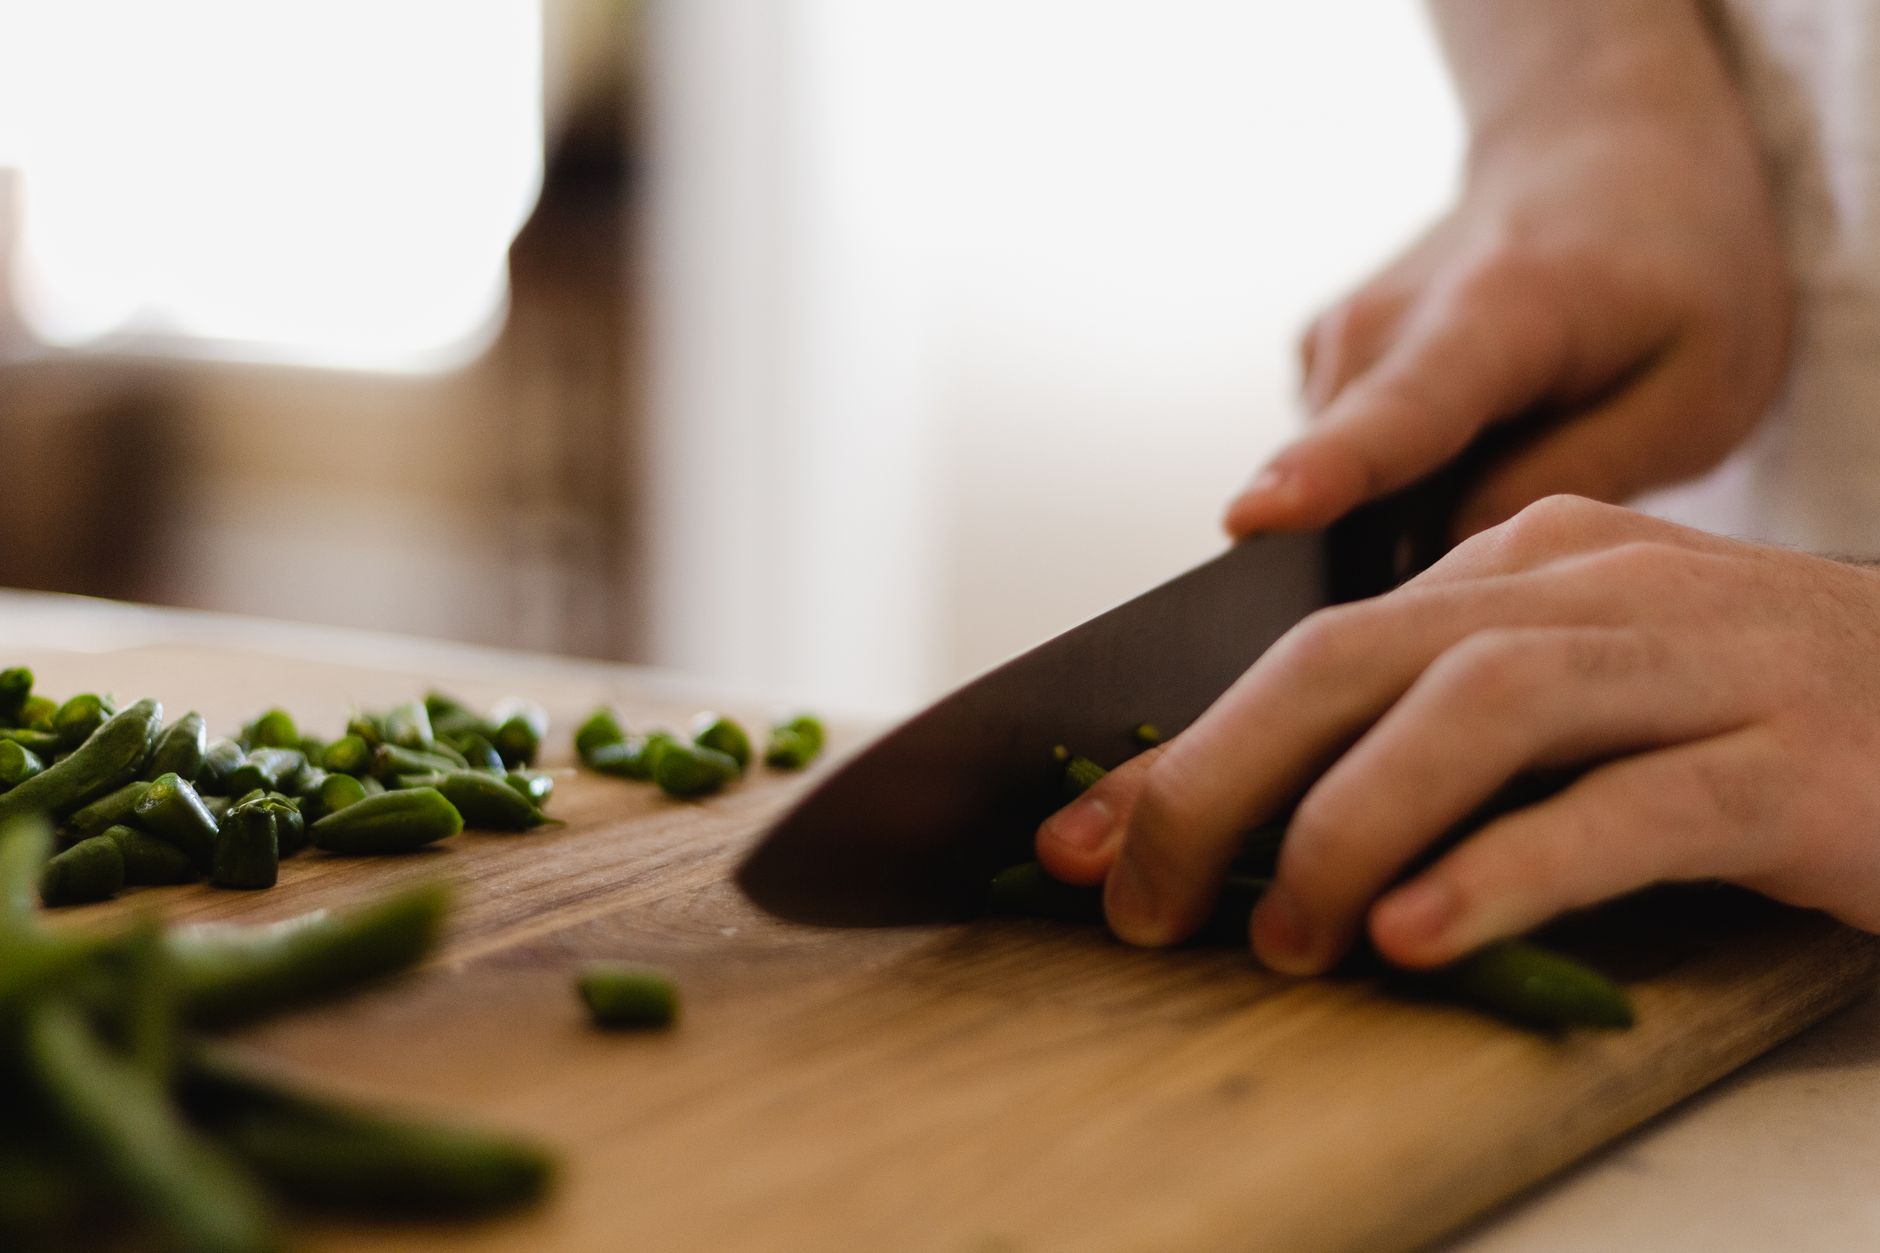
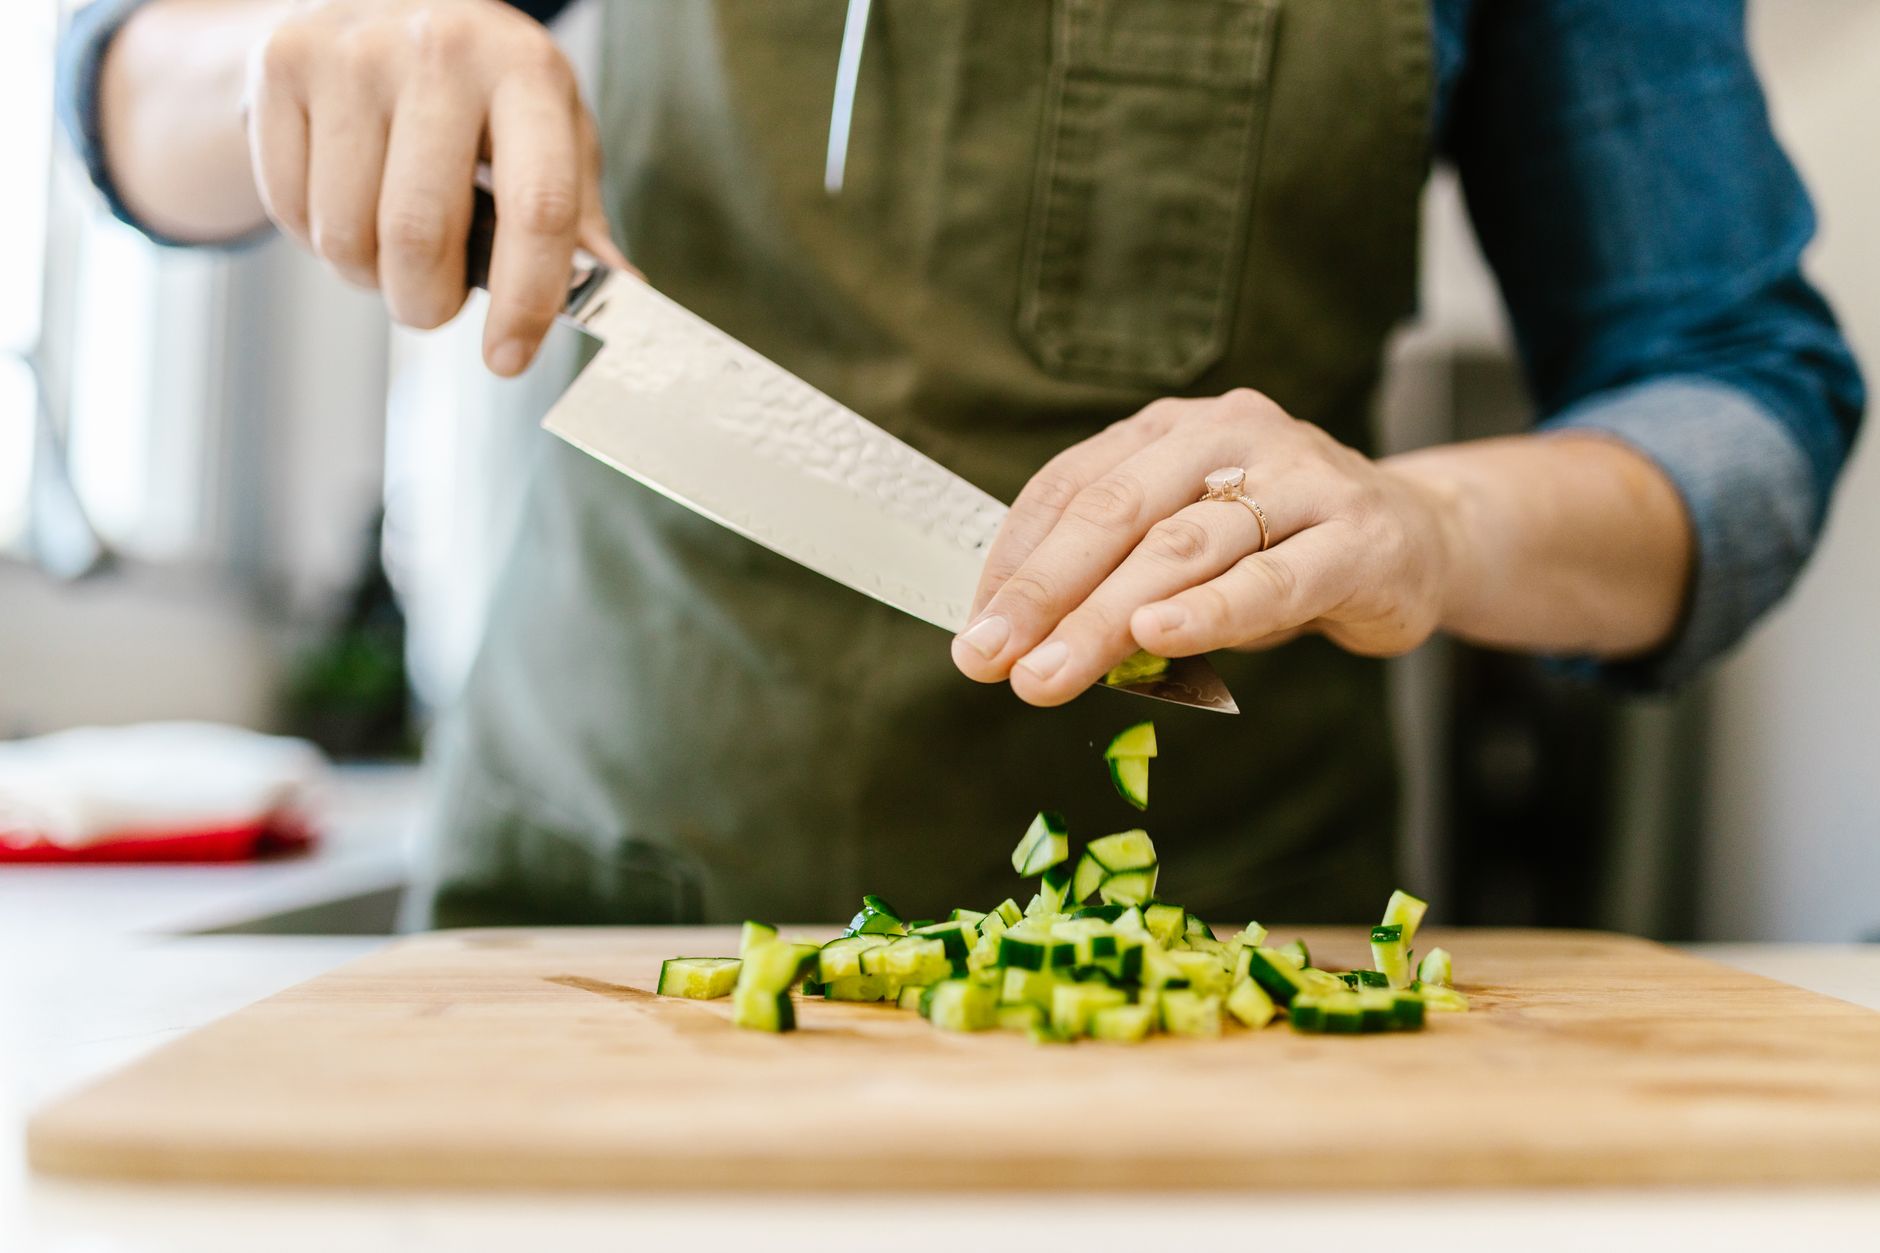
The two most common ways to hold a chef’s knife are the pinch grip and the handle grip. The pinch grip—where you pinch the blade just above the handle between your thumb and forefinger—offers superior control for most slicing and dicing. The handle grip—where all fingers wrap around the handle—can feel more natural for those new to knives or with smaller hands.
Choose a pinch grip if you’re chopping vegetables, mincing herbs, or want precise, fast cuts. Use a handle grip for heavier tasks like splitting squash, or if you’re uncomfortable with fingers near the blade. The grip you choose should feel secure and allow a relaxed wrist, reducing fatigue during long prep sessions.
If you notice your hand tiring quickly or your cuts becoming uneven, it may be time to adjust your grip. For those with arthritis or hand weakness, a handle grip or even a specialized ergonomic knife may be preferable. The key is to match your grip to both the task and your physical comfort, rather than sticking to a single approach for all situations. This flexibility can make prep work safer and more enjoyable.
Cutting Board Selection: Material and Size
Plastic, wood, and bamboo are the main choices for cutting boards. Plastic boards can be sanitized in the dishwasher, making them a good pick for raw meats. Wood boards are gentle on knives and stable for produce and bread, but require hand-washing and thorough drying to prevent warping. Bamboo is light and eco-friendly, but can be hard on knife edges.
When prepping raw proteins, always use a separate board from produce to reduce cross-contamination risk. For more on ingredient handling, see U.S. FDA, Selecting and Serving Produce Safely: https://www.fda.gov/food/buy-store-serve-safe-food/selecting-and-serving-produce-safely.
Size matters, too. A board that’s too small can crowd your workspace, leading to spills or accidental cuts. A larger board provides more room to work and is especially useful when prepping multiple ingredients. However, if your kitchen is small or your sink can’t accommodate a large board for washing, a medium-sized board may be more practical. Consider your typical meal prep: if you often cook for a crowd or batch-cook ingredients, a bigger board can save time and effort. For single servings or small kitchens, a compact board may be easier to manage and clean.
Stabilizing Your Board: When and How
A sliding board is a leading cause of kitchen injuries. If your board moves at all, pause and stabilize it. For most home kitchens, placing a damp kitchen towel or a sheet of non-slip matting under the board is fast and effective. If your countertop is especially slick or you’re working with force (like breaking down a squash), always use a grippy base. If your board is already heavy and stable, or if you’re only slicing soft produce, you may not need extra stabilization—but check before each session.
For those who frequently prep on granite, marble, or other polished surfaces, non-slip mats are almost always necessary. If you’re working outdoors or on an uneven table, stabilization becomes even more important. Even a heavy wooden board can shift if the surface underneath is wet or oily. The best approach is to check the stability of your board before every prep session. If you notice any movement, take a moment to fix it—this small step can prevent serious accidents.
Matching Knife Grip to Task
Not every chopping job calls for the same grip. Use a pinch grip for tasks that benefit from precision—think thinly sliced onions or julienned carrots. Switch to a handle grip for heavy-duty chopping, such as when splitting a watermelon or cutting through hard winter squash. If you’re feeling hand fatigue, try swapping grips or taking a break. For delicate herbs or garlic, a pinch grip gives the best control and minimizes bruising.
Consider the size and texture of your ingredients. A pinch grip excels with small, slippery items like cherry tomatoes or mushrooms, where control is crucial. For large, dense foods—such as cabbage or butternut squash—a handle grip allows you to apply more force safely. If you’re slicing bread or cake, a relaxed handle grip combined with a serrated knife helps maintain even pressure and prevents crushing. The right grip can also help you avoid repetitive strain injuries, especially if you spend long periods prepping food. If you switch tasks frequently, don’t hesitate to adjust your grip to match each new ingredient.
Board Placement: Height and Orientation
Set your cutting board at a comfortable height—ideally, your forearm should be parallel to the board when your elbow is at your side. If your countertop is too high, consider a lower table or a board with feet. Place the board parallel to the edge of your workspace for most tasks, but angle it if you need more reach or are working with large items. Always keep the board’s work surface clear of clutter to avoid accidental slips.
The height of your board affects not only comfort but also safety. Working at an awkward angle can lead to poor control and increase the risk of injury. If you’re shorter or taller than average, you may need to adjust your setup with a step stool or by using a thicker or thinner board. Orientation matters, too: for long vegetables like leeks or celery, turning the board so the length runs perpendicular to your body can make slicing easier and safer. For tasks that require sweeping food off the board into a pot, position the board close to the stove or sink to minimize spills and reduce the distance you need to carry sharp tools.
A good knife grip and board setup go hand-in-hand with food safety. Wash boards with hot, soapy water after each use—especially after cutting raw meat, poultry, or seafood. Use separate boards for raw proteins and ready-to-eat foods to avoid cross-contamination. Dry boards thoroughly before storing to prevent bacterial growth. For produce, always wash under running water before cutting, as recommended by the U.S. FDA (https://www.fda.gov/food/buy-store-serve-safe-food/selecting-and-serving-produce-safely).
If you need to thaw frozen proteins before prepping, avoid leaving them on the counter. According to USDA guidance (https://www.fsis.usda.gov/food-safety/safe-food-handling-and-preparation/food-safety-basics/big-thaw-safe-defrosting-methods), safe thawing methods include the refrigerator, cold water, or the microwave—never at room temperature. This prevents the growth of harmful bacteria that can transfer to your cutting board and knife.
After handling raw meat or eggs, wash your hands and any surfaces or tools that came into contact with them. For deep grooves or cracks in boards, replace them, as bacteria can hide in these spots even after washing. Store knives and boards in a dry, clean place to prevent contamination and prolong their lifespan. For additional guidance, see FoodSafety.gov, Keep Food Safe: https://www.foodsafety.gov/keep-food-safe.
Maintaining Your Tools for Safety
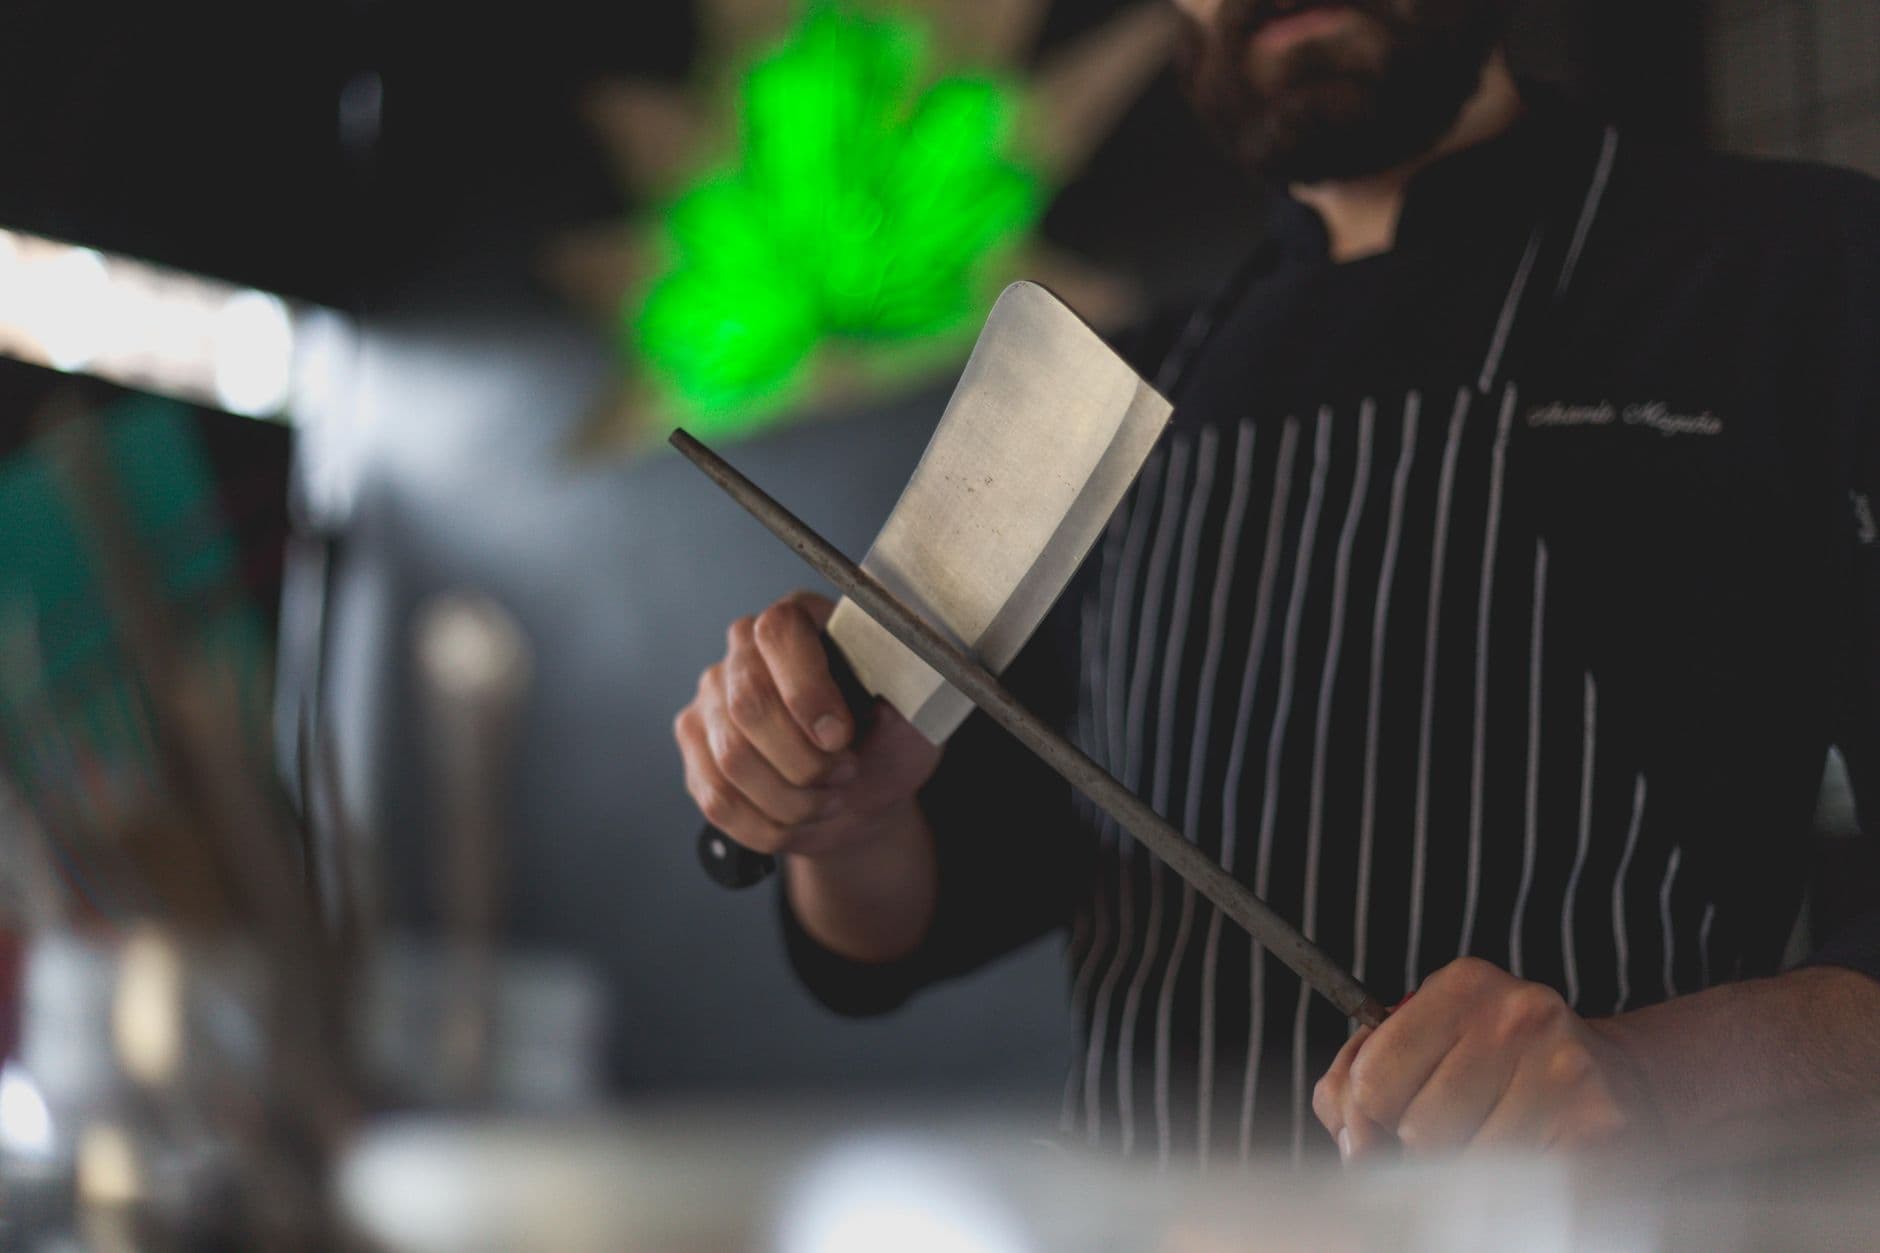
A dull knife is more dangerous than a sharp one—it requires more force, increasing the risk of slipping. Hone your knife regularly, and sharpen as needed. Boards should be replaced if they develop deep grooves that can harbor bacteria. Check boards for cracks or warping, especially after washing.
Proper maintenance extends beyond knives and boards. If you use a honing steel, do so before each prep session to keep the edge aligned. For sharpening, follow the manufacturer’s instructions or consult a professional if you’re unsure. Clean knives immediately after use and dry them thoroughly to prevent rust and corrosion. For boards, especially wood, apply mineral oil occasionally to prevent drying and cracking. Avoid soaking wooden boards or putting them in the dishwasher, as this can cause warping and splitting. For plastic boards, inspect regularly for knife scars; once grooves become deep, replace the board to maintain food safety.
For more detailed advice on home food safety and tool care, see University of Minnesota Extension: https://extension.umn.edu/food-safety.
When to Reconsider Your Setup
If you notice hand strain, inconsistent cuts, or frequent slips, it may be time to adjust your knife grip or board setup. Changing ingredients, new tools, or even a different kitchen surface can all require tweaks. Listen to your body—comfort and control are your best safety guides. Don’t hesitate to switch grips or reposition your board mid-task if something feels off.
Other signs that it’s time to rethink your setup include difficulty cleaning your board, persistent odors, or visible stains that don’t wash out. If your board warps or rocks on the counter, replace it or use a stabilizer. If your knife feels unbalanced or too heavy, try a different model or adjust your grip. For those who cook with children or people with limited mobility, consider adaptive tools and non-slip mats to make prep work safer. Regularly reassess your kitchen habits and tools to ensure they still meet your needs as your cooking style evolves.
Making Decisions: Choosing the Right Method for You
Choosing the best knife grip and board setup is about matching the method to your specific needs, not following a universal rule. For tasks requiring precision, such as fine dicing or chiffonade, a pinch grip and a stable, medium-to-large board offer the best control. For heavy-duty chopping, a handle grip and a thick, non-slip board provide safety and leverage.
If your kitchen is compact, prioritize a board that fits your sink and storage space, and consider a lightweight knife that’s easy to handle. For those who prep large quantities or entertain often, invest in a larger board and a heavier, well-balanced knife. When preparing both raw proteins and fresh produce, keep at least two boards—one for each—to minimize cross-contamination.
Food safety should always be part of the decision-making process. Clean and sanitize boards and knives after each use, especially when switching between raw and cooked foods. Store tools in a way that keeps them dry and accessible. If you’re ever unsure about the safety of your setup, consult reputable sources like the FDA, USDA, or your local extension service for guidance. By tailoring your approach to your kitchen, ingredients, and comfort, you can cook more safely and efficiently.
Benjamin Shaw covers kitchen skills and meal planning for FeedsAtlas. The writing stays practical: knife setup, heat cues, leftover plans, and shopping from a short list.
Every home cook has faced the heartbreak of pulling a roast or chicken from the oven, only to find it disappointingly dry after resting. The culprit is often carryover cooking—when residual heat keeps raising the internal temperature even after the heat source is off. Mastering this phenomenon lets you hit perfect doneness without overcooking, especially for proteins. This practical guide explains how carryover cooking works, when it matters most, and how to harness it for reliably juicy results, including a detailed chicken breast example.
Every home cook has faced the dilemma: you follow a recipe, add the recommended salt, and still end up with food that’s either bland or bracingly salty. Getting seasoning right isn’t just about quantity—it’s about timing. Salt behaves differently depending on when you add it, and understanding this can mean the difference between a dish that sings and one that disappoints. The usual problems are salting too late, salting only at the end, or treating every food the same. Below: when salt helps, when it just sits on the surface, and how to recover a bland or overly salty pan.
A dull kitchen knife can turn even basic meal prep into a hassle, slowing you down, squashing your tomatoes, and increasing the risk of slips. But do you need to sharpen, or simply hone? The difference is the steel’s alignment versus actually removing metal. Use the right one at the right time so the knife stays safe for onions, chicken, and everything in between.
You’re following a family recipe for dumplings or a new bean dish, and it simply says: 'Cook until done.' But does that mean steam or simmer? Navigating the 'steam vs simmer cooking' question can make the difference between soggy vegetables and crisp-tender perfection, or between a flavorful broth and a bland result. This clear explainer breaks down both techniques, when to choose each, and how to adapt when instructions are ambiguous—using a real-world example with broccoli. Food safety and best practices are woven throughout, so you can confidently interpret even the vaguest recipe instructions.
Every home cook faces the moment when a pan, once bustling with sizzling meat or vegetables, is left with stubborn brown bits stuck to the bottom. These aren’t burnt mistakes—they’re packed with flavor, waiting to be transformed into a sauce that elevates the entire meal. Learning how to deglaze a pan is a practical, kitchen-saving skill that turns cleanup into dinner’s final flourish. Here’s how to make those golden remnants work for you, step by step, on a typical weeknight.
Every home cook knows the frustration of food that sticks, steams, or scorches because the pan wasn’t hot enough—or was far too hot—before the first ingredient hit. But how hot should a pan be? Even without a thermometer, your eyes and ears can tell you plenty. Watch the oil, listen for the first sizzle, and use those cues for sautéing, searing, and stir-frying so you are not guessing every time.