When to Salt During Cooking So Food Tastes Seasoned, Not Salty
Benjamin Shaw··11 min read
Every home cook has faced the dilemma: you follow a recipe, add the recommended salt, and still end up with food that’s either bland or bracingly salty. Getting seasoning right isn’t just about quantity—it’s about timing. Salt behaves differently depending on when you add it, and understanding this can mean the difference between a dish that sings and one that disappoints. The usual problems are salting too late, salting only at the end, or treating every food the same. Below: when salt helps, when it just sits on the surface, and how to recover a bland or overly salty pan.
Nearly every home cook has experienced it: you follow the recipe, add the called-for salt, and yet your finished dish tastes flat. Or, you try to compensate, and suddenly your dinner is too salty to enjoy. This isn’t just about the amount of salt—it’s about when you add it. Understanding the timing of salt can be the difference between food that’s deeply seasoned and food that just tastes salty on the surface. Let’s break down where things usually go wrong, and how you can get it right.
Why Timing Matters More Than You Think
Salt does more than just make things taste salty. It draws out moisture, changes texture, and enhances flavors. When you add it at different stages of cooking, it interacts with your ingredients in unique ways. Add it too late, and it sits on the surface. Add it too early, and you might lose its impact—or worse, toughen proteins or draw out too much water. Knowing when to salt is as important as knowing how much. The way salt dissolves and disperses is affected by temperature, moisture, and the structure of the food. For example, adding salt to raw vegetables before roasting helps draw out water and concentrate flavor, but adding it to already-cooked vegetables only seasons the surface. In stews and soups, salt added at the start will mingle and deepen as the liquid simmers, but salt added at the end can taste harsh or uneven.
Common Failure Modes: Where Salting Goes Wrong
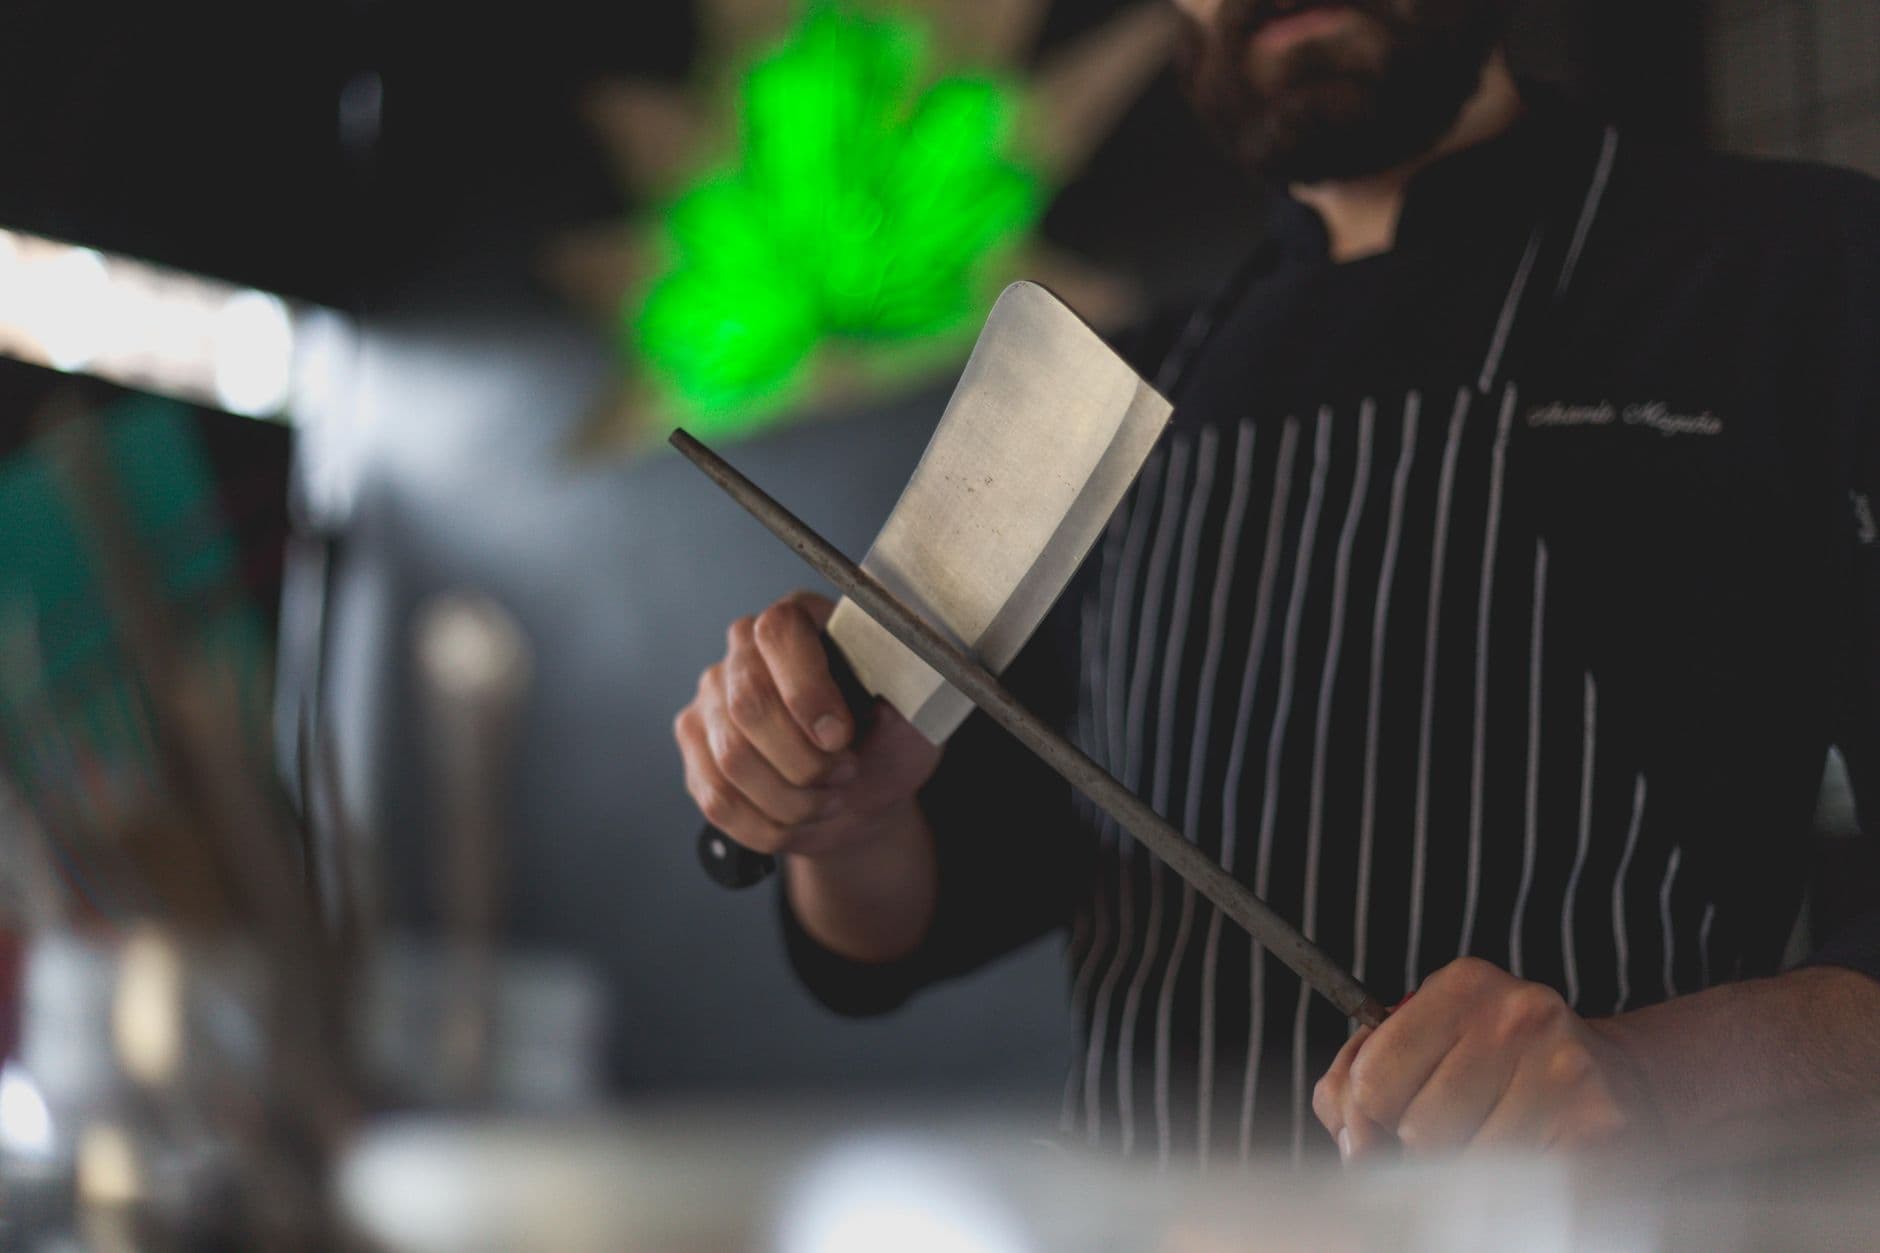
Bland food after following a recipe? You probably salted too late, or only at the end. Overly salty stew? Likely you salted early, then reduced the sauce, concentrating the salt. Mushy vegetables? Salted too soon, drawing out water before cooking. Tough meat? Salted too far ahead, changing its texture. Recognizing these patterns helps you avoid repeating them. Sometimes, cooks try to fix blandness by adding more salt at the table, but this often just creates a salty crust without improving the overall flavor. Another common mistake is not accounting for salty ingredients like cheese, cured meats, or broth—these can push a dish over the edge if you salt as if starting from zero. For knife prep and setup tips, see /posts/knife-grip-board-setup.
Salting Vegetables: Before, During, or After?
Vegetables respond differently to salt depending on their water content and cooking method. For raw salads, salt just before serving so the salt doesn’t draw out too much water. For sautéed or roasted vegetables, salt early so it has time to draw out moisture and intensify flavor as they cook. But if you salt delicate greens or cucumbers too far in advance, you’ll end up with limp, watery results. Hearty vegetables like potatoes, carrots, and squash benefit from early salting, as it helps them season all the way through. For grilled or broiled vegetables, salt before cooking to promote caramelization. Always wash produce thoroughly before seasoning, as recommended by the U.S. FDA for safe handling: https://www.fda.gov/food/buy-store-serve-safe-food/selecting-and-serving-produce-safely. Unwashed produce can harbor bacteria or dirt, which no amount of salt will fix. Another pitfall: not drying vegetables after washing. Wet surfaces prevent salt from sticking, so pat produce dry before seasoning.
Proteins: When to Salt Meat, Fish, and Eggs
For meats, salting ahead allows the salt to penetrate and season deeply. Sprinkle salt on chicken or steak 15–40 minutes before cooking for best results, or even longer for larger cuts. Too early (hours) can dry some proteins, unless you’re intentionally dry-brining. For eggs, salt just before or during cooking—adding salt to raw eggs too early can make them watery. For fish, salt just before cooking to avoid drawing out excess moisture and toughening the flesh. A frequent error is salting meat right before it goes into a hot pan, then not giving it time to absorb. This can lead to uneven seasoning and a salty exterior. Another mistake: forgetting that brined or cured meats (like ham or bacon) already contain salt. For ground meats, mixing salt in before forming patties or meatballs helps with texture and flavor, but overmixing can make them tough. When marinating, be aware that salty marinades can draw out moisture if left too long, especially with delicate proteins like fish or shrimp.
Soups, Stews, and Sauces: The Risk of Concentration
Salting at the start of a soup or stew helps flavors meld, but remember: as liquids reduce, salt concentrates. If you salt to taste early, you may end up with an overseasoned pot after simmering. Instead, add a little at the beginning, taste as it cooks, and adjust near the end. For pasta water, salt generously at the start so the noodles absorb flavor—see /posts/pasta-water-weeknight-sauce for more on this technique. Another trap: not accounting for evaporation. A sauce that tastes perfect before simmering can become too salty after reducing by half. When adding salty ingredients like soy sauce, olives, or cheese, wait until these are in the pot before making final seasoning adjustments. If using store-bought broth, taste it first—many are already salty. Adding salt blindly can ruin the balance.
When cooking rice, beans, or lentils, salt the water at the start. This helps the grains or legumes absorb seasoning as they hydrate, making the interior taste as good as the exterior. Adding salt only at the end leaves the centers bland. If using canned beans, rinse and drain first to control salt levels, then season during reheating. A common misconception is that salt toughens beans and prevents them from softening. In reality, moderate salting actually helps beans cook more evenly and taste better. For grains like quinoa, bulgur, or farro, salting the cooking water is the only chance to get flavor inside. Skipping this step leads to bland results, no matter how much salt is added later. When reheating cooked grains, add a splash of water and a pinch of salt to restore flavor lost during storage.
Fixing Mistakes: If Food is Bland or Too Salty
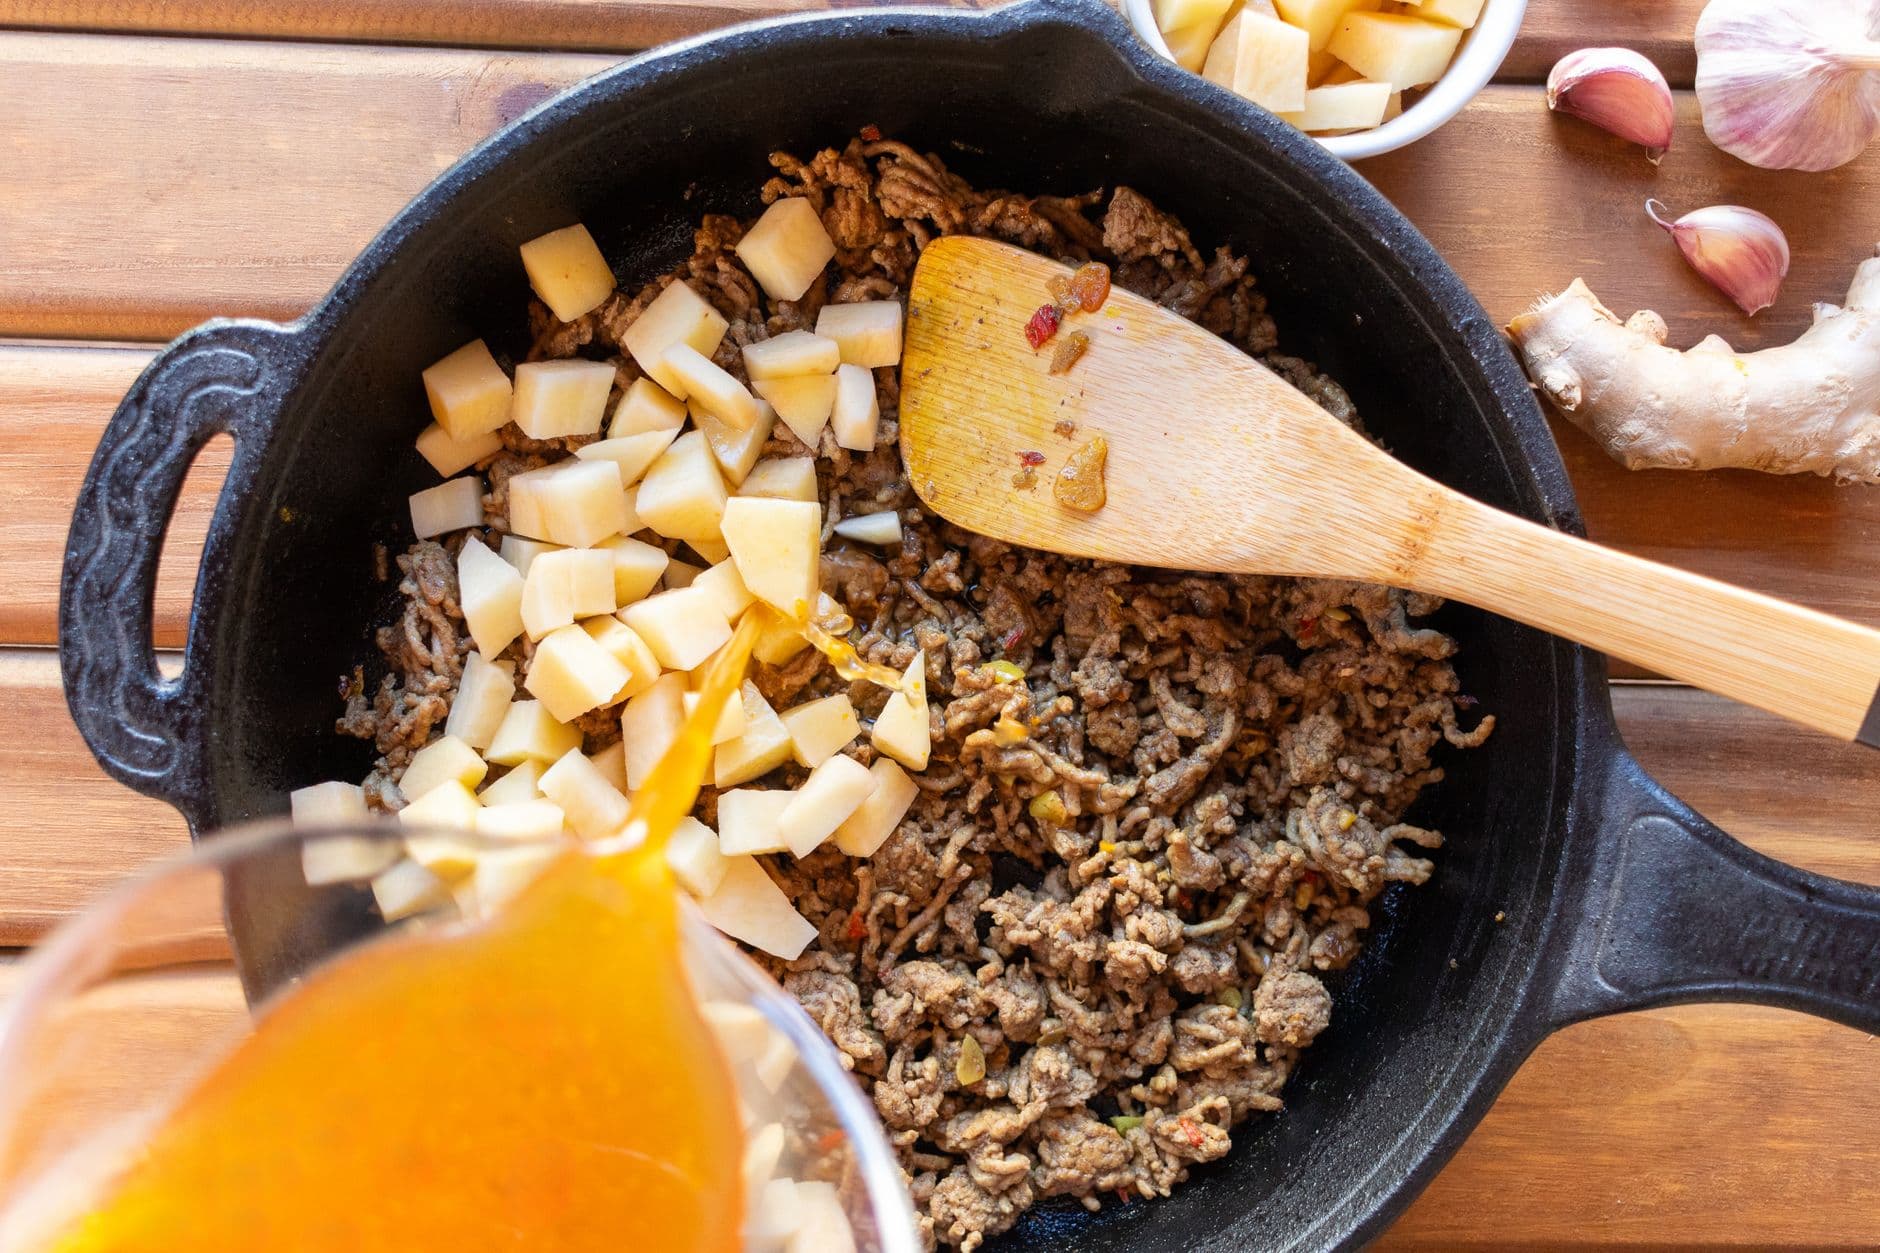
If your finished dish is bland, add a pinch of salt and stir, but remember: surface salt never penetrates as deeply as salt added earlier. For soups or stews, you can dissolve salt in a bit of cooking liquid, then stir it back in for more even distribution. If you’ve over-salted, dilute with unsalted broth, water, or add more unsalted ingredients. Acid (lemon juice or vinegar) can help mask excess salt, but can’t remove it. Always taste before serving. Starch can also help: add a peeled potato to an over-salted soup and simmer, then remove it after 15–20 minutes. The potato will absorb some salt, but this is not a cure-all. For casseroles or baked dishes, layering in unsalted cooked grains or vegetables can help balance the salt. If a sauce is too salty, try serving it with unsalted rice or bread to spread out the saltiness. When in doubt, portion out the dish and adjust each serving at the table.
Seasoning isn’t just a final flourish. When you salt, and how, matters as much as what you’re cooking. Pay attention to timing: early for deep seasoning, late for surface flavor, and always adjust as you go. With practice, you’ll spot failure modes before they happen—and your food will taste seasoned, not just salty. Taste early and often, and don’t rely solely on recipes for salt amounts. Factors like ingredient freshness, water content, and even cookware can affect how salt is absorbed. Over time, you’ll learn to judge by taste, not just by measurement. The key is to avoid panic—most salting mistakes can be fixed or at least improved with a thoughtful approach. Treat salt as a tool, not a crutch, and your cooking will improve with every meal.
Benjamin Shaw covers kitchen skills and meal planning for FeedsAtlas. The writing stays practical: knife setup, heat cues, leftover plans, and shopping from a short list.
Every home cook has faced the heartbreak of pulling a roast or chicken from the oven, only to find it disappointingly dry after resting. The culprit is often carryover cooking—when residual heat keeps raising the internal temperature even after the heat source is off. Mastering this phenomenon lets you hit perfect doneness without overcooking, especially for proteins. This practical guide explains how carryover cooking works, when it matters most, and how to harness it for reliably juicy results, including a detailed chicken breast example.
When prepping dinner, the way you hold your knife and set up your cutting board can mean the difference between a safe, enjoyable cooking session and a frustrating, risky one. Home cooks often inherit habits from TV, friends, or family, but not every grip or board placement works for every task or kitchen. Here is how to choose a knife grip and board setup for your space, your ingredients, and your comfort—without treating any one method as universal.
A dull kitchen knife can turn even basic meal prep into a hassle, slowing you down, squashing your tomatoes, and increasing the risk of slips. But do you need to sharpen, or simply hone? The difference is the steel’s alignment versus actually removing metal. Use the right one at the right time so the knife stays safe for onions, chicken, and everything in between.
You’re following a family recipe for dumplings or a new bean dish, and it simply says: 'Cook until done.' But does that mean steam or simmer? Navigating the 'steam vs simmer cooking' question can make the difference between soggy vegetables and crisp-tender perfection, or between a flavorful broth and a bland result. This clear explainer breaks down both techniques, when to choose each, and how to adapt when instructions are ambiguous—using a real-world example with broccoli. Food safety and best practices are woven throughout, so you can confidently interpret even the vaguest recipe instructions.
Every home cook faces the moment when a pan, once bustling with sizzling meat or vegetables, is left with stubborn brown bits stuck to the bottom. These aren’t burnt mistakes—they’re packed with flavor, waiting to be transformed into a sauce that elevates the entire meal. Learning how to deglaze a pan is a practical, kitchen-saving skill that turns cleanup into dinner’s final flourish. Here’s how to make those golden remnants work for you, step by step, on a typical weeknight.
Every home cook knows the frustration of food that sticks, steams, or scorches because the pan wasn’t hot enough—or was far too hot—before the first ingredient hit. But how hot should a pan be? Even without a thermometer, your eyes and ears can tell you plenty. Watch the oil, listen for the first sizzle, and use those cues for sautéing, searing, and stir-frying so you are not guessing every time.