A dull kitchen knife can turn even basic meal prep into a hassle, slowing you down, squashing your tomatoes, and increasing the risk of slips. But do you need to sharpen, or simply hone? The difference is the steel’s alignment versus actually removing metal. Use the right one at the right time so the knife stays safe for onions, chicken, and everything in between.
The Everyday Dilemma: Dull Knife, Frustrating Prep
Reaching for a chef’s knife only to have it slip and crush a tomato is a common frustration. Dull knives slow down prep, make even simple cuts unpredictable, and raise the risk of accidental slips. Many home cooks aren’t sure whether to sharpen or hone, and confusion about the difference can lead to neglected knives or improper maintenance. Understanding the distinction between honing and sharpening is key to safer, more efficient cooking and can extend the lifespan of your kitchen tools. A well-maintained knife not only makes prep easier but also helps ensure cleaner, more precise cuts, whether dicing onions, slicing chicken, or prepping produce.
Honing vs Sharpening: What’s Actually Happening?
Honing and sharpening are often used interchangeably, but they serve distinct purposes. Honing realigns the edge of the blade, correcting microscopic bends and keeping the edge straight. This process does not remove significant metal; instead, it maintains the knife’s existing sharpness by straightening the edge that has folded over from regular use. Sharpening, on the other hand, removes metal from the blade to create a new, sharp edge. This is accomplished with abrasive tools such as whetstones or pull-through sharpeners. Think of honing as a tune-up and sharpening as a full repair. Both are essential for keeping knives performing at their best, but they are not substitutes for each other.
How to Tell if Your Knife Needs Honing or Sharpening
Testing your knife’s sharpness can help determine whether honing or sharpening is needed. If the knife feels dull but still cuts with increased effort, honing is often sufficient. If honing fails to restore the edge, or if the blade has visible nicks, it’s time to sharpen. A simple paper test can help: Hold a sheet of printer paper upright and try to slice down. A properly honed and sharp knife should cut cleanly. If the blade catches, tears, or slips, sharpening is likely needed. For produce, a sharp knife should glide through tomato skin without crushing. If you find yourself sawing or pressing hard, maintenance is overdue.
Honing: The Quick Fix for Everyday Use
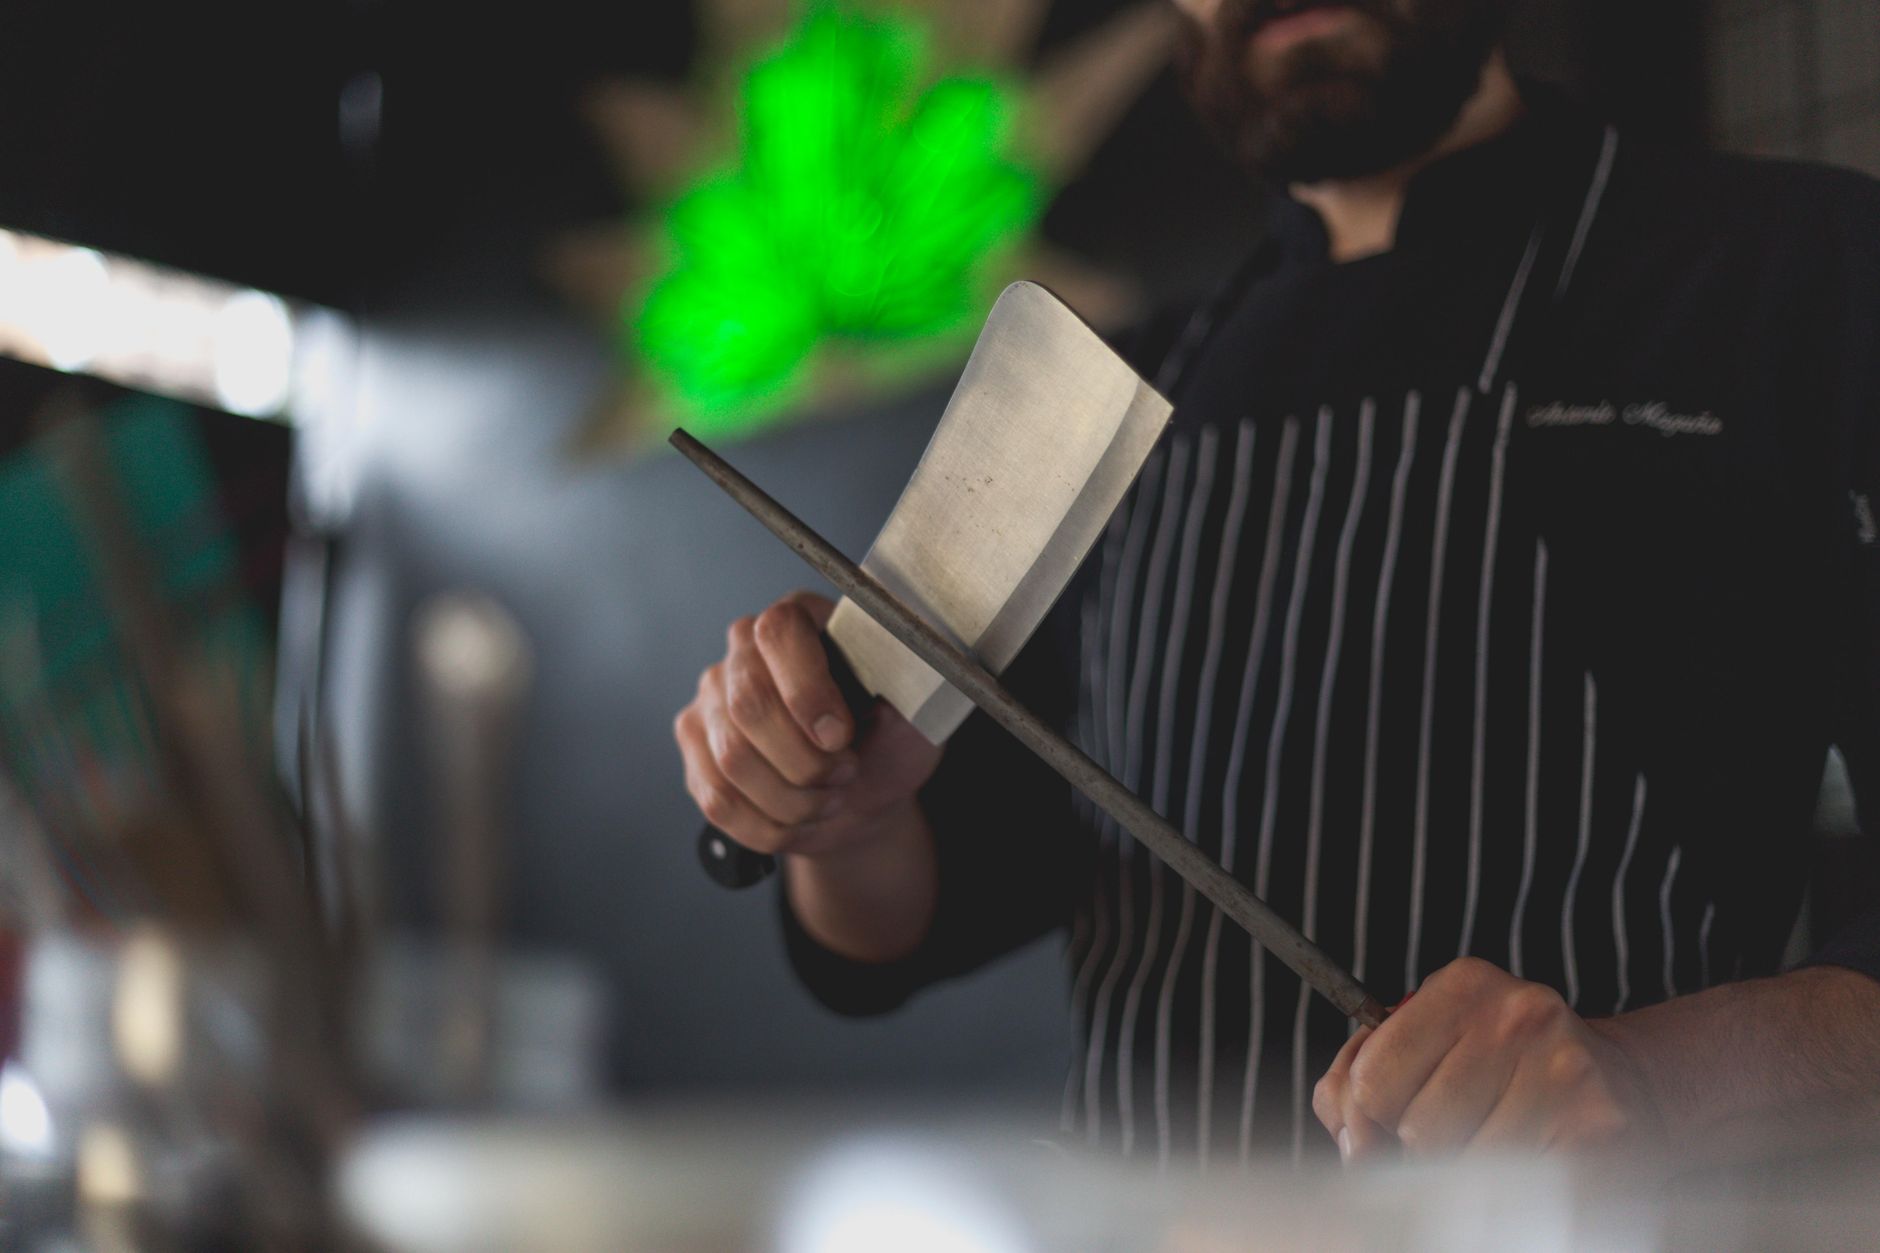
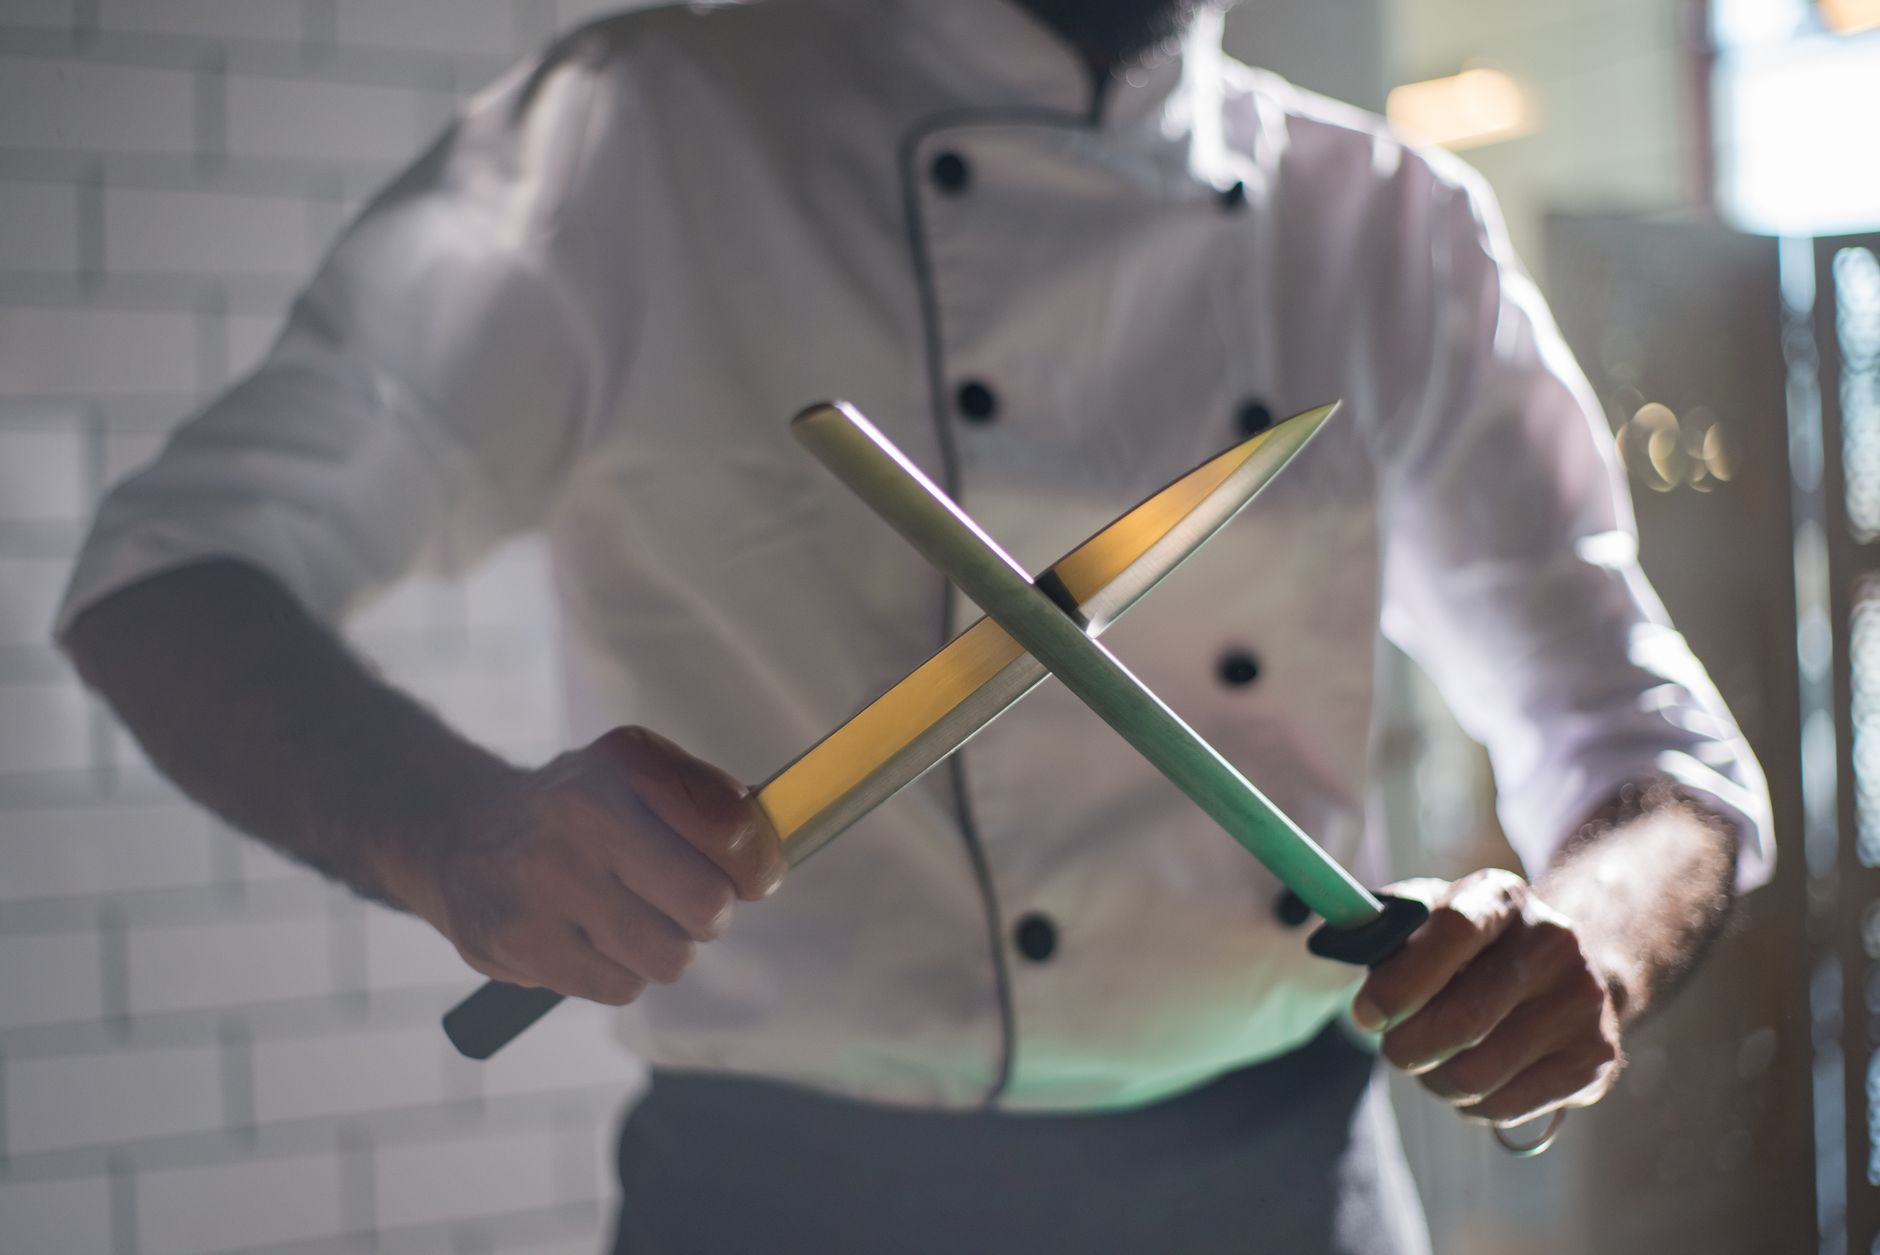
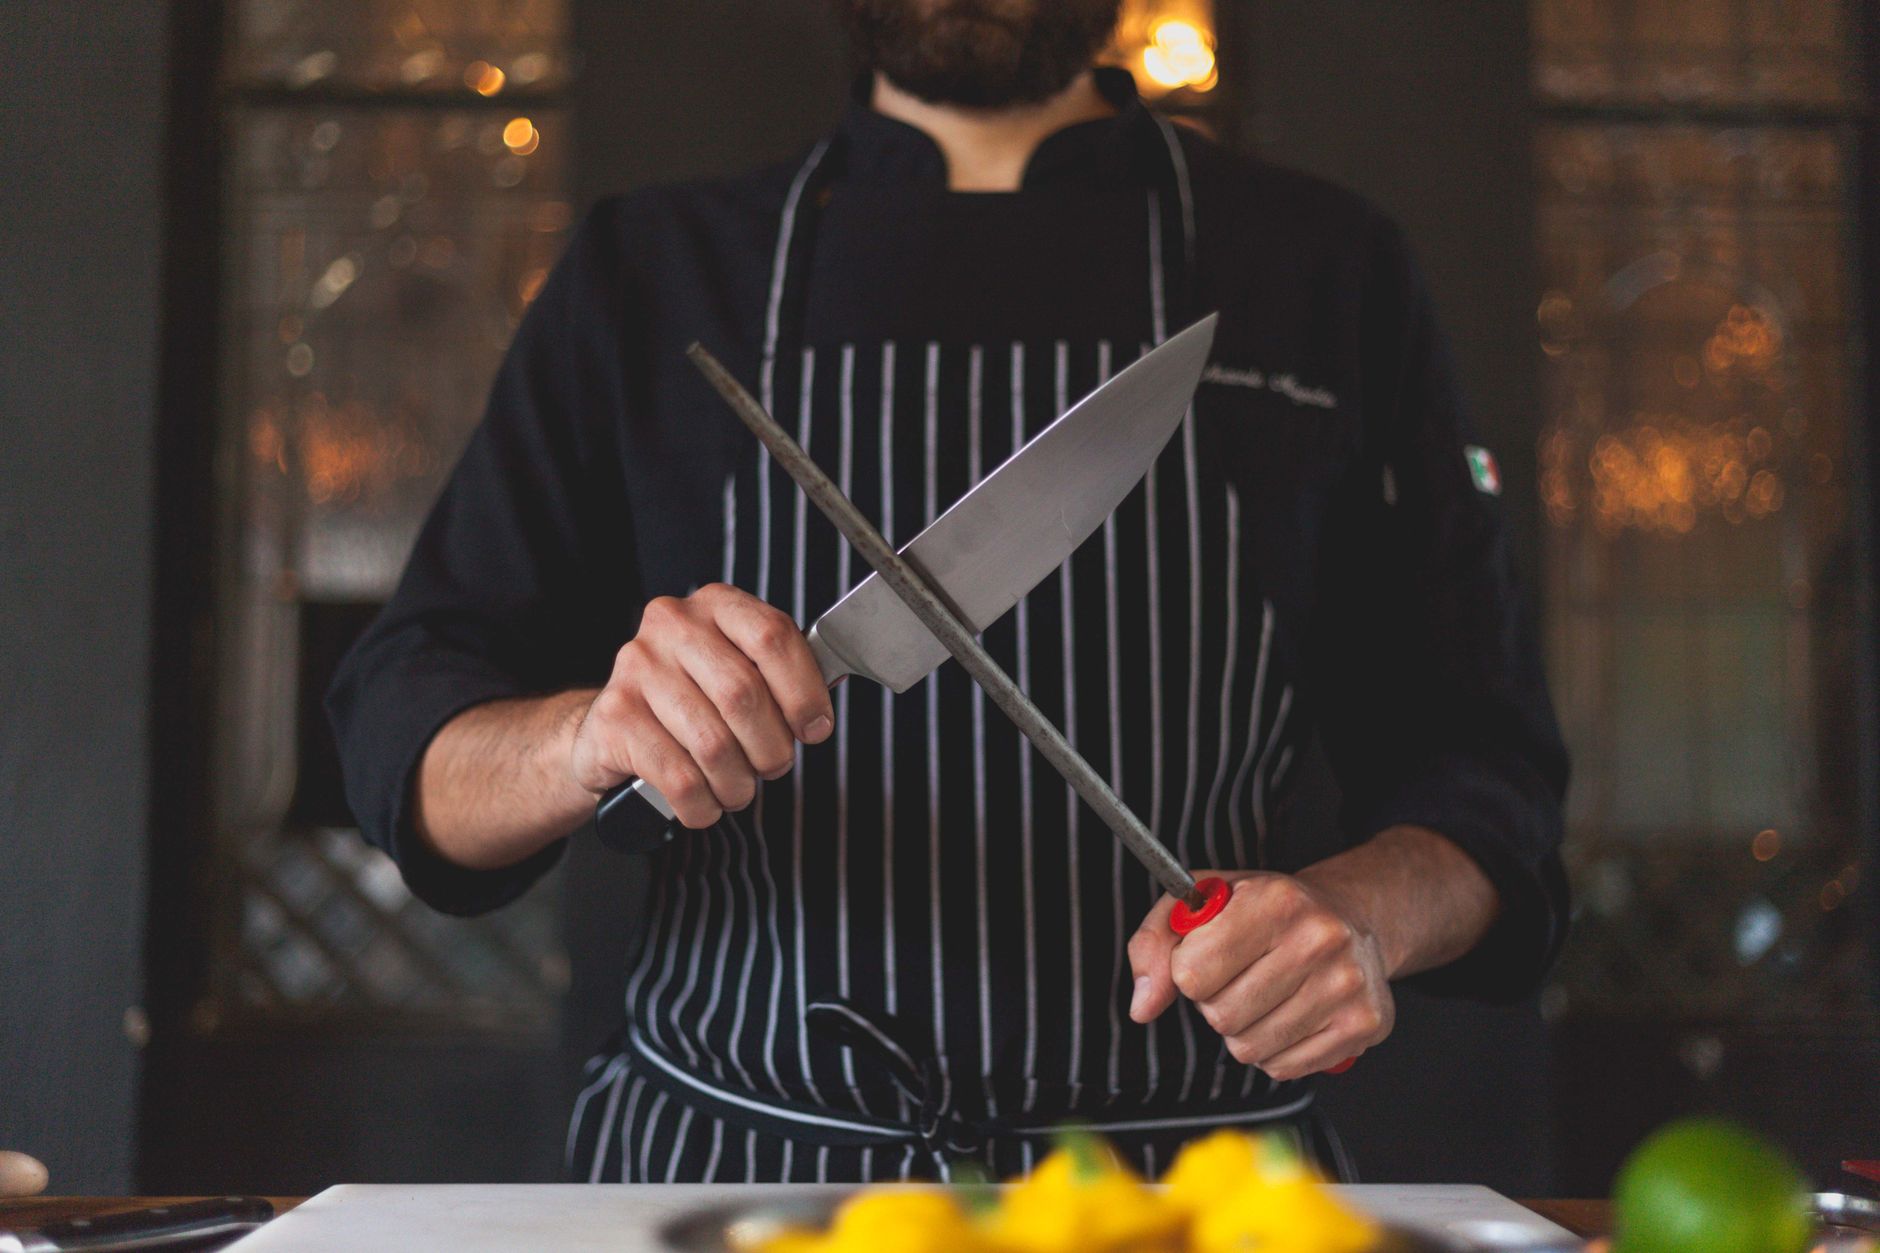
Honing is a fast process that should be part of regular kitchen routines. Using a honing steel—typically a rod made of steel, ceramic, or diamond—realigns the knife’s edge. To hone, hold the steel vertically with the tip planted on a stable surface. Place the heel of the blade at the top of the steel at a 15-20° angle. Draw the blade down and toward you, ending at the tip, then alternate sides. Five to ten passes per side are usually enough. Honing does not make a dull knife sharp but keeps a good edge working longer between sharpenings. Consistent honing before or after use helps maintain edge alignment, especially for knives used on dense proteins or fibrous vegetables.
Sharpening is the process of grinding away metal to form a new edge. This is necessary when honing no longer restores sharpness. Home cooks can use a whetstone, a pull-through sharpener, or seek professional sharpening. For whetstones, soak the stone if required (check manufacturer instructions), then hold the blade at a consistent angle—usually 15-20° for Western knives. Draw the blade across the stone, alternating sides, using even pressure. The process removes metal to expose a new, sharp edge. Pull-through sharpeners provide a quick fix but may remove more metal and reduce blade life over time. Sharpening frequency depends on use, but for most home cooks, every few months is sufficient. Always clean the knife thoroughly after sharpening to remove metal filings and residue.
Restoring a Knife for Safe Chicken Prep
Consider a scenario: preparing chicken breasts for a weeknight meal. The chef’s knife struggles to slice through the meat, tearing rather than cutting cleanly. Here’s a practical approach to restore the edge and ensure safe, efficient prep.
1. Honing First: Set up a honing steel vertically on a stable surface. Place the heel of the knife at the top of the steel at a 15-20° angle. Draw the blade down and toward you, ending at the tip. Alternate sides for 5-10 strokes each. This realigns the edge and can often restore cutting performance.
2. Testing the Edge: After honing, test the knife by slicing a sheet of printer paper or a tomato. A sharp edge should glide through without snagging or crushing. If the knife still struggles, sharpening is required.
3. Sharpening the Knife: Use a whetstone or a pull-through sharpener. For a whetstone, soak it if necessary, then hold the blade at the recommended angle. Draw the edge across the stone, alternating sides, until a new edge is formed. For a pull-through sharpener, follow the device’s instructions, usually involving several passes through the coarse and fine slots. After sharpening, wash the knife thoroughly with soap and hot water to remove any metal filings. According to FoodSafety.gov, proper cleaning is essential to prevent contamination (https://www.foodsafety.gov/keep-food-safe).
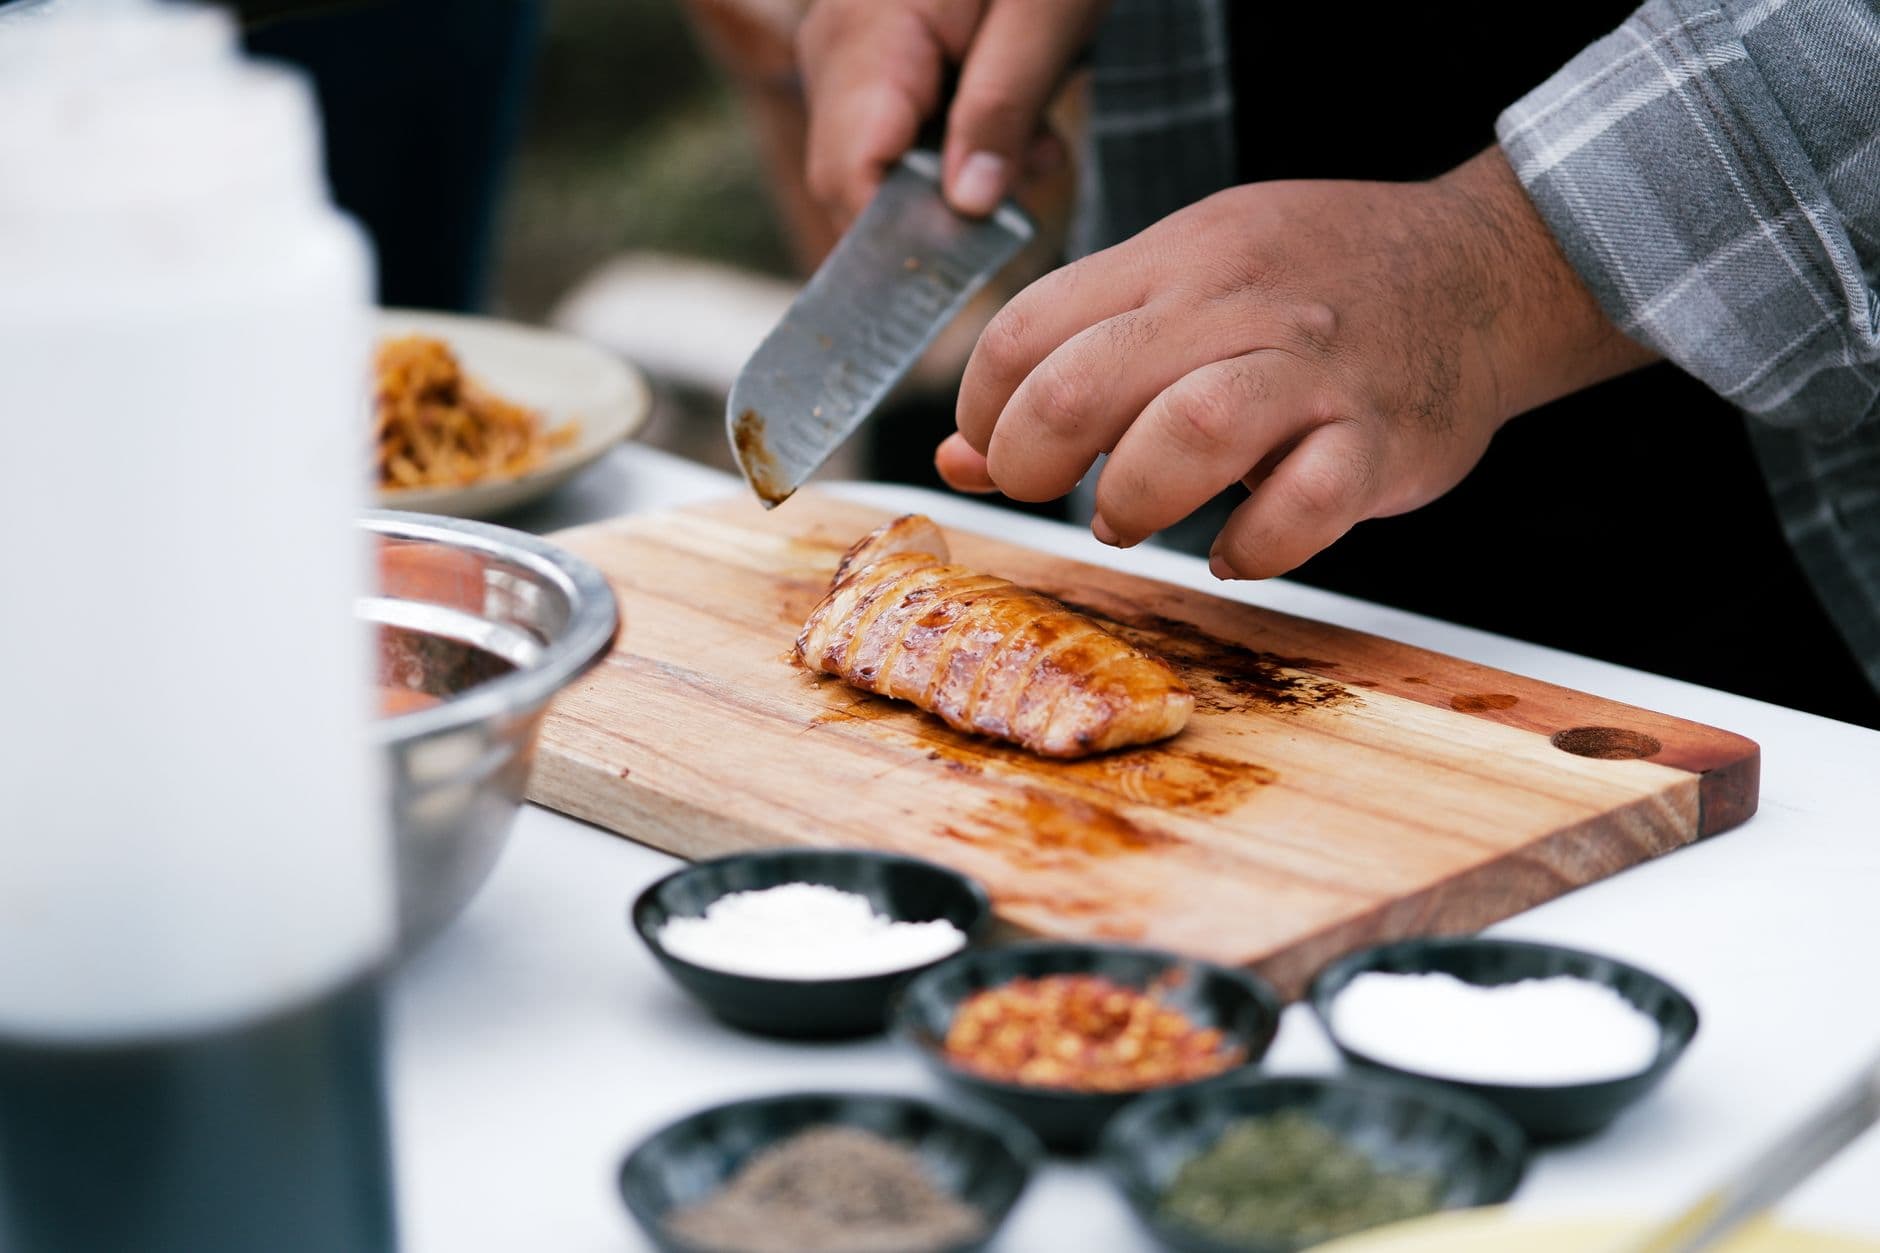
4. Safe Prep: With a sharp, clean knife, proceed to trim and slice the chicken. A sharp blade allows for precise cuts, reducing the risk of slips and making it easier to remove skin or fat. Always use a separate cutting board for raw poultry to prevent cross-contamination. After use, wash the knife, board, and any surfaces that contacted raw chicken with hot, soapy water. Refer to the "clean, separate, cook, chill" guidelines at FoodSafety.gov for more on safe handling (https://www.foodsafety.gov/keep-food-safe).
This process not only improves cutting efficiency but also supports food safety by reducing the risk of accidental slips and ensuring thorough cleaning after sharpening and handling raw proteins.
How Often Should You Hone or Sharpen?
Maintenance frequency depends on how often the knife is used and the types of foods being cut. Honing can be incorporated every few uses, and some professionals hone before every prep session. Sharpening is less frequent—typically every 2–6 months, or when honing no longer restores the edge. Cutting dense proteins, hard vegetables, or using glass or stone cutting boards can dull a knife faster, requiring more frequent maintenance. Regular honing extends the time between sharpenings, preserving the blade’s structure and reducing wear.
Maintenance Task
Frequency
Purpose
Honing
Every 2–5 uses
Realigns edge, maintains sharpness
Sharpening
Every 2–6 months
Restores edge by removing metal
Safety and Cleaning: Don’t Overlook the Basics
A sharp knife is safer than a dull one, but only when used properly. Always cut on a stable, non-slip surface and keep fingers tucked away from the blade. After sharpening, wash the knife thoroughly to remove any lingering metal dust or filings. When prepping raw proteins such as poultry, follow strict cleaning and separation protocols to avoid cross-contamination. Use separate cutting boards for raw meats and produce, and wash all utensils and surfaces with hot, soapy water after use. The FoodSafety.gov guidelines emphasize the importance of cleaning, separating, cooking, and chilling to prevent foodborne illness (https://www.foodsafety.gov/keep-food-safe). For thawing frozen proteins, the USDA FSIS recommends thawing in the refrigerator, in cold water, or in the microwave, never at room temperature (https://www.fsis.usda.gov/food-safety/safe-food-handling-and-preparation/food-safety-basics/big-thaw-safe-defrosting-methods). Proper knife maintenance and food safety practices go hand in hand for a safer kitchen.
Knife Maintenance and Food Storage: A Broader View
Knife maintenance is one part of a larger system of safe and effective home cooking. Proper storage of knives—such as using a knife block, magnetic strip, or blade guards—prevents accidental dulling and protects the blade from nicks. Clean knives should be dried immediately to prevent rust. Storing food safely is equally important; refer to FoodSafety.gov’s cold food storage charts (https://www.foodsafety.gov/food-safety-charts/cold-food-storage-charts) for recommended refrigerator and freezer times for meats, poultry, and produce. Using a sharp, well-maintained knife helps reduce bruising and damage to produce, which can extend shelf life and reduce waste. When prepping fresh fruits and vegetables, wash them thoroughly under running water before cutting, as recommended by the FDA (https://www.fda.gov/food/buy-store-serve-safe-food/selecting-and-serving-produce-safely). Combining good knife care with safe food storage and handling practices creates a foundation for healthier, more enjoyable cooking.
Honing and Sharpening: A Habit for Better Cooking
Incorporating regular honing and timely sharpening into kitchen routines transforms the prep experience. A well-maintained knife makes slicing easier, safer, and more precise, extending the life of the tool and improving ingredient quality. Consistent edge care also supports food safety by reducing the risk of slips and making thorough cleaning more effective. For optimal results, pair knife maintenance with safe food handling, proper storage, and attention to cleanliness. These habits work together to create a safer, more efficient, and more enjoyable kitchen environment.
References
FoodSafety.gov’s Keep Food Safe page (https://www.foodsafety.gov/keep-food-safe) provides federal guidance on safe food handling, including cleaning and avoiding cross-contamination.
Benjamin Shaw covers kitchen skills and meal planning for FeedsAtlas. The writing stays practical: knife setup, heat cues, leftover plans, and shopping from a short list.
Every home cook has faced the heartbreak of pulling a roast or chicken from the oven, only to find it disappointingly dry after resting. The culprit is often carryover cooking—when residual heat keeps raising the internal temperature even after the heat source is off. Mastering this phenomenon lets you hit perfect doneness without overcooking, especially for proteins. This practical guide explains how carryover cooking works, when it matters most, and how to harness it for reliably juicy results, including a detailed chicken breast example.
Every home cook has faced the dilemma: you follow a recipe, add the recommended salt, and still end up with food that’s either bland or bracingly salty. Getting seasoning right isn’t just about quantity—it’s about timing. Salt behaves differently depending on when you add it, and understanding this can mean the difference between a dish that sings and one that disappoints. The usual problems are salting too late, salting only at the end, or treating every food the same. Below: when salt helps, when it just sits on the surface, and how to recover a bland or overly salty pan.
When prepping dinner, the way you hold your knife and set up your cutting board can mean the difference between a safe, enjoyable cooking session and a frustrating, risky one. Home cooks often inherit habits from TV, friends, or family, but not every grip or board placement works for every task or kitchen. Here is how to choose a knife grip and board setup for your space, your ingredients, and your comfort—without treating any one method as universal.
You’re following a family recipe for dumplings or a new bean dish, and it simply says: 'Cook until done.' But does that mean steam or simmer? Navigating the 'steam vs simmer cooking' question can make the difference between soggy vegetables and crisp-tender perfection, or between a flavorful broth and a bland result. This clear explainer breaks down both techniques, when to choose each, and how to adapt when instructions are ambiguous—using a real-world example with broccoli. Food safety and best practices are woven throughout, so you can confidently interpret even the vaguest recipe instructions.
Every home cook faces the moment when a pan, once bustling with sizzling meat or vegetables, is left with stubborn brown bits stuck to the bottom. These aren’t burnt mistakes—they’re packed with flavor, waiting to be transformed into a sauce that elevates the entire meal. Learning how to deglaze a pan is a practical, kitchen-saving skill that turns cleanup into dinner’s final flourish. Here’s how to make those golden remnants work for you, step by step, on a typical weeknight.
Every home cook knows the frustration of food that sticks, steams, or scorches because the pan wasn’t hot enough—or was far too hot—before the first ingredient hit. But how hot should a pan be? Even without a thermometer, your eyes and ears can tell you plenty. Watch the oil, listen for the first sizzle, and use those cues for sautéing, searing, and stir-frying so you are not guessing every time.