Using Residual Heat So Food Finishes Without Overcooking
Benjamin Shaw··11 min read
Every home cook has faced the heartbreak of pulling a roast or chicken from the oven, only to find it disappointingly dry after resting. The culprit is often carryover cooking—when residual heat keeps raising the internal temperature even after the heat source is off. Mastering this phenomenon lets you hit perfect doneness without overcooking, especially for proteins. This practical guide explains how carryover cooking works, when it matters most, and how to harness it for reliably juicy results, including a detailed chicken breast example.
Pulling a steak or roast from the oven or pan the instant a thermometer reaches the target temperature seems like the safest way to avoid overcooking. Yet, moments later, the food can be drier or more done than expected. The explanation is carryover cooking residual heat: the food continues to cook even after it’s removed from its heat source. This effect is especially pronounced with lean meats and thick cuts, where not accounting for it can turn a promising meal into a disappointment. The outer layers of the food, having absorbed more heat, transfer their energy inward. This process causes the internal temperature to climb, sometimes by several degrees, even as the food sits on the counter. For home cooks, especially those working with expensive proteins or seeking precise doneness, understanding this phenomenon is crucial for consistent, juicy results.
What Is Carryover Cooking?
Carryover cooking is the rise in internal temperature that occurs in food after it’s removed from its heat source. The outside of the food is always hotter than the center during cooking. Once active heat stops, that exterior heat migrates inward, raising the internal temperature further. This is most noticeable in large roasts, thick steaks, and whole poultry, but even thinner cuts can experience a degree or two of carryover. The greater the mass and density of the food, the more pronounced this effect. Foods cooked at higher temperatures, or those with thick exteriors, will show more carryover than foods cooked gently or with moist heat. Ignoring this effect can lead to overcooked, dry food, especially with lean proteins that have little fat to buffer against moisture loss.
How Much Does Temperature Rise After Cooking?
The amount of post-cooking temperature increase varies depending on the food’s size, composition, and the cooking method. Large items like whole chickens, turkeys, or beef roasts can see their internal temperature rise by 5–10°F (3–6°C) or even more after being removed from the oven. Medium cuts such as thick pork chops or bone-in chicken breasts may rise by 3–5°F (2–3°C). Thin items like boneless chicken breasts or fish fillets typically experience a smaller increase, often just 2–3°F (1–2°C). Foods cooked in a hot, dry environment—such as roasting or grilling—tend to have a greater carryover effect than foods that are poached or steamed, where the heat is gentler and more evenly distributed. The key is to remove the food from the heat source before it reaches the final desired internal temperature, allowing carryover to finish the cooking process without overshooting the mark.
Resting: The Overlooked Step for Juicy Results
Resting food after cooking is not just a matter of tradition; it’s a critical step for both flavor and safety. As food rests, the residual heat continues to move inward, ensuring even doneness throughout. At the same time, the muscle fibers relax and reabsorb some of the juices that were driven toward the surface during cooking. Cutting into meat too soon allows these juices to escape, leading to a drier result. Resting also gives you a window to verify food safety: always rest meats on a clean plate or board and cover loosely with foil to prevent contamination, following safe handling practices outlined by FoodSafety.gov. This step is especially important when preparing poultry and large roasts, where the risk of undercooking or cross-contamination is higher. Proper resting not only improves texture and juiciness but also helps ensure that the food reaches a safe temperature throughout.
Pan-Seared Chicken Breast, Step by Step
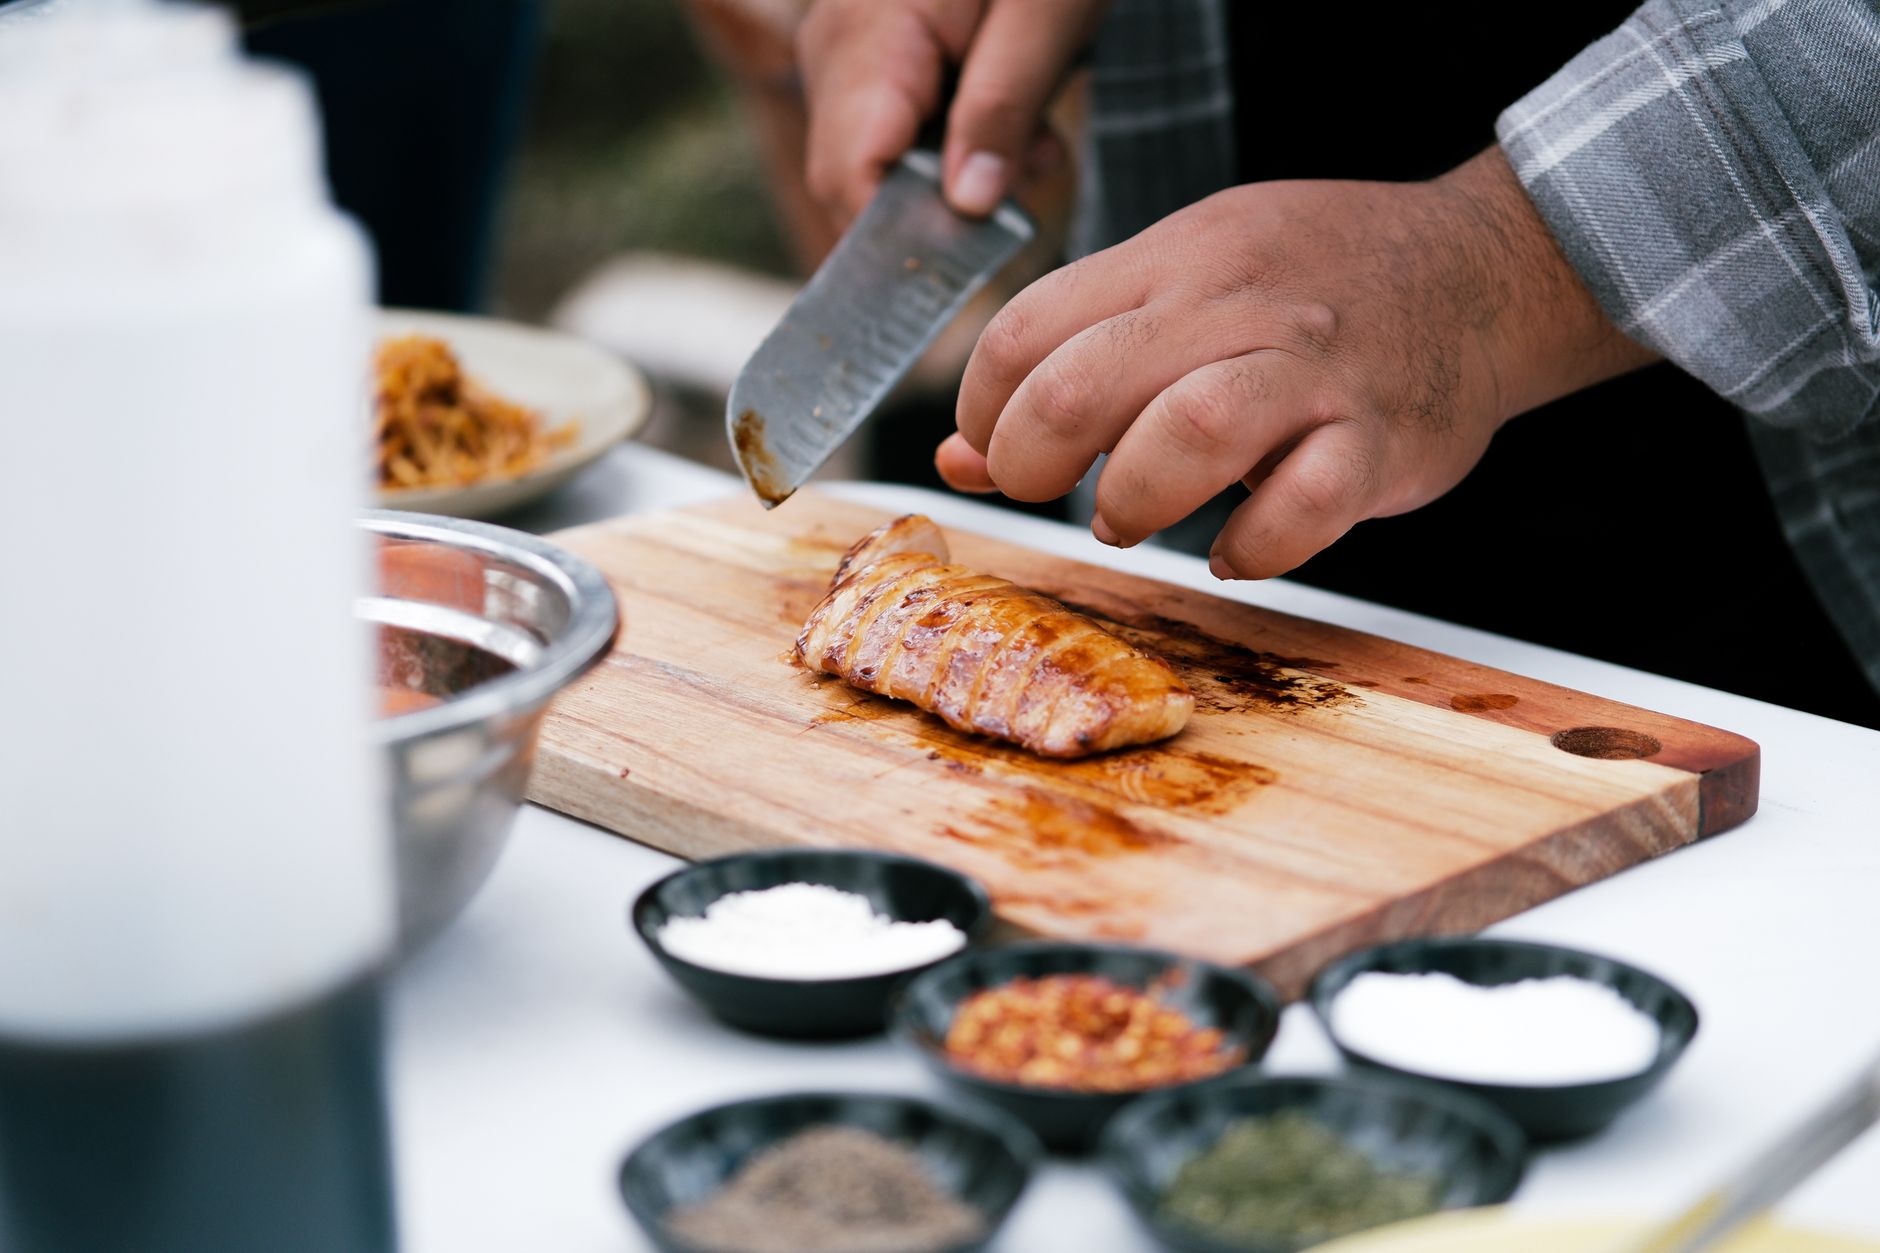
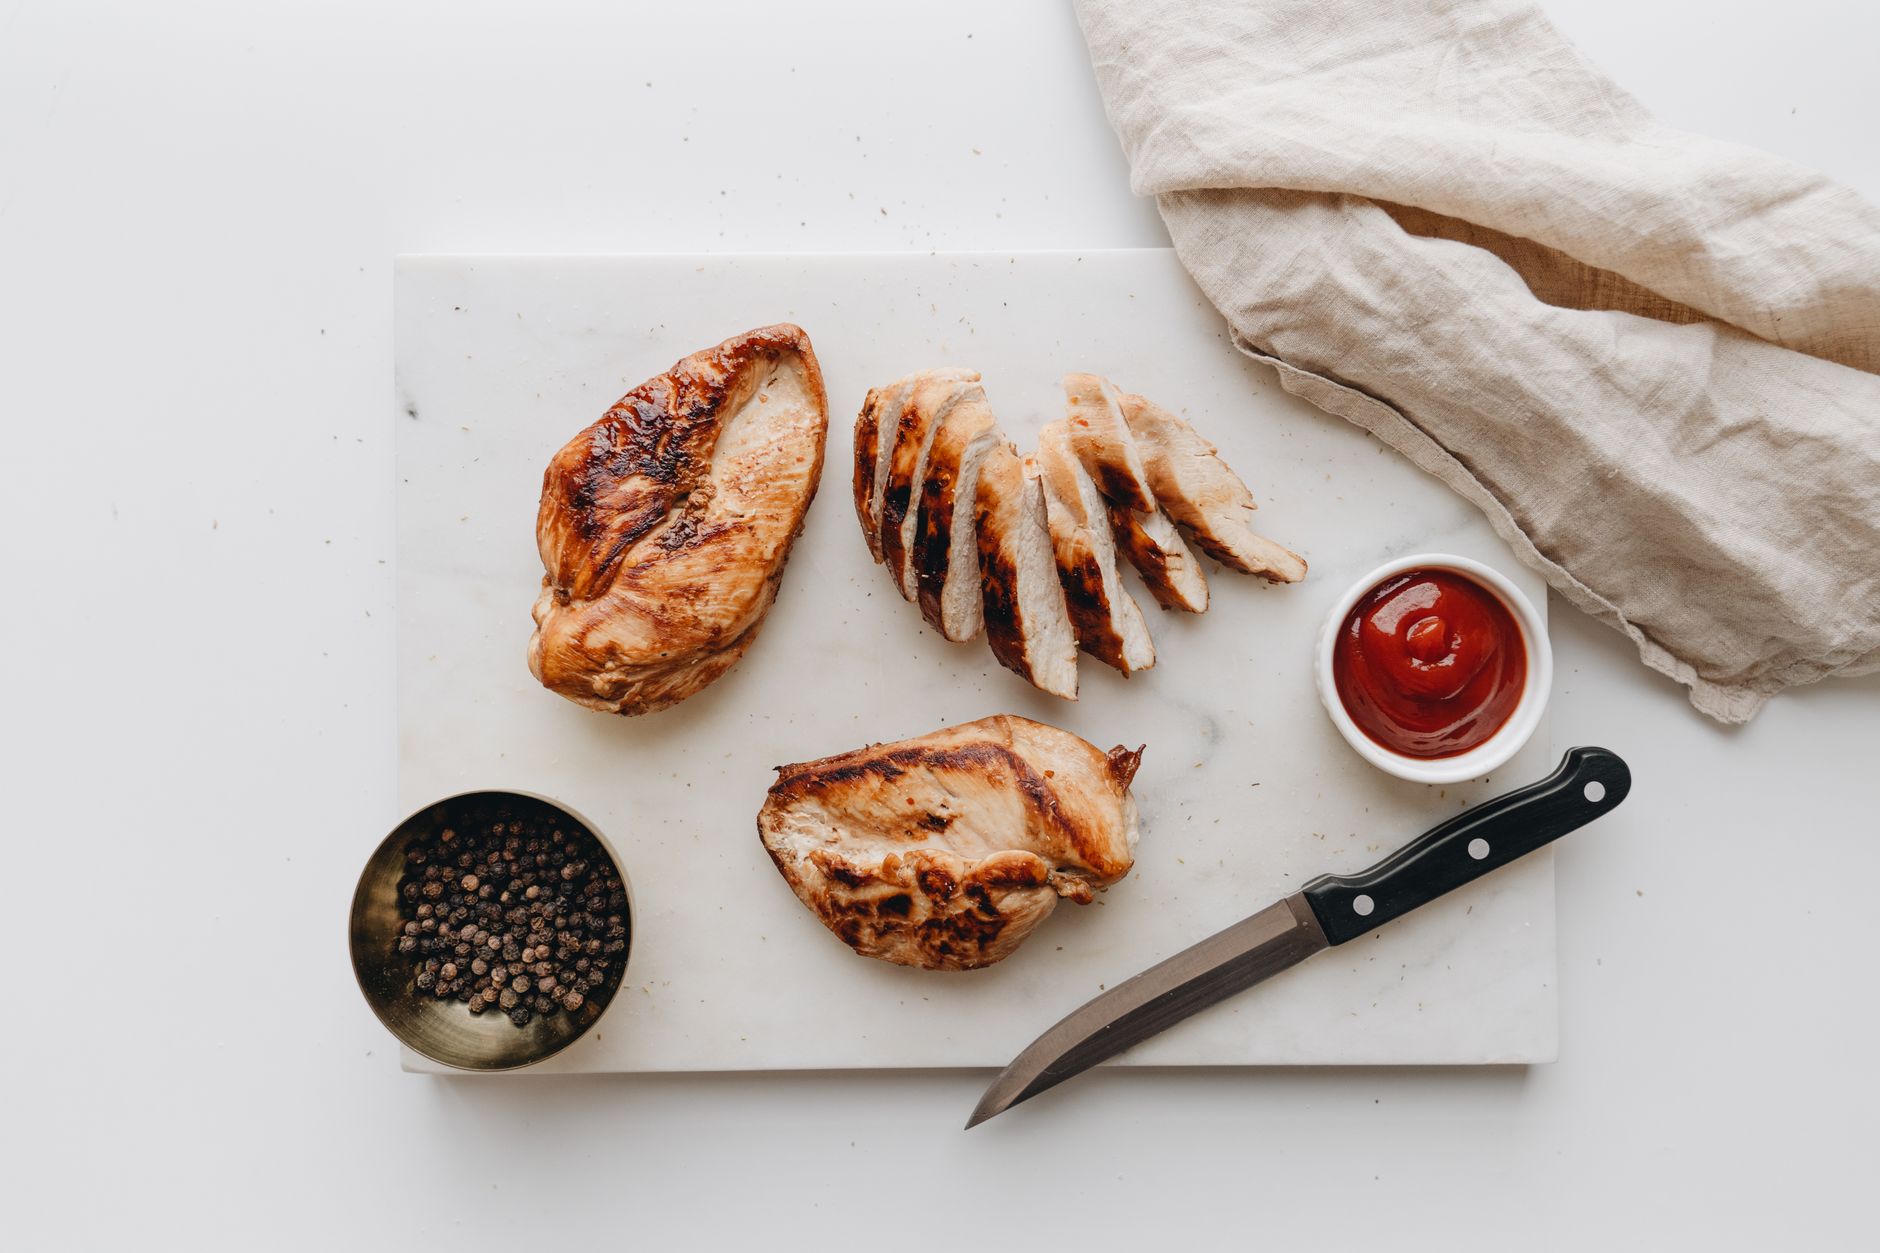
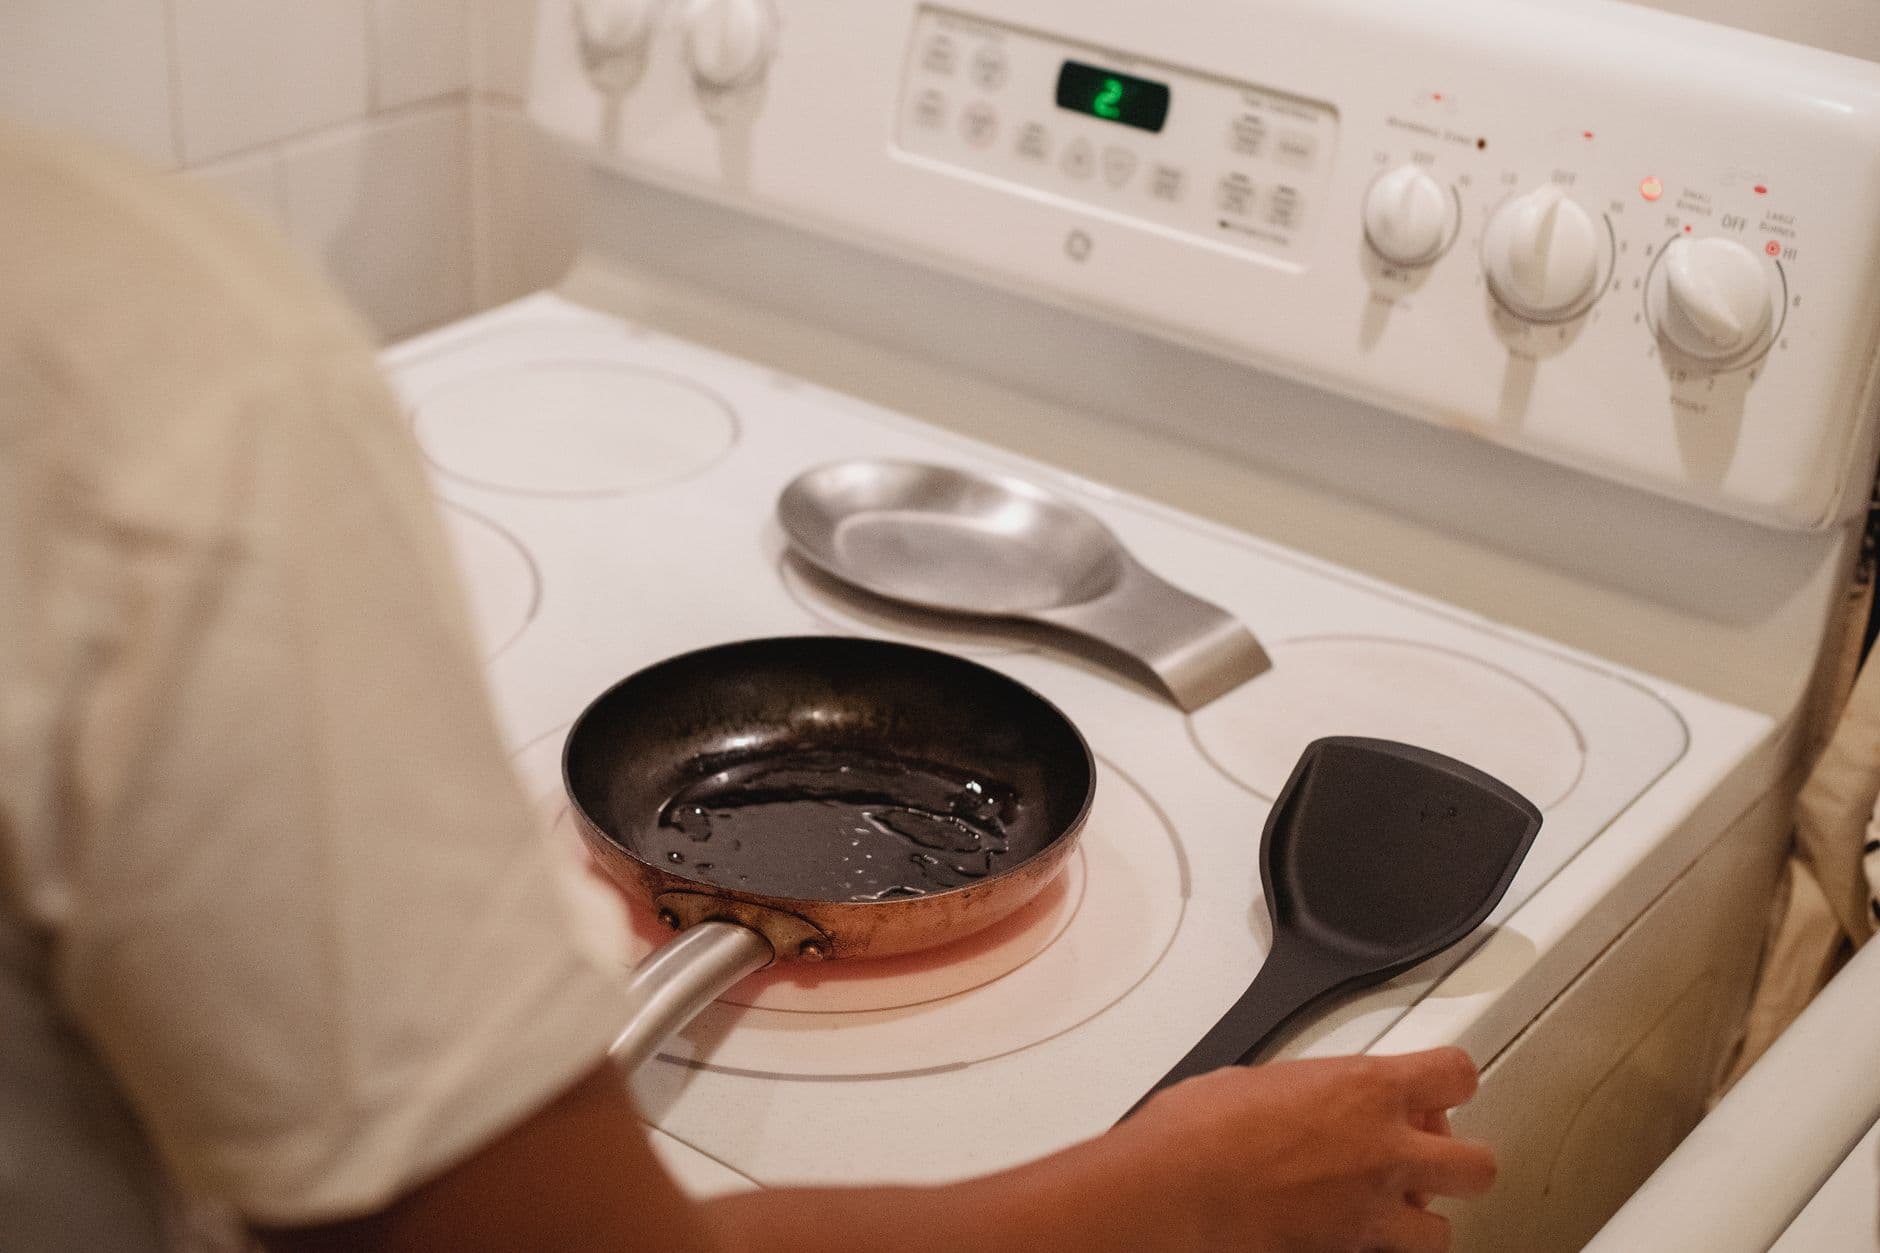
Consider the practical scenario of achieving a juicy, fully cooked chicken breast using carryover cooking residual heat. Begin by patting the chicken breast dry and seasoning it as desired. Preheat a skillet over medium-high heat. Sear the chicken breast for 5–7 minutes per side, monitoring the internal temperature with a reliable instant-read thermometer. When the thickest part of the breast reads 158–160°F (70°C), remove it from the pan. According to the USDA, the recommended safe minimum internal temperature for poultry is 165°F (74°C). However, removing the chicken early allows the residual heat to finish the job. Place the chicken on a clean plate and tent it loosely with foil. Let it rest for 5–8 minutes. During this time, the temperature should climb to at least 165°F (74°C), ensuring safety without overshooting and drying out the meat. If the temperature does not reach 165°F after resting, return the chicken briefly to the pan or oven until it does. This approach balances safety with quality, producing a juicy, flavorful result. The same principle applies to other proteins—steaks, pork chops, or thick fish fillets—by adjusting the pull temperature and rest time. For each, monitor the temperature carefully and allow for the expected degree of carryover based on thickness and cooking method.
The Role of the Thermometer in Safe, Precise Cooking
While estimating carryover is helpful, verifying doneness with a food thermometer is essential, especially for poultry, ground meats, and leftovers. The USDA’s Safe Minimum Internal Temperature Chart provides clear guidance: 165°F (74°C) for poultry, 160°F (71°C) for ground meats, and 145°F (63°C) for whole cuts of beef, pork, and fish (with a three-minute rest for the latter). Never rely solely on color, texture, or cooking time. After resting, if a thermometer shows that the safe minimum temperature has not been reached, return the food to the heat source until it does. For leftovers, always reheat to 165°F (74°C) to eliminate potential pathogens, as recommended by the USDA FSIS. Using a thermometer is the most reliable way to ensure both safety and quality, allowing you to take full advantage of carryover cooking without risking undercooking.
Kitchen Safety and Cleanliness: Supporting Carryover Success
Safe food handling is inseparable from successful carryover cooking. Always use clean utensils, plates, and cutting boards when transferring cooked food for resting. Avoid placing cooked items back on surfaces that held raw meat, poultry, or seafood. The FDA and FoodSafety.gov recommend washing hands, tools, and surfaces thoroughly with soap and water after handling raw ingredients. When resting food, tent it loosely with foil rather than sealing tightly, which can trap steam and soften the exterior. In addition, chilling leftovers promptly is vital: refrigerate within two hours of cooking, or within one hour if the room temperature is above 90°F (32°C). Store leftovers in shallow containers to speed cooling and reduce the risk of bacterial growth. Consult the FDA’s guidelines for safe storage times for cooked foods, and always label leftovers with the date to ensure timely consumption. These practices support both food safety and quality, ensuring that the benefits of carryover cooking are not undermined by preventable contamination.
Tips for Mastering Carryover Cooking Residual Heat
Several practical steps help home cooks make the most of carryover cooking:
Know your target: Check the safe minimum temperature for your food, then pull it 3–10°F (2–6°C) lower depending on thickness and type. For example, for a whole roast chicken, remove it from the oven at 160°F (71°C) and let it rest until it reaches 165°F (74°C).
Rest properly: Always rest meat uncovered or loosely tented with foil on a clean plate or board—never in the hot pan, which can cause overcooking or uneven results.
Use a reliable instant-read thermometer. Insert it into the thickest part of the food, away from bone or pan surface, and clean the probe between uses to prevent cross-contamination.
Practice with smaller cuts before tackling large roasts. Note how much the temperature climbs for different foods in your kitchen setup, as oven calibration and pan material can affect carryover.
For leftovers, chill promptly and store safely, following FDA recommendations for refrigeration and reheating. Always reheat leftovers to 165°F (74°C) and consume within the recommended time frame for each food type.
Carryover cooking is a critical consideration for certain foods:
Large roasts (beef, pork, lamb): These retain heat longer and experience the greatest temperature rise after cooking.
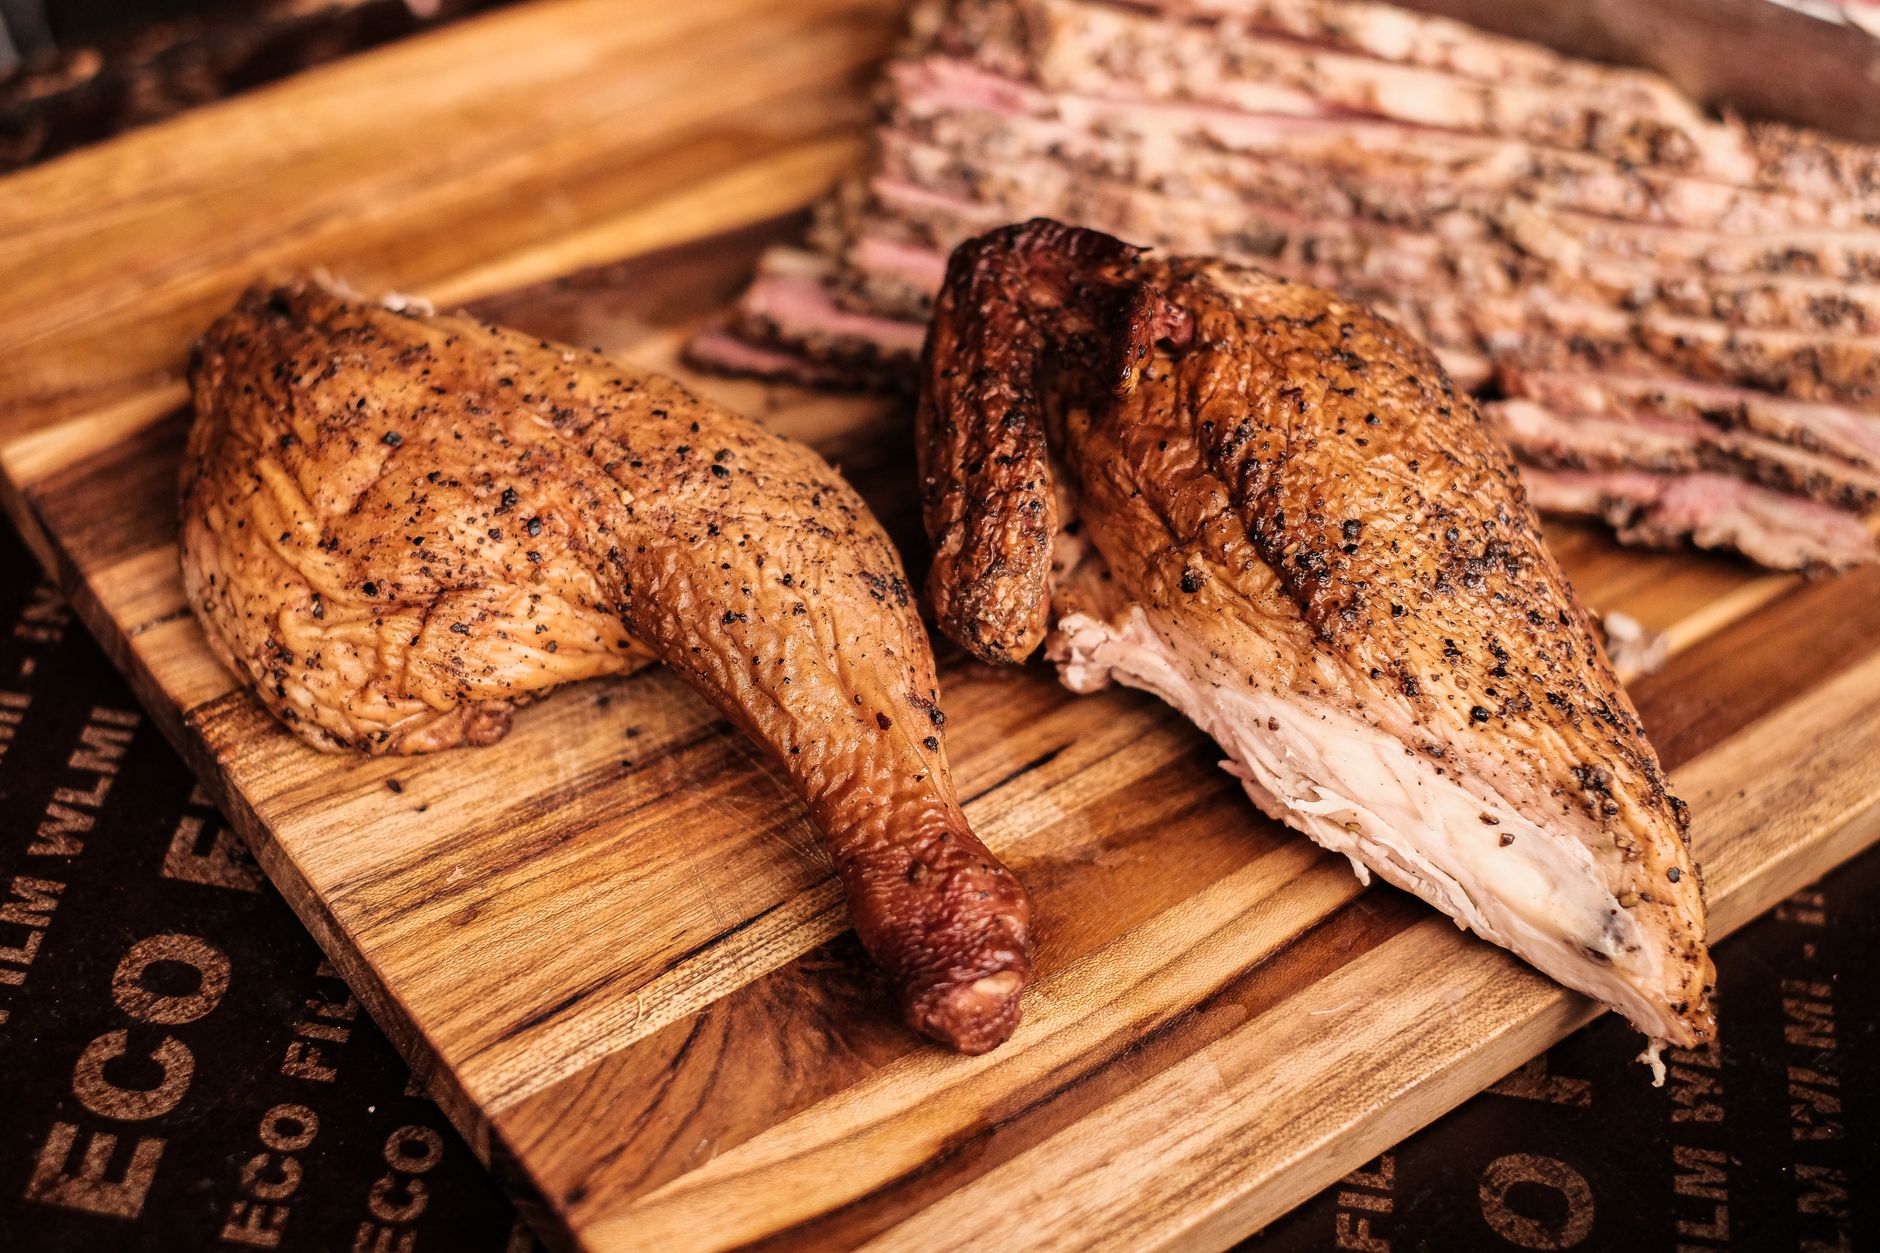
Whole poultry: Chickens and turkeys, especially when roasted, benefit from resting to finish cooking and redistribute juices.
Thick steaks or chops: The thicker the cut, the more pronounced the carryover effect, making precise timing essential.
Casseroles and baked pasta dishes: These can also continue cooking from residual heat, especially if left in a hot dish or pan.
Carryover is less critical for thin, quick-cooking foods like shrimp, scallops, or eggs, which should be served immediately for best texture and safety. For these items, minimal rest is needed, and carryover is unlikely to significantly affect the final result.
Takeaway: Build Carryover Into Your Cooking Routine
Factoring carryover cooking residual heat into your timing transforms the outcome of home-cooked meals. Pulling food a few degrees early, resting properly, and using a thermometer are small adjustments that pay off with reliably juicy, perfectly cooked proteins. This approach also supports food safety, ensuring that every meal meets recommended temperature guidelines without sacrificing quality. With practice, carryover cooking becomes second nature—a subtle but powerful technique for elevating everyday cooking. For more on related kitchen skills, consult federal food safety resources and keep a thermometer close at hand for every session at the stove or oven.
Benjamin Shaw covers kitchen skills and meal planning for FeedsAtlas. The writing stays practical: knife setup, heat cues, leftover plans, and shopping from a short list.
Every home cook has faced the dilemma: you follow a recipe, add the recommended salt, and still end up with food that’s either bland or bracingly salty. Getting seasoning right isn’t just about quantity—it’s about timing. Salt behaves differently depending on when you add it, and understanding this can mean the difference between a dish that sings and one that disappoints. The usual problems are salting too late, salting only at the end, or treating every food the same. Below: when salt helps, when it just sits on the surface, and how to recover a bland or overly salty pan.
When prepping dinner, the way you hold your knife and set up your cutting board can mean the difference between a safe, enjoyable cooking session and a frustrating, risky one. Home cooks often inherit habits from TV, friends, or family, but not every grip or board placement works for every task or kitchen. Here is how to choose a knife grip and board setup for your space, your ingredients, and your comfort—without treating any one method as universal.
A dull kitchen knife can turn even basic meal prep into a hassle, slowing you down, squashing your tomatoes, and increasing the risk of slips. But do you need to sharpen, or simply hone? The difference is the steel’s alignment versus actually removing metal. Use the right one at the right time so the knife stays safe for onions, chicken, and everything in between.
You’re following a family recipe for dumplings or a new bean dish, and it simply says: 'Cook until done.' But does that mean steam or simmer? Navigating the 'steam vs simmer cooking' question can make the difference between soggy vegetables and crisp-tender perfection, or between a flavorful broth and a bland result. This clear explainer breaks down both techniques, when to choose each, and how to adapt when instructions are ambiguous—using a real-world example with broccoli. Food safety and best practices are woven throughout, so you can confidently interpret even the vaguest recipe instructions.
Every home cook faces the moment when a pan, once bustling with sizzling meat or vegetables, is left with stubborn brown bits stuck to the bottom. These aren’t burnt mistakes—they’re packed with flavor, waiting to be transformed into a sauce that elevates the entire meal. Learning how to deglaze a pan is a practical, kitchen-saving skill that turns cleanup into dinner’s final flourish. Here’s how to make those golden remnants work for you, step by step, on a typical weeknight.
Every home cook knows the frustration of food that sticks, steams, or scorches because the pan wasn’t hot enough—or was far too hot—before the first ingredient hit. But how hot should a pan be? Even without a thermometer, your eyes and ears can tell you plenty. Watch the oil, listen for the first sizzle, and use those cues for sautéing, searing, and stir-frying so you are not guessing every time.