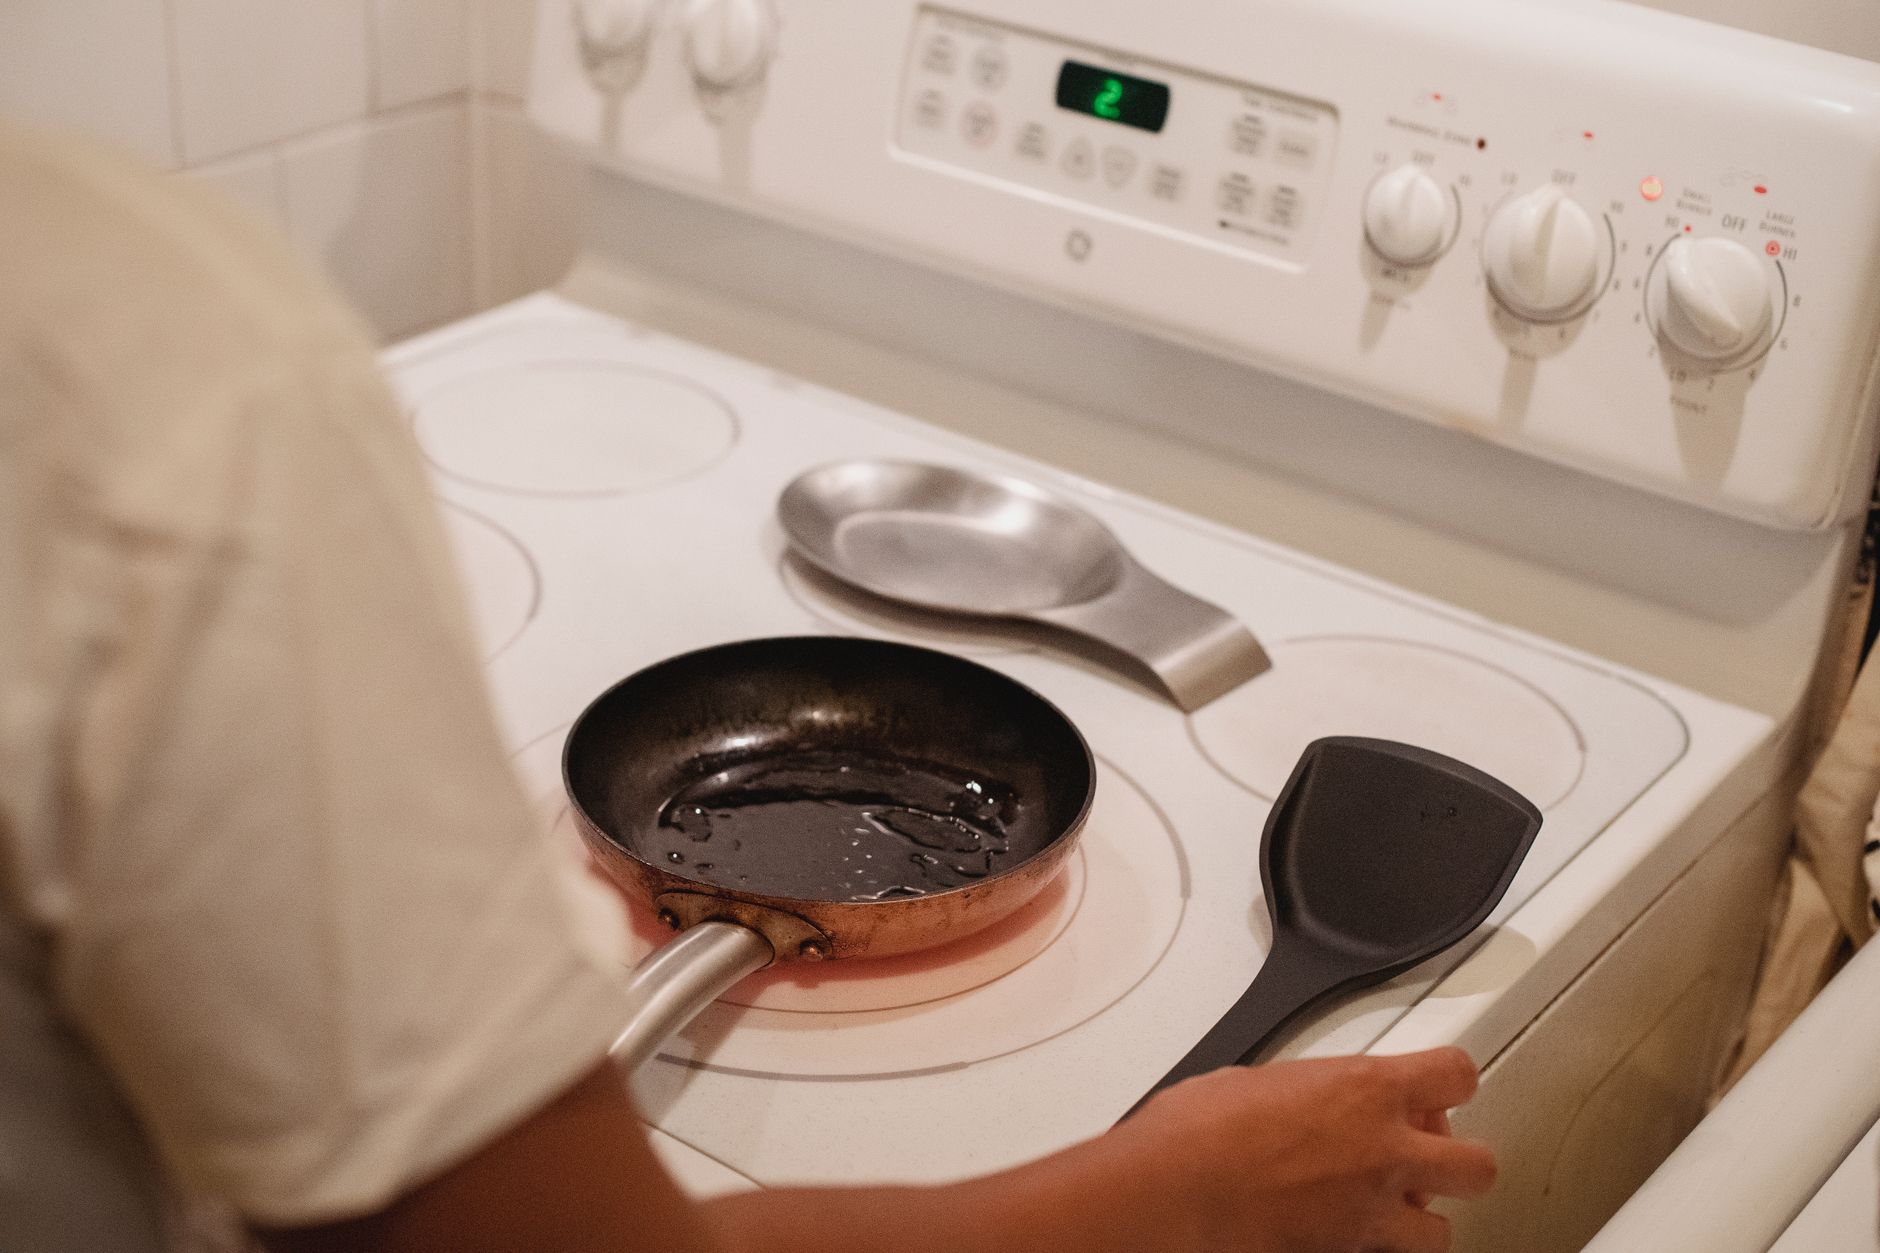
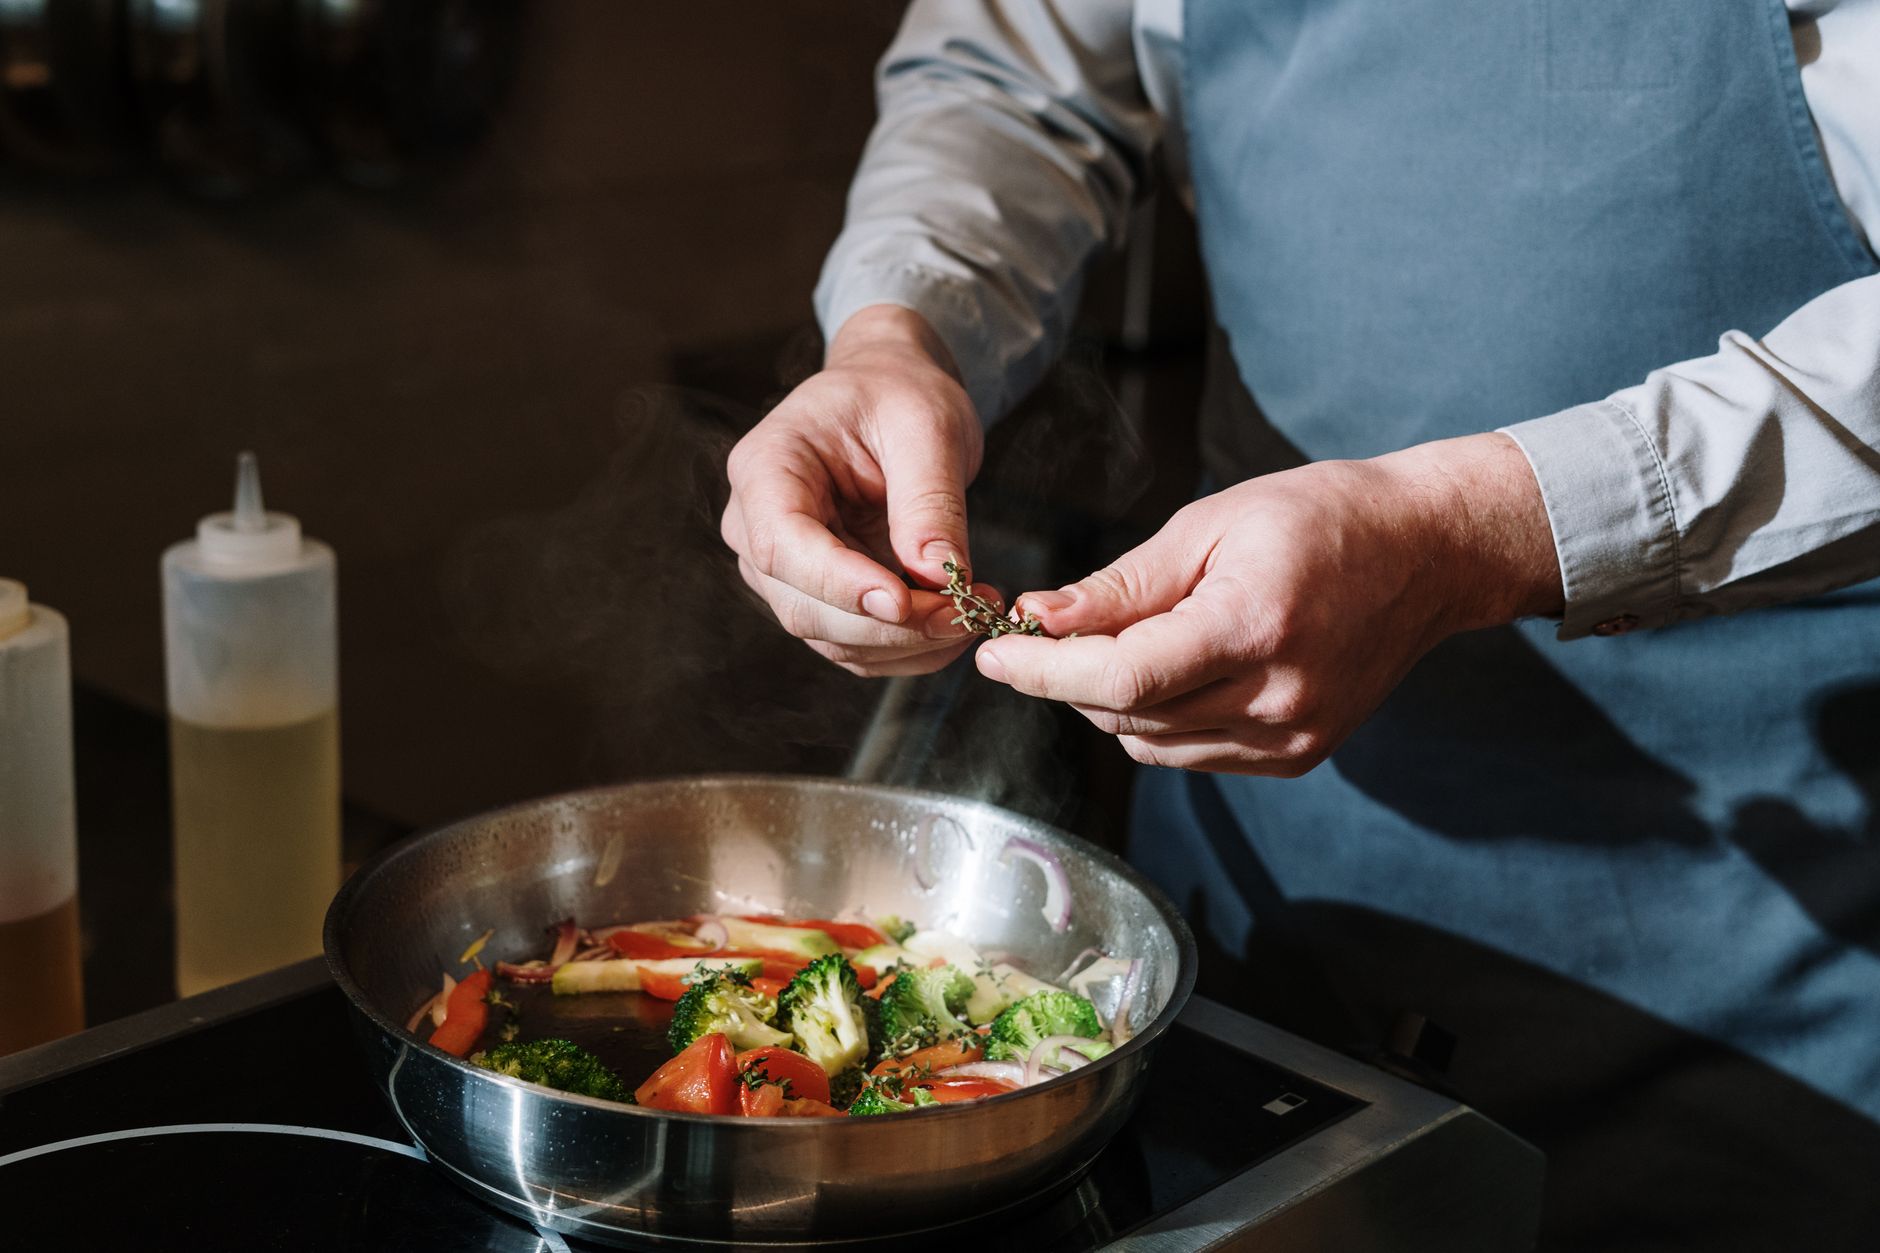
Every home cook knows the frustration of food that sticks, steams, or scorches because the pan wasn’t hot enough—or was far too hot—before the first ingredient hit. But how hot should a pan be? Even without a thermometer, your eyes and ears can tell you plenty. Watch the oil, listen for the first sizzle, and use those cues for sautéing, searing, and stir-frying so you are not guessing every time.
You’ve prepped your ingredients, your oil is standing by, and the pan is on the stove. But when should the first carrot coin or chicken thigh go in? Too soon, and food absorbs oil, sticks, or turns soggy. Wait too long, and the pan smokes, the oil degrades, and you risk burning both dinner and your pan. The question isn’t just about flavor—it’s about safety, technique, and consistency. So, how hot should a pan be before you start cooking? The answer depends on what you’re making, but the cues are visual, audible, and tactile. Recognizing these cues is a skill that separates a rushed meal from a reliably delicious one. It’s not just about avoiding mistakes; it’s about building confidence in the kitchen, knowing that you can react to what you see, hear, and smell.
Why Pan Heat Matters: Texture, Flavor, and Food Safety
Proper pan heat sets the stage for browning, crisping, and even cooking. A well-heated pan lets food sear rather than steam, leading to better texture and flavor. For proteins, a hot pan helps form a golden crust while minimizing sticking. For vegetables, it keeps colors vibrant and textures crisp-tender. Importantly, a pan that’s hot enough can also help you get food to safe internal temperatures more efficiently, reducing the risk of undercooking. For reference, always check meat doneness against the USDA’s Safe Minimum Internal Temperature Chart, and remember to refrigerate leftovers promptly to avoid foodborne illness. See: https://www.fsis.usda.gov/food-safety/safe-food-handling-and-preparation/food-safety-basics/safe-temperature-chart and https://www.fsis.usda.gov/food-safety/safe-food-handling-and-preparation/food-safety-basics/leftovers-and-food-safety. Food safety goes beyond the pan, but starting with the right heat is a key step in the process. Undercooked poultry, for example, poses a risk of salmonella or campylobacter, while improper cooling can allow bacteria to multiply. By ensuring the pan is hot enough for a proper sear, you’re also helping to lock in juices and speed up the cooking process, making it easier to reach safe temperatures throughout the food. This is especially important for dense proteins and thick cuts, where uneven heat can lead to underdone centers. The right pan heat is a foundational technique that supports both flavor and safety.
Pan Types and Heat-Up Speed
Not all pans heat up the same way. Stainless steel, cast iron, and nonstick each have different heat retention and visual cues. Stainless steel heats quickly but can develop hot spots. Cast iron needs more time but distributes heat evenly once hot. Nonstick pans are prone to damage at high heat, so medium is usually best. Know your pan’s strengths and limits—especially if you’re planning to sear or stir-fry. For stir-frying, see more tips at /posts/stir-fry-mise-weeknight. The material and thickness of a pan also influence how quickly and evenly it heats. A thin aluminum pan may heat rapidly, but it can also lose heat quickly when food is added, leading to temperature drops and inconsistent results. Heavy-bottomed pans, on the other hand, retain heat well and recover faster when cold ingredients are introduced. This is why professional kitchens often favor thick, multi-ply pans for tasks like searing and sautéing. Understanding your pan’s behavior allows you to predict how long it will take to reach the right temperature and how it will respond to the addition of oil and food. This knowledge is especially useful when cooking multiple batches or working with delicate ingredients that require precise heat control.
Visual Cues: Watching for the Right Signs
The most reliable cue? The look of the pan’s surface. For stainless steel or cast iron, add a few drops of water to the dry pan after a minute or two of heating over medium-high. If the water sits and bubbles, the pan isn’t hot enough. If it sizzles, forms a single ball, and glides across the surface, your pan is ready for oil. This is called the Leidenfrost effect—a sign that the pan is above 320°F (160°C), ideal for sautéing and searing. For nonstick pans, skip the water test to avoid damaging the coating; instead, hover your hand a few inches above the surface and feel for steady, radiating heat. The visual cues don’t end with the water test. As the pan heats, you may notice subtle changes in the color or sheen of the metal, especially with stainless steel. A slight rainbow effect can appear, indicating the metal is warming up. With cast iron, the surface may develop a matte, almost velvety look as it reaches temperature. Paying attention to these details helps you fine-tune your timing and avoid guesswork. Visual cues are especially important when working without a thermometer or when cooking on unfamiliar stovetops, where burner output can vary widely.
Oil Cues: Shimmer, Flow, and Smoke
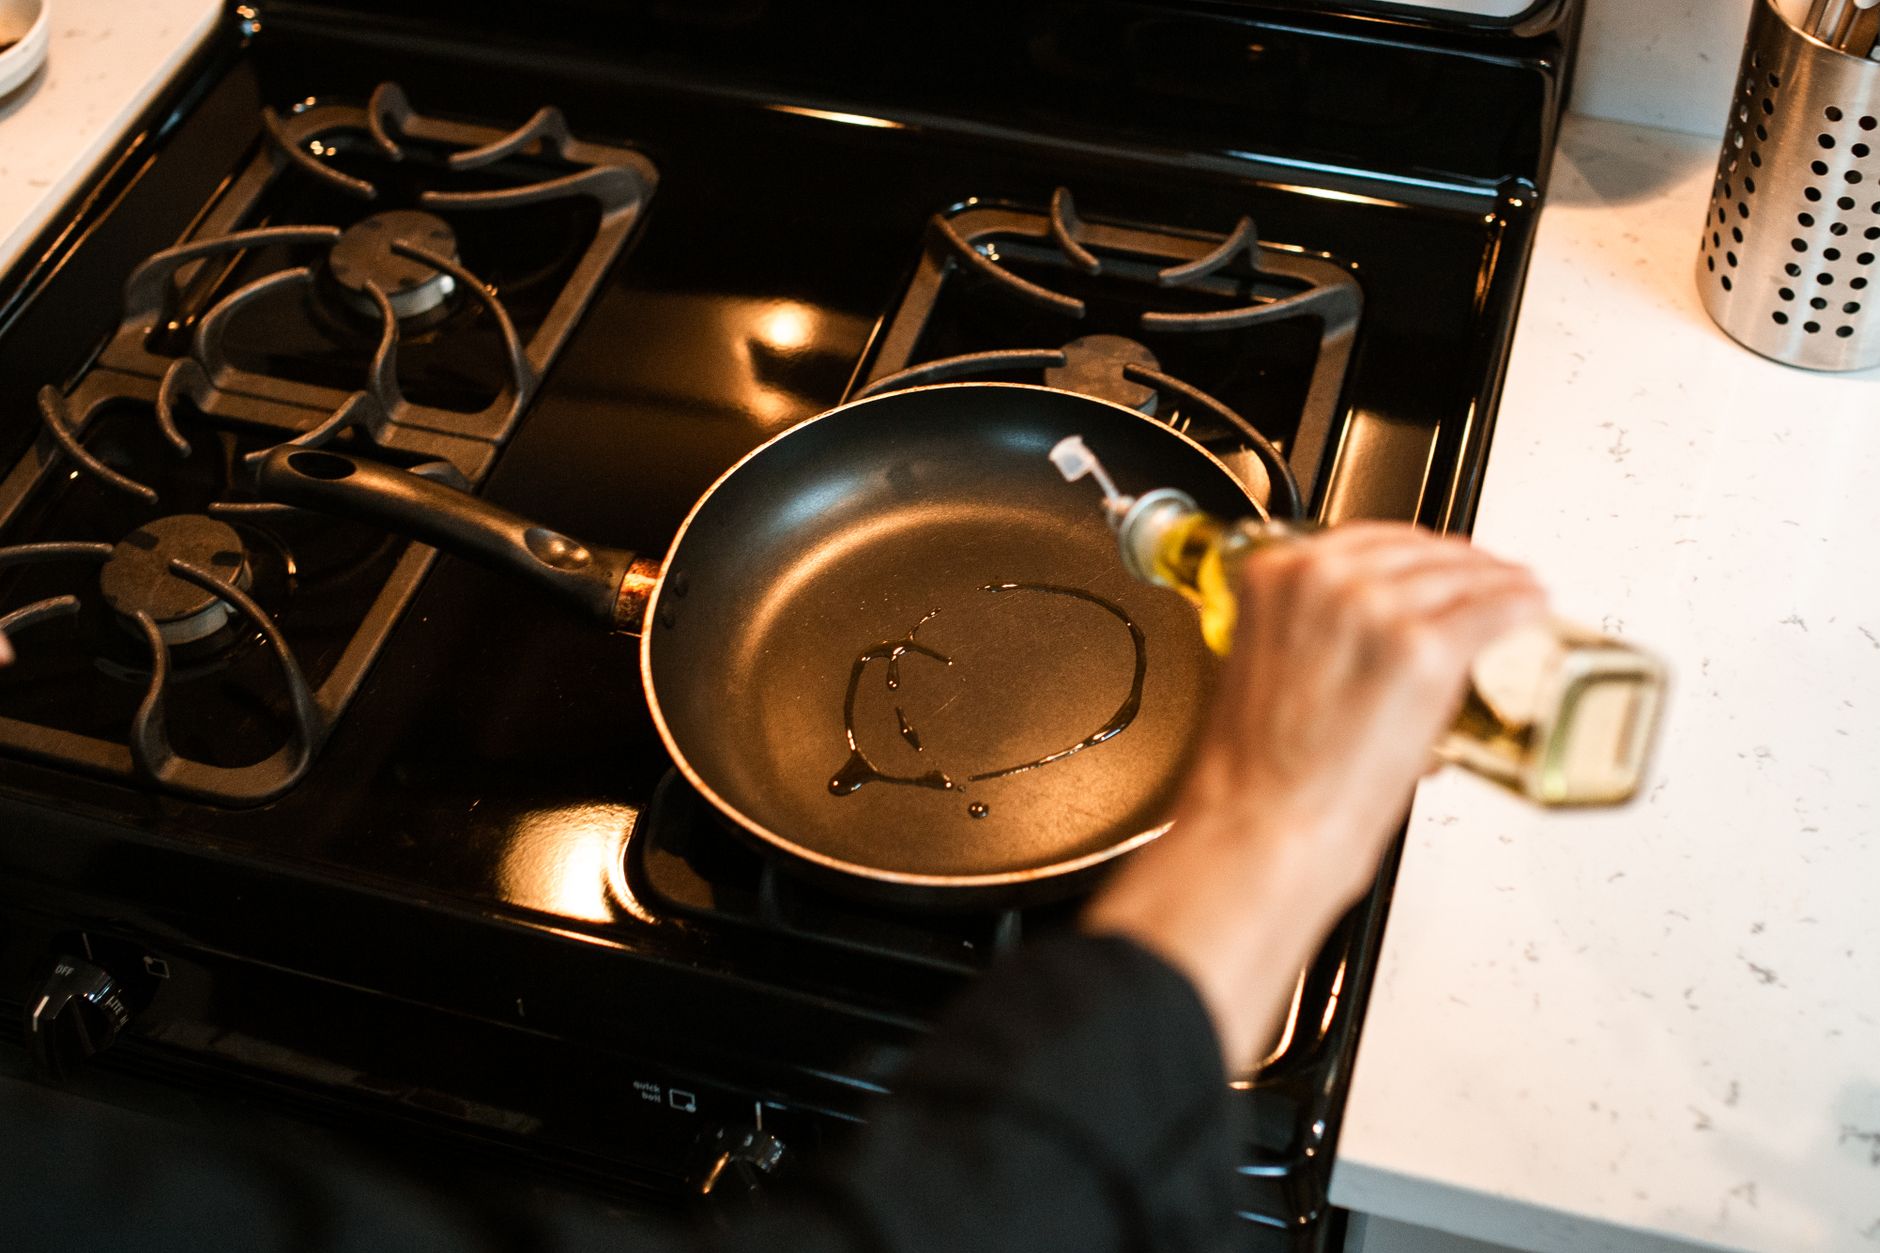
Once the pan passes the water test, add your oil. Watch for the oil to thin out quickly and shimmer across the surface. Swirl the pan: the oil should flow easily, not pool thickly. If you see faint wisps of smoke, the oil is at or just past its smoke point, which can degrade flavor and nutrition. For a detailed look at oil smoke points and which oils are best for high-heat cooking, see /posts/oil-smoke-point-home-cooking. The shimmer is a key indicator: it means the oil’s molecules are moving rapidly, reducing viscosity and allowing it to coat the pan evenly. This is the ideal moment to add food for a proper sear. If the oil begins to smoke heavily, it’s a sign to lower the heat or remove the pan from the burner. Overheated oil can impart off-flavors and even release harmful compounds. Each oil has a different smoke point—refined avocado and grapeseed oils are suitable for high heat, while extra virgin olive oil is better for medium or finishing. Choosing the right oil for your cooking method and paying attention to its behavior in the pan are essential for both flavor and safety.
A well-heated pan announces itself. When you add oil, listen for a gentle sizzle, not a violent crackle or silence. The aroma of hot oil should smell clean, not burnt. If you notice the oil darkening rapidly or a harsh odor, the pan is too hot. Remove from heat and let it cool before proceeding. Sound is a real-time indicator that can help you adjust on the fly. A soft sizzle means the food is making contact with hot oil and forming a crust, while loud popping or spattering suggests excess moisture or too high a temperature. Smell is equally important—burnt oil or acrid scents are warnings to pause and reset. These sensory cues are especially helpful when cooking in unfamiliar environments or with new equipment, where visual cues alone may not be enough.
Searing Chicken Thighs Without Guessing
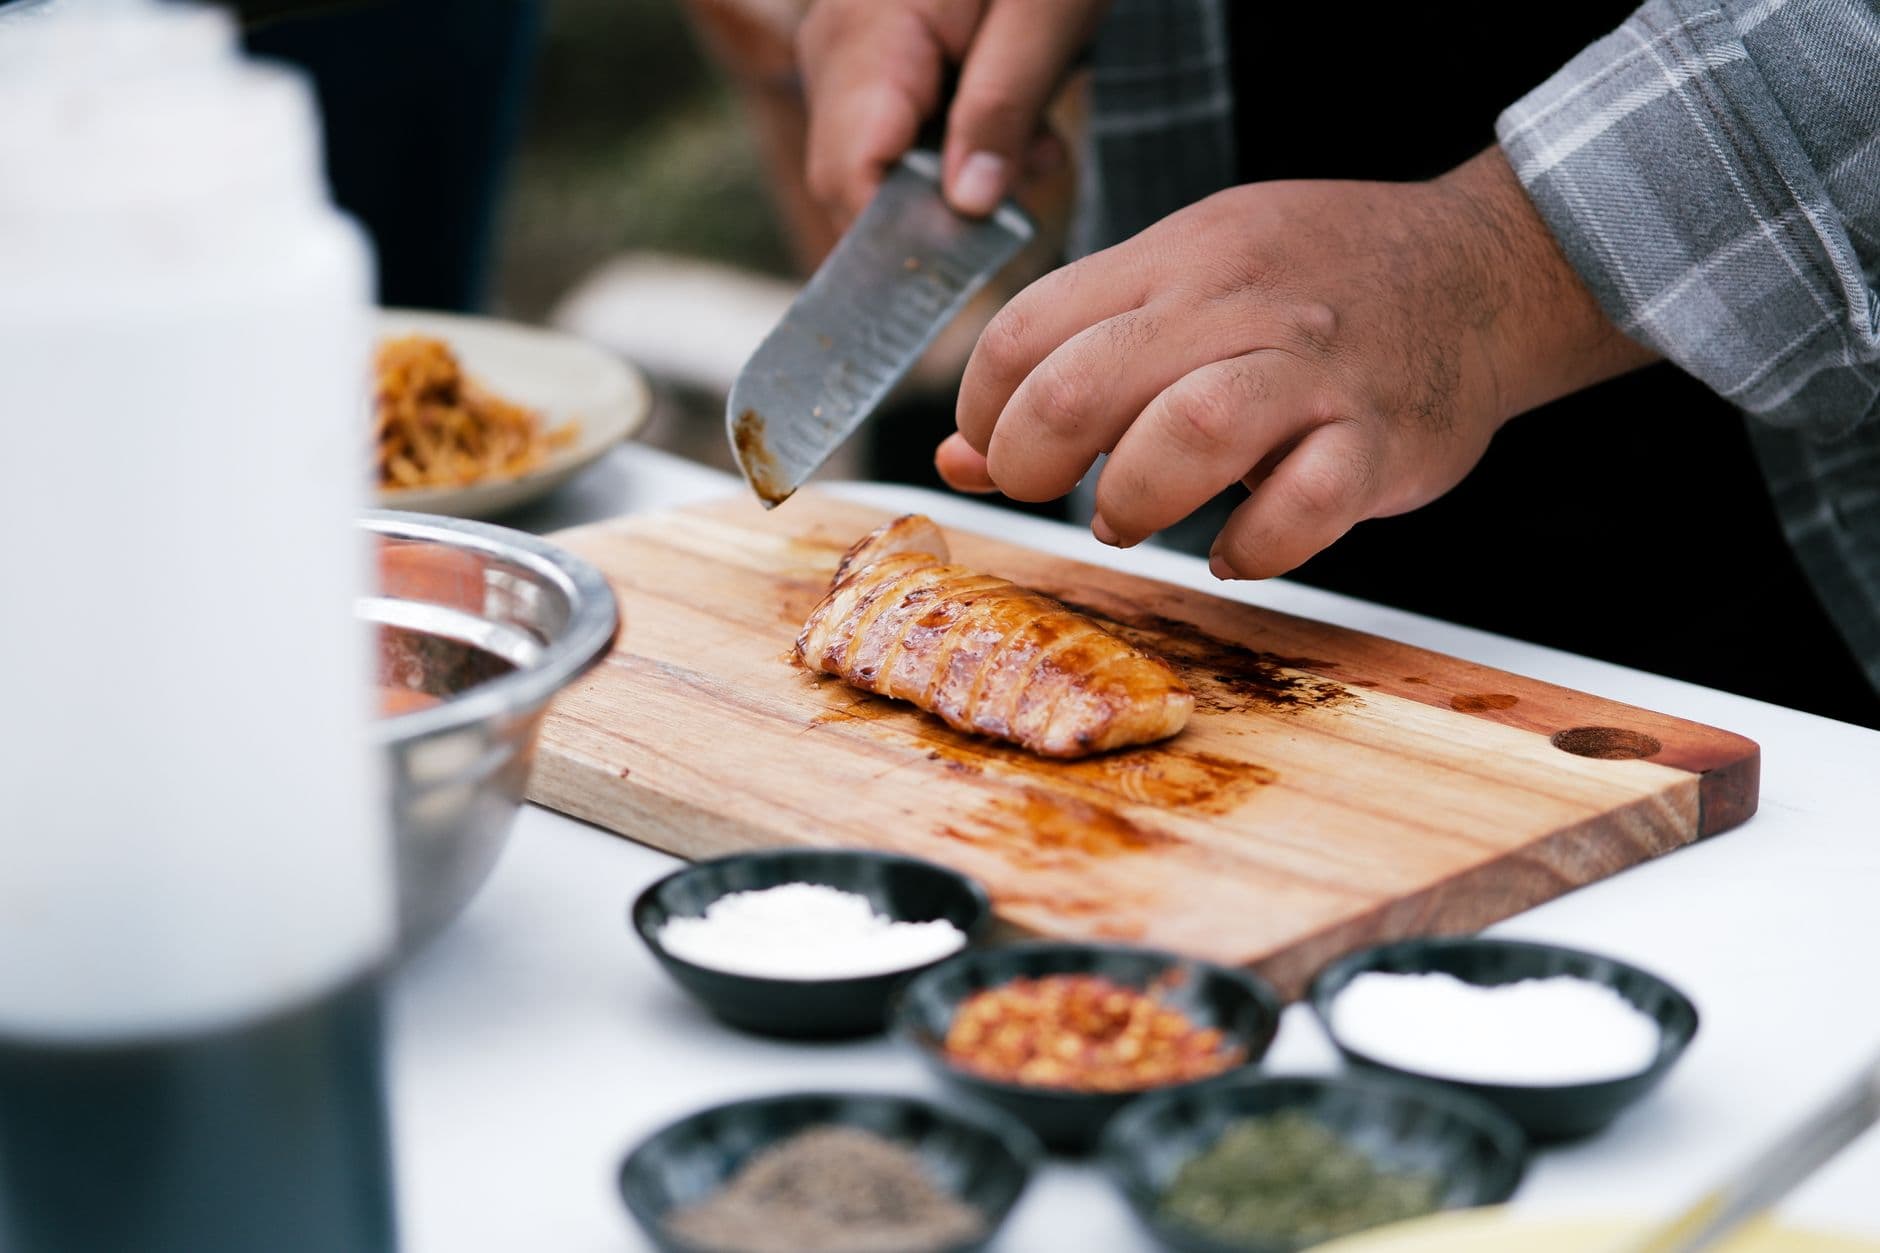
Let’s walk through a classic: searing skin-on chicken thighs in a stainless steel pan. Start heating the empty pan over medium-high for 2–3 minutes. Flick in a few drops of water. If they skate and bead, add a thin layer of high-heat oil. Swirl to coat; look for a shimmering surface. Place the chicken thighs skin-side down. You should hear a clear, steady sizzle—no popping or silence. Leave the chicken undisturbed for several minutes to develop a golden crust. Once browned, flip and continue cooking, checking that the thickest part reaches 165°F (74°C)—the USDA’s minimum safe temperature for poultry (https://www.fsis.usda.gov/food-safety/safe-food-handling-and-preparation/food-safety-basics/safe-temperature-chart). After cooking, promptly refrigerate leftovers to 40°F (4°C) or below within two hours to ensure food safety (https://www.fsis.usda.gov/food-safety/safe-food-handling-and-preparation/food-safety-basics/leftovers-and-food-safety). To break it down step by step: first, make sure the chicken is patted dry—excess moisture leads to splattering and inhibits browning. As the pan heats, keep an eye on the water test. Once the beads glide, add oil and swirl. The oil should shimmer within seconds. Lay the chicken thighs in, skin-side down, pressing gently to ensure even contact. Listen for that steady sizzle. Resist the urge to move the chicken; a proper sear forms when the proteins bond with the hot surface, then release naturally after a few minutes. After flipping, reduce heat slightly to cook through without burning the skin. Use an instant-read thermometer to check for doneness. Once done, transfer the chicken to a clean plate—never reuse the plate that held raw poultry. Let it rest for a few minutes before serving. Store leftovers in shallow containers and refrigerate promptly, following food safety guidelines. This method can be adapted to other proteins, such as pork chops or steak, with adjustments for thickness and desired doneness.
Troubleshooting: Sticky, Smoky, or Soggy?
If food sticks, your pan likely wasn’t hot enough, or you moved it too soon. If oil smokes, reduce heat and ventilate. If food steams and fails to brown, the pan or oil was too cool, or the pan was overcrowded. Always preheat in stages: empty pan, then oil, then food. This sequence gives you the best control over heat and minimizes mishaps. Sticking is a common frustration, especially with stainless steel. Waiting for the right visual and audible cues before adding food is the best prevention. Overcrowding the pan is another frequent culprit for soggy, pale results—leave space between pieces to allow steam to escape and heat to circulate. If the pan overheats and oil smokes, carefully wipe it out with a paper towel (off the heat) and start over. These small adjustments can make a big difference in both outcome and cleanup.
Practice and Observation: The Home Cook’s Best Tools
Precise pan heat is as much about paying attention as it is about following rules. Over time, your senses will guide you better than any chart. Watch, listen, and adjust—soon, you’ll know exactly how hot your pan should be for every meal. Cooking is a dynamic process, and even the same pan can behave differently depending on the stove, the batch size, or the ingredients’ temperature. Building a habit of observation—checking for visual cues, listening for the right sounds, and smelling for freshness—develops confidence and intuition. These skills pay off not only in better results but also in greater enjoyment of the cooking process. The more you practice, the more second nature these checks become, freeing you to focus on creativity and timing.
Food Safety and Clean-Up: Closing the Loop
Beyond the pan, safe cooking continues with proper handling and storage. After cooking, promptly transfer leftovers to shallow containers and refrigerate within two hours, or within one hour if the room is above 90°F (32°C). This helps prevent the growth of harmful bacteria, as outlined in federal food safety guidelines (https://www.foodsafety.gov/keep-food-safe). When reheating, ensure leftovers reach an internal temperature of 165°F (74°C) throughout. Clean all surfaces, utensils, and hands after handling raw meat or poultry. These steps close the loop on safe, effective pan cooking, ensuring that the effort spent on perfect pan heat translates into meals that are both delicious and safe to eat.
Benjamin Shaw covers kitchen skills and meal planning for FeedsAtlas. The writing stays practical: knife setup, heat cues, leftover plans, and shopping from a short list.
Every home cook has faced the heartbreak of pulling a roast or chicken from the oven, only to find it disappointingly dry after resting. The culprit is often carryover cooking—when residual heat keeps raising the internal temperature even after the heat source is off. Mastering this phenomenon lets you hit perfect doneness without overcooking, especially for proteins. This practical guide explains how carryover cooking works, when it matters most, and how to harness it for reliably juicy results, including a detailed chicken breast example.
Every home cook has faced the dilemma: you follow a recipe, add the recommended salt, and still end up with food that’s either bland or bracingly salty. Getting seasoning right isn’t just about quantity—it’s about timing. Salt behaves differently depending on when you add it, and understanding this can mean the difference between a dish that sings and one that disappoints. The usual problems are salting too late, salting only at the end, or treating every food the same. Below: when salt helps, when it just sits on the surface, and how to recover a bland or overly salty pan.
When prepping dinner, the way you hold your knife and set up your cutting board can mean the difference between a safe, enjoyable cooking session and a frustrating, risky one. Home cooks often inherit habits from TV, friends, or family, but not every grip or board placement works for every task or kitchen. Here is how to choose a knife grip and board setup for your space, your ingredients, and your comfort—without treating any one method as universal.
A dull kitchen knife can turn even basic meal prep into a hassle, slowing you down, squashing your tomatoes, and increasing the risk of slips. But do you need to sharpen, or simply hone? The difference is the steel’s alignment versus actually removing metal. Use the right one at the right time so the knife stays safe for onions, chicken, and everything in between.
You’re following a family recipe for dumplings or a new bean dish, and it simply says: 'Cook until done.' But does that mean steam or simmer? Navigating the 'steam vs simmer cooking' question can make the difference between soggy vegetables and crisp-tender perfection, or between a flavorful broth and a bland result. This clear explainer breaks down both techniques, when to choose each, and how to adapt when instructions are ambiguous—using a real-world example with broccoli. Food safety and best practices are woven throughout, so you can confidently interpret even the vaguest recipe instructions.
Every home cook faces the moment when a pan, once bustling with sizzling meat or vegetables, is left with stubborn brown bits stuck to the bottom. These aren’t burnt mistakes—they’re packed with flavor, waiting to be transformed into a sauce that elevates the entire meal. Learning how to deglaze a pan is a practical, kitchen-saving skill that turns cleanup into dinner’s final flourish. Here’s how to make those golden remnants work for you, step by step, on a typical weeknight.