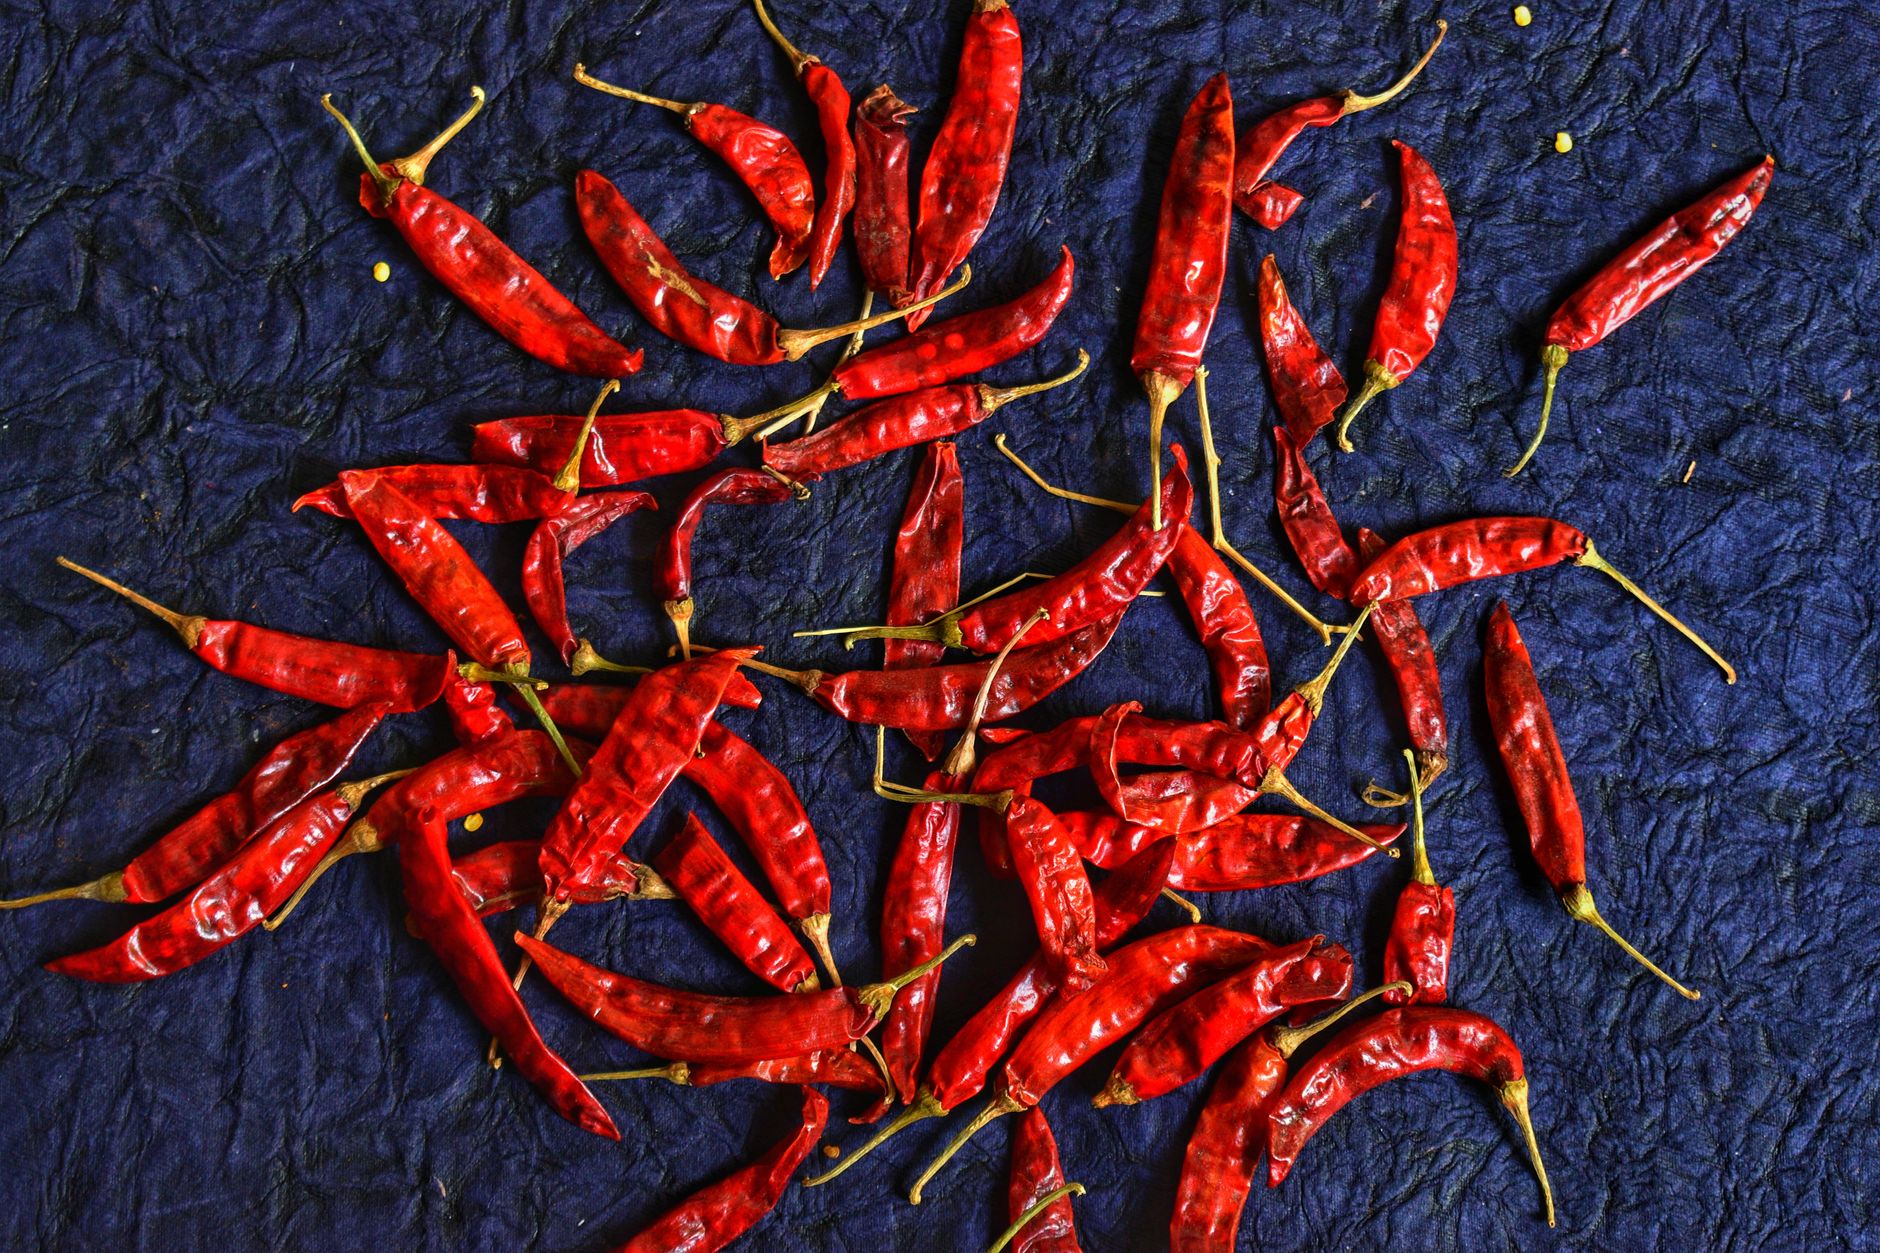
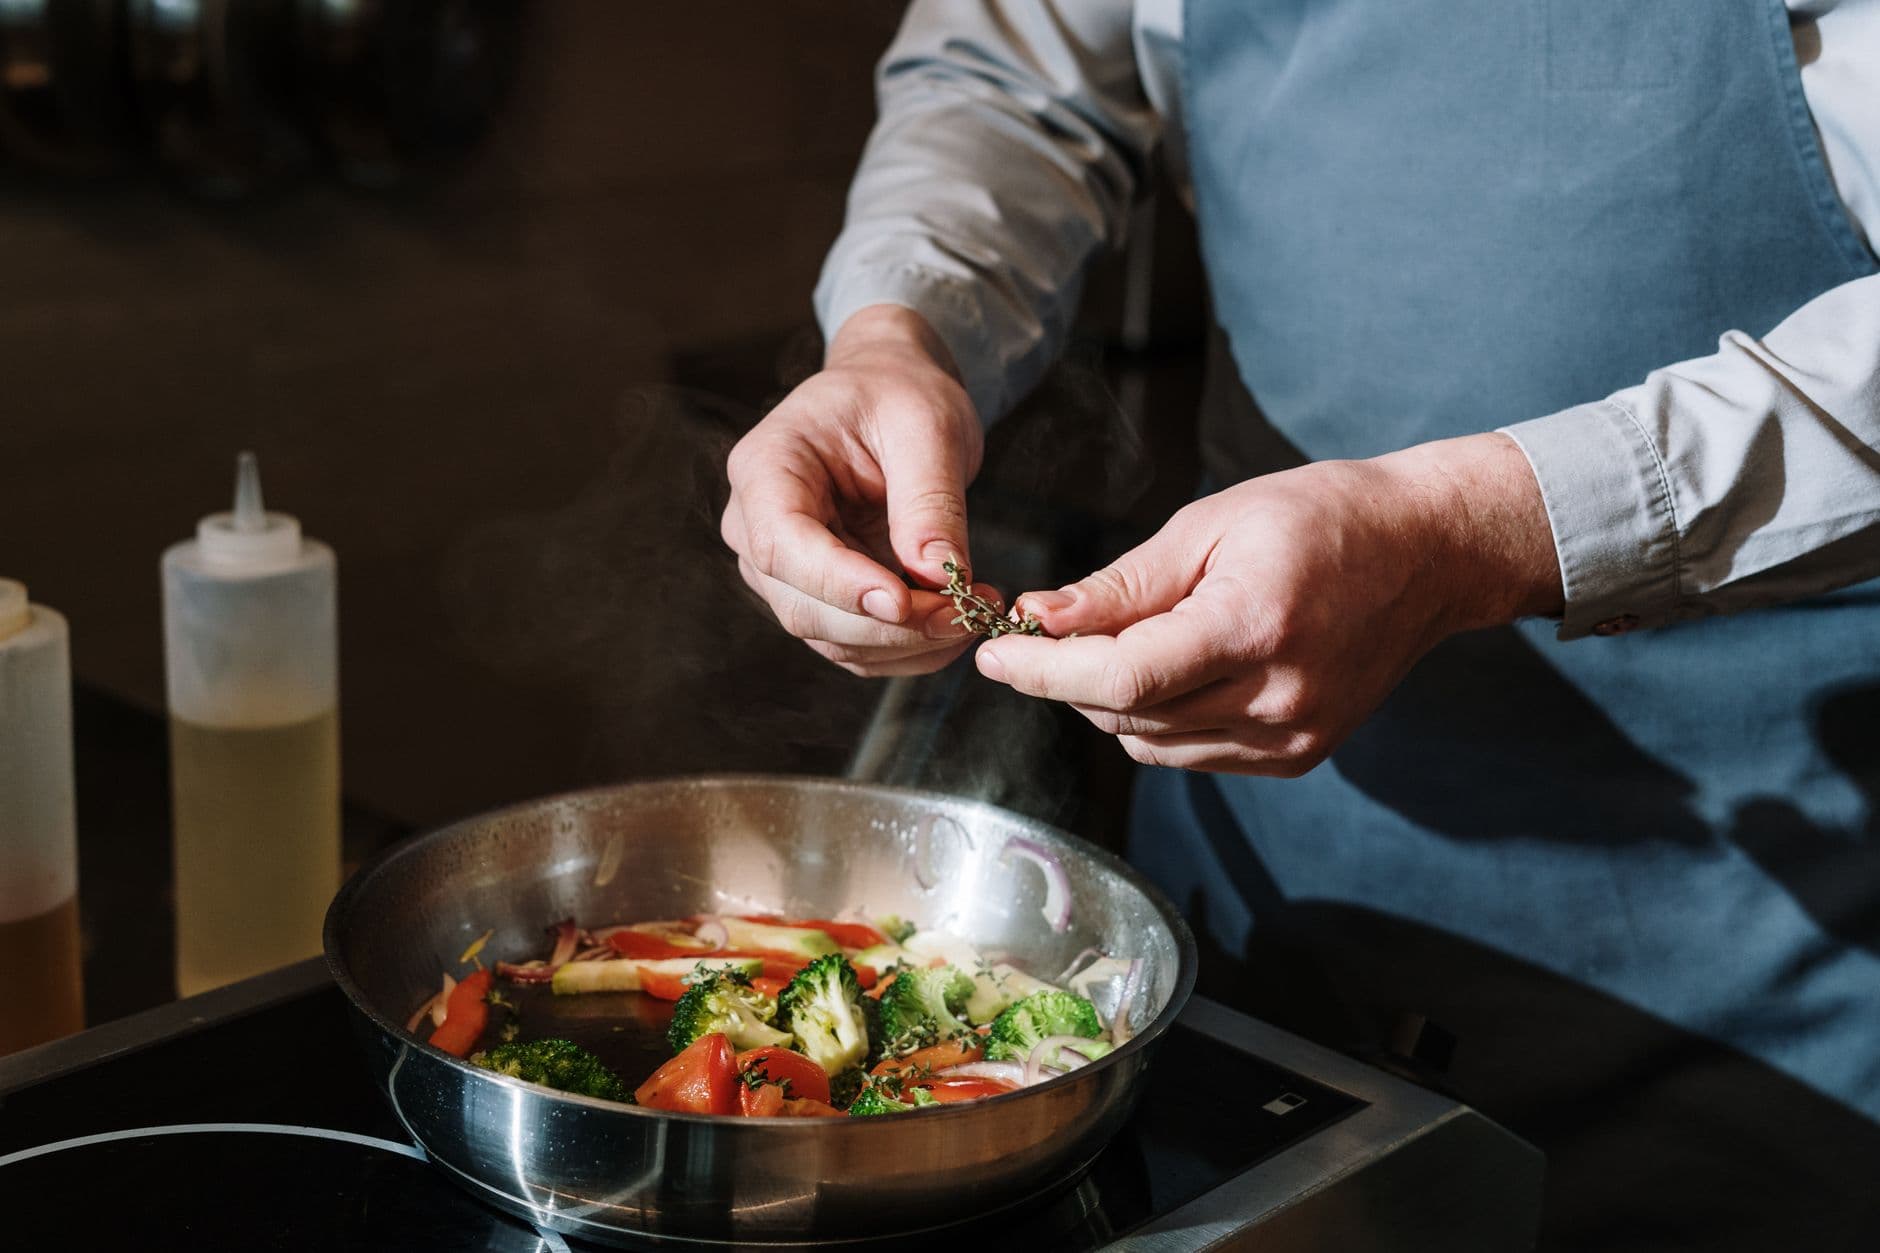
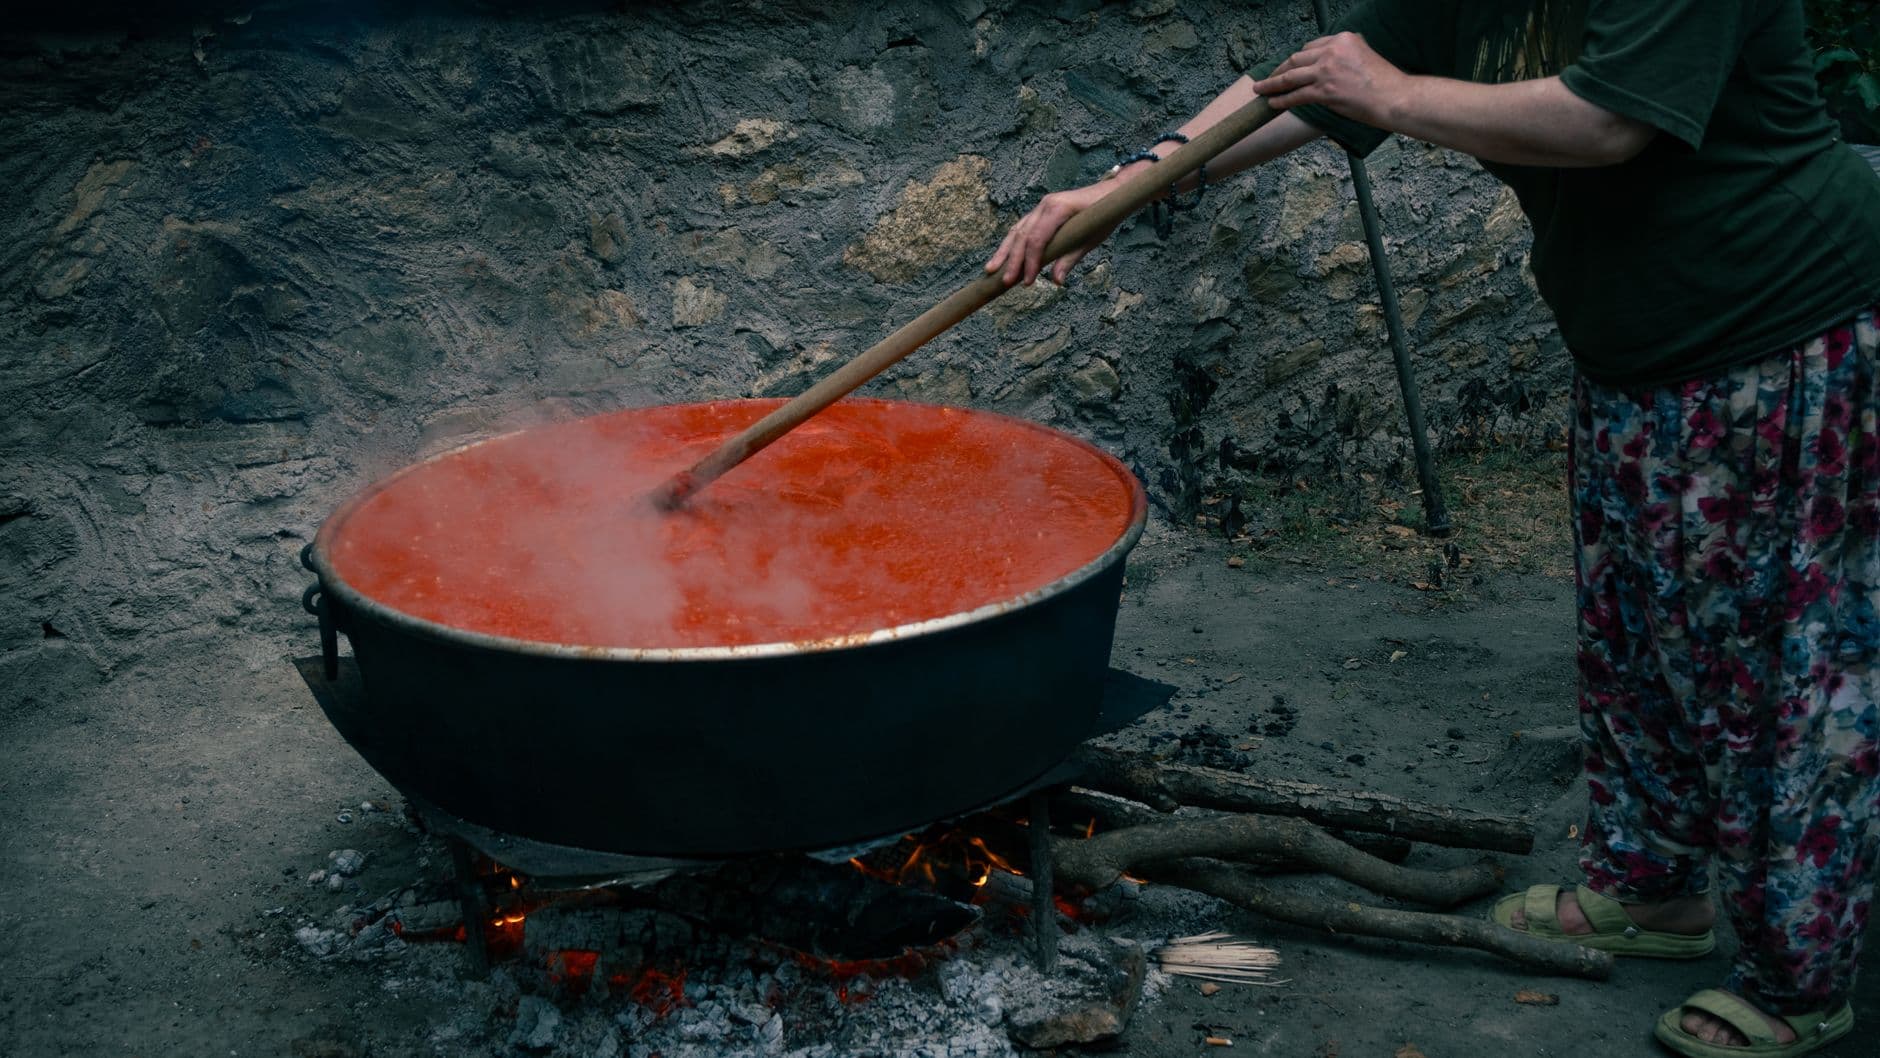
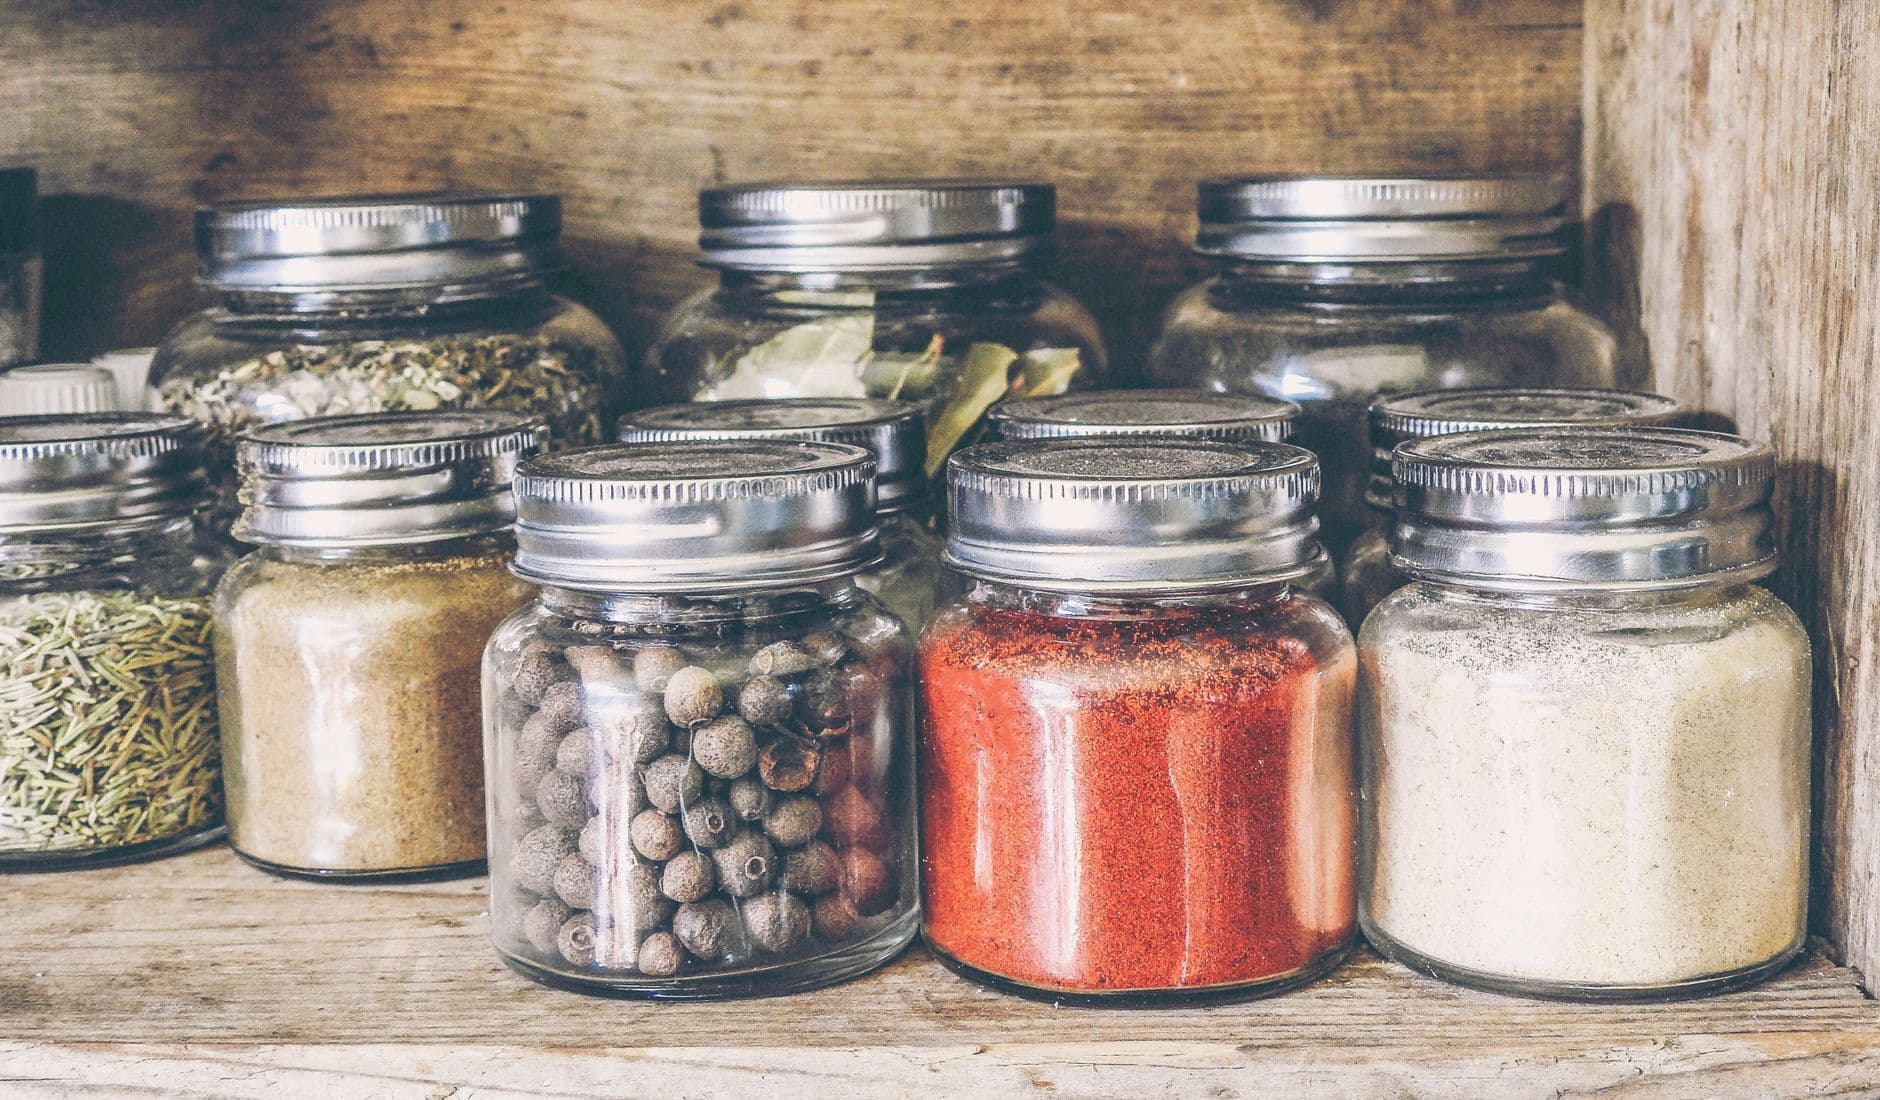
The unpredictable fire of dried chilies can turn a weeknight meal into a culinary gamble. Too much and dinner is a dare; too little, and the dish falls flat. Learning to wield dried chili cooking with confidence isn’t about memorizing Scoville numbers or buying specialty gadgets—it’s about understanding how to coax reliable heat and flavor from these pantry staples, with practical steps that fit into real home kitchens. Here’s how to turn dried chilies from a wild card into an ingredient you can count on, with tips for storage, preparation, and food safety.
The Dried Chili Dilemma: Unpredictable Heat in Home Cooking
Reaching for a dried chili can feel like spinning a roulette wheel. One pod might add a mellow, smoky undertone, while another from the same bag could unleash a torrent of heat. This unpredictability frustrates cooks and deters experimentation. Dried chili cooking is complicated by natural variation: growing conditions, harvest time, and drying methods all affect capsaicin levels, the compound responsible for spiciness. Even storage conditions at home can alter potency over time. Rather than relying on luck, cooks can take a systematic approach to achieve consistent results. By understanding the steps from selection to storage and preparation, dried chilies become a tool for building reliable flavor, not a source of stress.
Choosing Chilies: Know Your Pantry
A successful dish starts with the right ingredient. Dried chilies should be supple and aromatic, not brittle or faded. Old pods lose both their flavor and their fire, so inspect your stash regularly. Hold a chili pod between your fingers and bend it gently; it should flex without snapping. Tear one open and sniff—there should be a clear, vibrant aroma. If the pod smells musty or there’s any sign of mold, discard it immediately. Mold can develop if chilies are exposed to moisture, and consuming spoiled dried produce can pose health risks. When shopping, buy from sources with high turnover, such as busy markets or reputable online sellers. Opt for whole pods over pre-ground chili powder, which loses potency faster and is more vulnerable to contamination. Store-bought chilies in sealed packaging are less likely to harbor pests or absorb humidity. For best results, use dried chilies within a year of purchase, rotating your pantry stock to ensure freshness.
Safe Storage: Keeping Chilies Potent and Safe
The shelf life of dried chilies depends on protection from air, light, and moisture. Store them in airtight containers—glass jars with tight lids or heavy-duty plastic containers work well. Keep the containers in a cool, dark place, such as a pantry or cupboard away from the stove. Exposure to sunlight or heat can fade color and degrade flavor. If you purchase in bulk, divide the supply into smaller portions. Store what you’ll use in the next few months at room temperature, and freeze the rest. According to FoodSafety.gov, freezing dried items like chilies extends their shelf life and protects against insect contamination. Freezing does not affect the flavor or texture of dried chilies, and they can be used straight from the freezer. Always inspect chilies before use. Discard any with visible mold, off smells, or signs of insects. Good storage habits not only preserve flavor but also reduce the risk of foodborne illness.
Washing and Handling: The First Food Safety Step
Dried chilies may appear clean, but dust, debris, and even pesticide residues can linger on their surfaces. Before using, wipe each pod with a damp paper towel. This quick step removes surface contaminants and is especially important if chilies were purchased loose or stored in open bins. The U.S. FDA recommends washing all produce, including items that will be cooked or peeled, to minimize the risk of microbial contamination. After handling dried chilies, wash hands thoroughly with soap and water. Capsaicin, the compound that gives chilies their heat, can transfer easily to skin and linger long after handling. Touching your eyes, nose, or mouth after handling chilies can cause irritation or burning. If preparing large quantities, consider wearing disposable gloves. Clean knives, cutting boards, and other utensils with hot, soapy water after contact with chilies to prevent cross-contamination.
Prepping for Predictable Heat: Seeds, Ribs, and Size
The heat in most chili varieties is concentrated in the seeds and the white inner ribs. For a milder result, slice open the pod and scrape out these parts. If you want more fire, leave some or all of the seeds and ribs intact. When trying a new chili variety, start with a conservative amount—one pod, seeds removed—and taste the result before increasing the quantity in future batches. Cut or break chilies into evenly sized pieces. Uniform size ensures even rehydration and consistent flavor release. If using whole chilies in stews or braises, pierce them with a knife to help flavors infuse the dish. For sauces or pastes, break chilies into small pieces before soaking or blending. This methodical approach allows for precise control over heat and flavor, reducing surprises at the table.
Rehydrating: Bringing Chilies Back to Life
Dried chilies need moisture to release their full potential. Place the prepared pieces in a bowl and cover with hot (not boiling) water. Let them soak for 15 to 20 minutes, or until pliable and soft. If the soaking water turns cloudy or develops an off odor, discard the chilies and start over with fresh ones. Use only potable, hot tap water for soaking; never use water that’s been sitting out or is of questionable quality. Once rehydrated, drain the chilies and use them as directed in your recipe. If blending into a sauce or paste, reserve some soaking liquid to adjust consistency and deepen the flavor. Rehydrated chilies are perishable—treat them like fresh produce. Refrigerate any unused portion promptly and use within a few days. According to FDA cold storage guidelines, rehydrated produce should not be left at room temperature for extended periods. Label leftovers with the date and store in a covered container to prevent cross-contamination.
Toasting and Blending: Unlocking Nuance Without Surprises
Toasting dried chilies before use intensifies their aroma and adds complexity. Heat a dry skillet over medium heat and add the chilies in a single layer. Press them lightly with a spatula and toast for 30 seconds per side, just until fragrant and slightly darkened. Avoid burning; scorched chilies turn bitter and harsh. Once toasted, let them cool briefly before handling. Toasted chilies can be ground into powder, blended into sauces, or steeped in oil for flavor infusions. When blending, work in small batches and taste as you go. Gradually add more chili until the desired heat and flavor are reached. This incremental approach makes it easier to avoid overpowering a dish. If making a chili paste, blend rehydrated chilies with aromatics, spices, and some of the reserved soaking liquid. Adjust the thickness and seasoning to suit your recipe. Toasting and blending unlock layers of flavor, helping dried chilies shine as more than just a source of heat.
Balancing Flavors: Taming the Fire
If a dish turns out spicier than intended, balance the heat with acidity, sweetness, or fat. A splash of vinegar or squeeze of lime brightens flavors and softens the burn. A pinch of sugar or drizzle of honey tempers sharpness without masking complexity. Dairy products—such as cream, yogurt, or sour cream—coat the palate and mellow capsaicin’s impact. Coconut milk or nut butters can serve a similar purpose in dairy-free dishes. Taste and adjust gradually, adding small amounts and stirring well between additions. Remember, dried chilies contribute more than heat—they offer earthy, fruity, and smoky notes that can elevate a dish. By layering flavors thoughtfully, it’s possible to highlight these qualities while keeping the spice level in check.
Storing and Using Leftovers: Safety First
Chili pastes, sauces, or rehydrated chilies should be cooled quickly after preparation. Transfer to shallow containers and refrigerate within two hours to slow bacterial growth. Use refrigerated leftovers within 3 to 5 days. For longer storage, freeze in labeled, portioned containers. According to FDA guidelines, freezing preserves both safety and quality. Always label containers with the date and contents to avoid confusion. When reheating chili-based sauces or pastes, bring them to a simmer to ensure safety. Discard any leftovers that develop an off odor, mold, or signs of spoilage. Good kitchen habits—prompt refrigeration, proper labeling, and regular checks—help prevent foodborne illness and reduce waste.
Defrosting and Reusing Frozen Chilies and Pastes
Frozen dried chilies or chili pastes are convenient for future meals, but safe thawing is essential. The USDA recommends defrosting frozen foods in the refrigerator, under cold running water, or in the microwave if using immediately. Never thaw at room temperature, as this encourages bacterial growth. Once thawed, use the chili product promptly and avoid refreezing. If using thawed chili paste in a cooked dish, ensure it is heated thoroughly to a simmer. Proper thawing and reheating practices protect both flavor and food safety, allowing you to enjoy the convenience of batch-prepped chili ingredients without compromising quality.
Confident Dried Chili Cooking: From Guesswork to Mastery
Dried chili cooking becomes predictable with a few simple habits. Choose quality pods, store them safely, and handle them with care. Prep by removing seeds and ribs for gentle heat, or leave them in for bolder spice. Rehydrate with fresh, hot water, and toast for added depth. Taste as you go, adjusting with acidity, sweetness, or fat to balance flavors. Store leftovers promptly and thaw safely. Over time, these steps become second nature, turning dried chilies from a wild card into a reliable, essential pantry ingredient. With practice, you’ll build an intuitive sense for how much heat to add and how to coax the best flavor from every pod.
Charlotte Flynn writes FeedsAtlas guides to pantry staples and culinary traditions. The pieces map techniques and ingredients so home cooks can understand a method, not a restaurant visit.
You’re standing at your stove, pan heating up, and suddenly your oil starts smoking—long before your vegetables hit the skillet. The internet is full of charts and rules about cooking oil smoke point, but most home cooks don’t need a chemistry degree to avoid burnt oil or bitter flavors. Instead, let’s troubleshoot the real failure modes you’ll encounter, cut through the hype, and help you make practical oil choices for everyday home cooking.
Every home cook eventually faces the canned vs fresh tomatoes dilemma. Whether you’re simmering a sauce or topping a pizza, the decision isn’t just about flavor—it’s about practicality, safety, and the way tomatoes transform in heat. This article walks through the real-world factors that tip the scales in favor of canned tomatoes, and when fresh truly shines, all grounded in the needs and rhythms of a home kitchen.
Stale, faded spices are a quiet culprit behind lackluster home cooking, but dumping every jar after the 'best by' date is wasteful and expensive. This troubleshooting guide untangles when to keep, toss, or revive what’s on your shelf—so you can refresh your spice jars for peak flavor without unnecessary waste. From easy sniff tests to strategies for using up older spices, we’ll help you make the most of every pinch, safely and sensibly.
Staring at a bag of dried beans, you might wonder: Do I really need to soak these, or can I just cook them straight from the pantry? The answer can shape your dinner timeline, the texture of your beans, and even how you store leftovers. Here’s a practical guide to when soaking matters, when it doesn’t, and how to keep food safety and flavor in mind at every step.
You reach for vinegar when making vinaigrette, but the bottle lingers in the pantry, half-used, as if waiting for a purpose beyond salad. In reality, vinegar is a quiet workhorse for home cooks, lending brightness, balance, and even safety to a surprising number of weeknight kitchen moments. This article follows a realistic evening’s cooking, showing where vinegar can unlock flavor, help with food safety, and even rescue a dish gone sideways—no chef credentials required.
You’re halfway through a recipe and the instructions call for “salt”—but which kind? The difference between kosher, table, and flaky salt isn’t just about texture or price. How you use them shifts the way flavors develop, how ingredients behave, and even how safely you prepare your meal. This evening-in-the-kitchen narrative explores the practical realities of choosing between types of salt for cooking, from seasoning pasta water to finishing a roast, and offers grounded advice to help you navigate the most common salt decisions at home.