Choosing a Cooking Oil by Smoke Point Without the Hype
Charlotte Flynn··10 min read
You’re standing at your stove, pan heating up, and suddenly your oil starts smoking—long before your vegetables hit the skillet. The internet is full of charts and rules about cooking oil smoke point, but most home cooks don’t need a chemistry degree to avoid burnt oil or bitter flavors. Instead, let’s troubleshoot the real failure modes you’ll encounter, cut through the hype, and help you make practical oil choices for everyday home cooking.
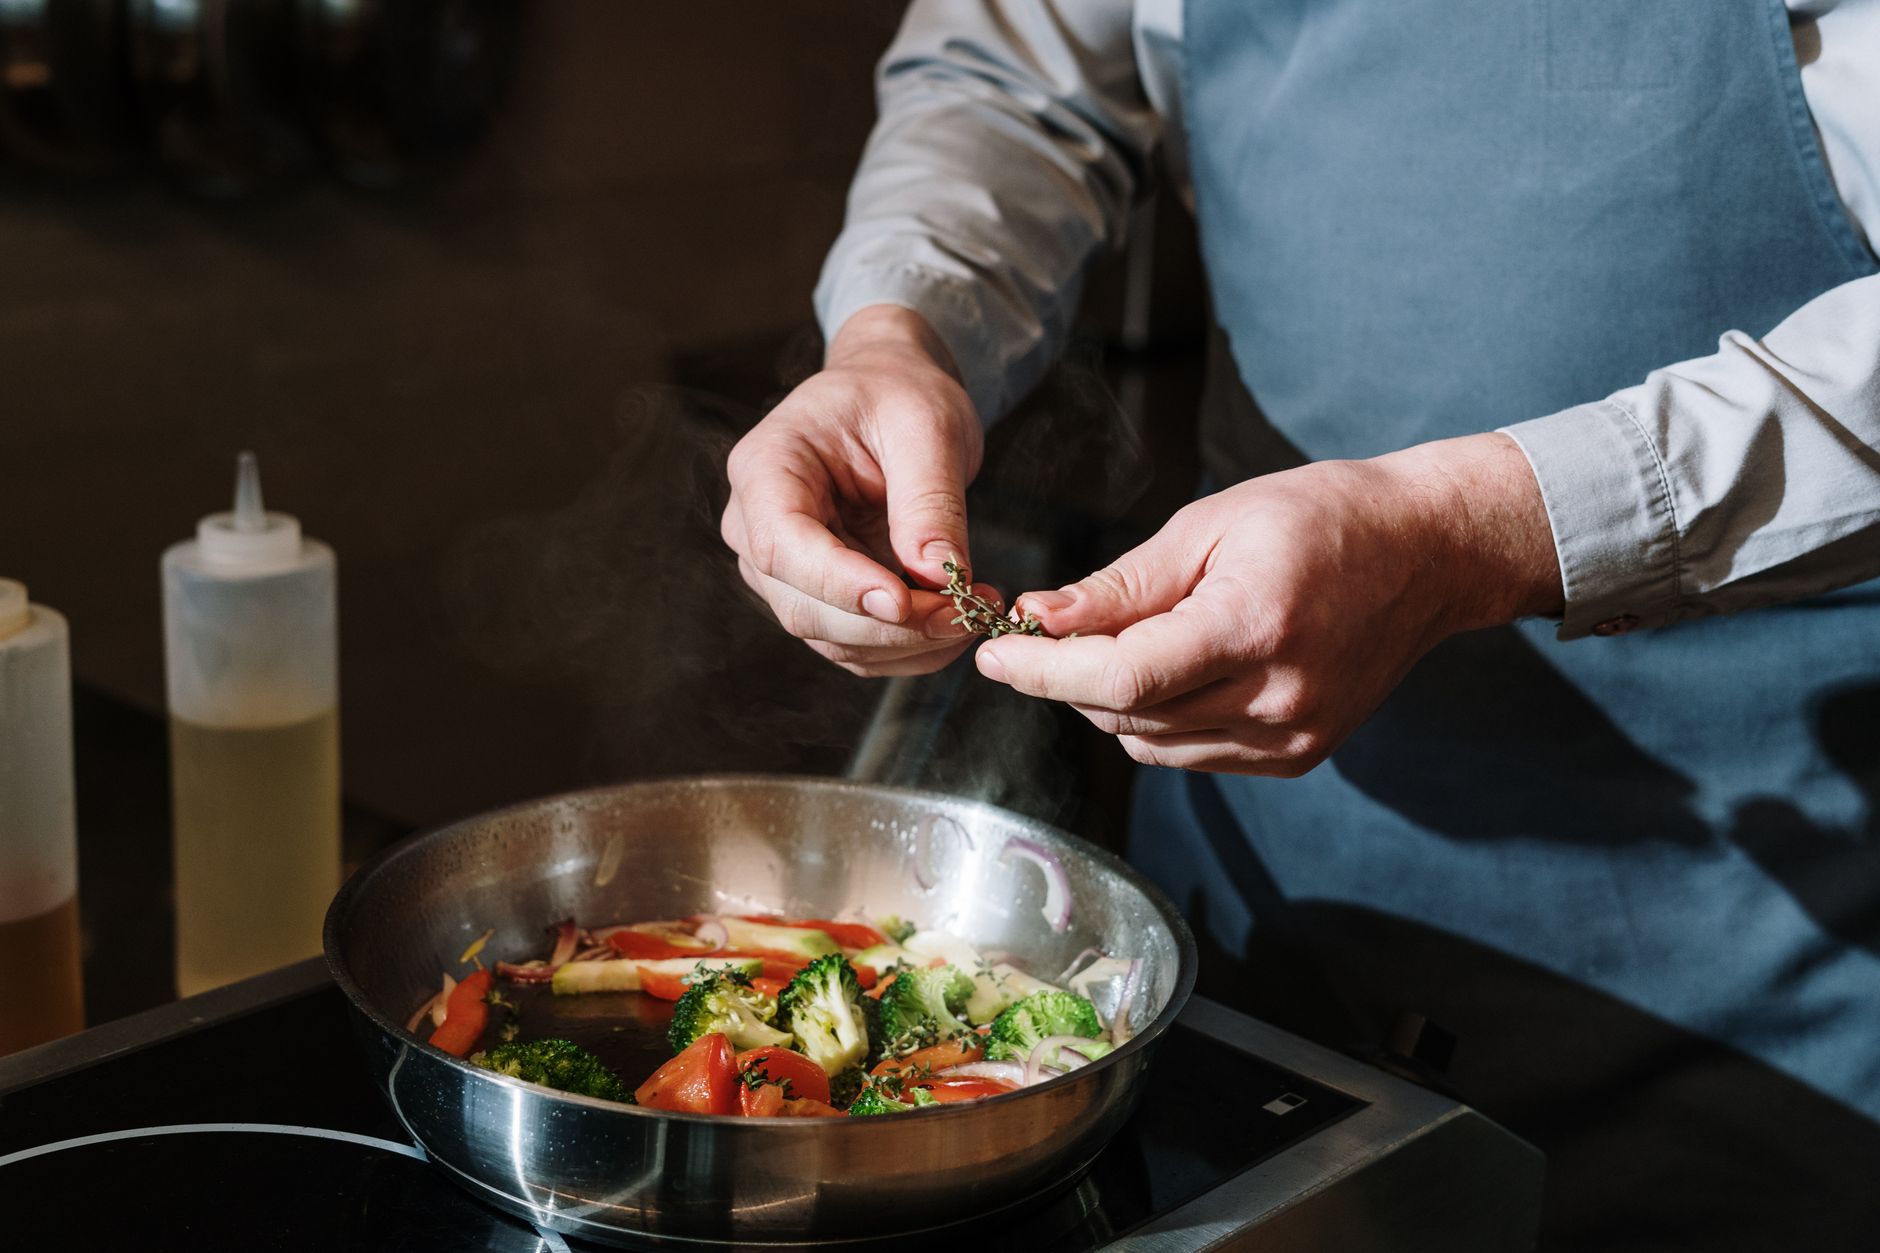
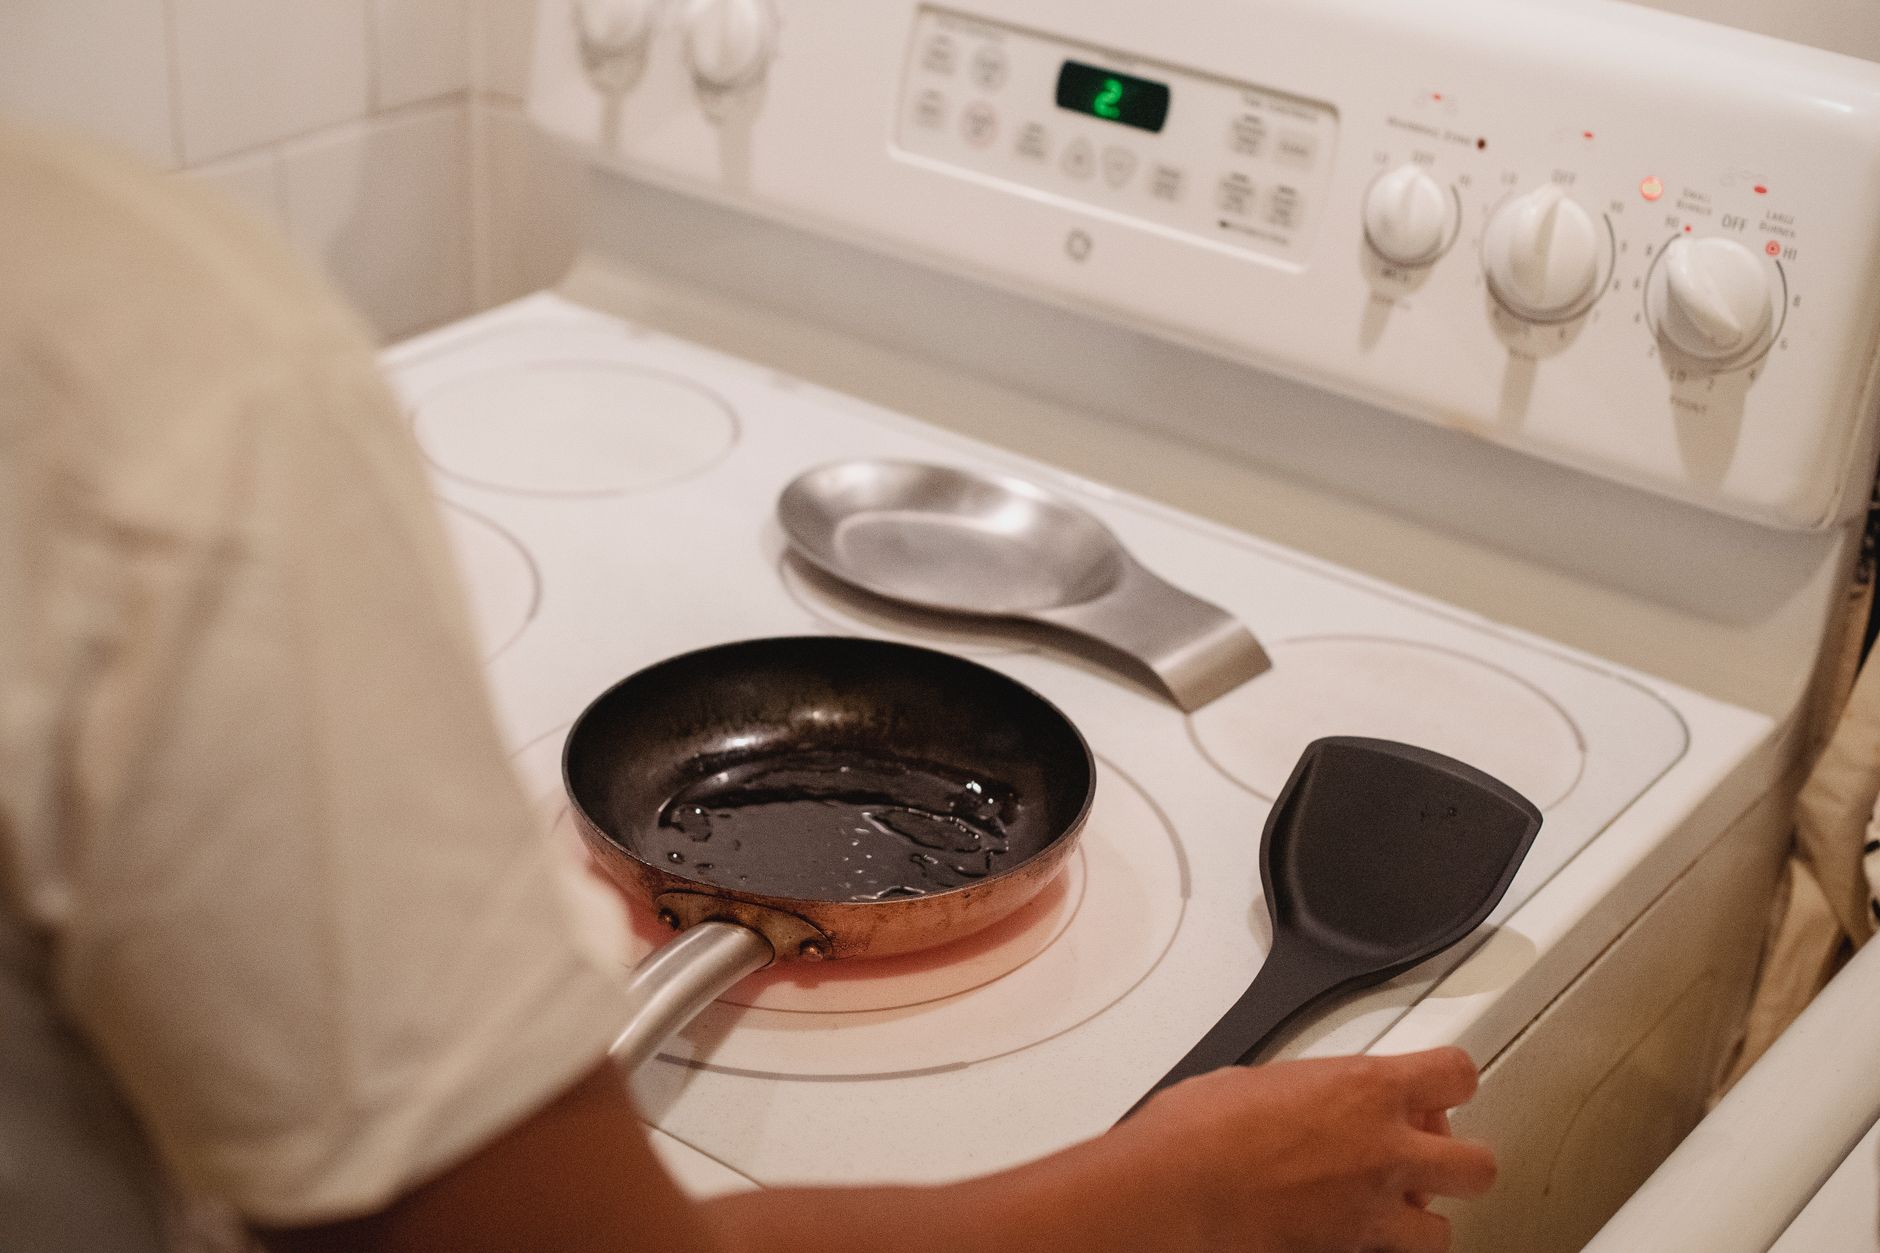
This is the moment most cooks realize something’s wrong: you’re preheating oil, maybe for sautéing onions or searing chicken, and suddenly it’s sending up wisps of smoke—or worse, filling the kitchen with a bitter haze. That smoke isn’t just a nuisance. It’s a sign the oil is breaking down, and that can mean off-flavors or even a kitchen fire risk if left unchecked. The root issue here is often a mismatch between your pan temperature and the smoke point of the oil you chose. But it’s not just about using a chart—pan material, preheating habits, and ingredient prep all play a role. A thin aluminum skillet can overheat in seconds, while a heavy cast iron pan may take longer but hold onto heat, causing oil to smoke if left unattended. Even the type of stove matters: gas burners heat pans differently than electric coils, and induction surfaces can create hot spots, especially if the pan doesn’t sit flat. For more on reading your pan’s cues, see /posts/pan-heat-cues-home-cooks.
What Smoke Point Really Means (And Why It’s Not Absolute)
Smoke point is the temperature at which oil visibly smokes and starts breaking down. But those numbers you see online aren’t as fixed as they seem. Refining, freshness, and even storage can shift an oil’s smoke point by 20 degrees or more. Unrefined oils (like extra-virgin olive oil) tend to smoke at lower temperatures, while refined oils (like canola, sunflower, or light olive oil) can handle higher heat. But don’t ignore the biggest wild card: your stove and pan rarely heat as evenly as a lab. Watch for the first signs of shimmering or faint wisps of smoke, and adjust your heat down before things get acrid. Even within the same bottle, the smoke point can drop if the oil has been exposed to air, light, or heat over time. Some oils are blended or partially refined, making their behavior unpredictable. In a real kitchen, the best indicator is always the oil’s look and smell, not a chart.
Common Failure Modes: How Oil Smoke Point Trips Up Home Cooks
Most smoke point mishaps fall into a few buckets:
Overheating before cooking starts: Leaving oil in a hot pan while prepping other ingredients is a classic mistake. Oils degrade quickly once they start to smoke, and the breakdown products can impart a harsh, bitter taste to everything cooked afterward. Even a minute or two of distraction—chopping garlic, answering a text—can be enough to push oil past its limit.
Using a low smoke point oil for high-heat tasks: Butter, unrefined coconut oil, and extra-virgin olive oil will scorch if you try to deep-fry or sear at high heat. This doesn’t just taste bad—it can fill the kitchen with smoke and set off alarms. Some home cooks try using flavorful oils for everything, but these are best saved for finishing or gentle sautéing.
Not recognizing pan cues: If you wait for aggressive smoke, you’ve gone too far. Learn to spot the first shimmer as your cue to add food, not the first plume. A shimmering surface means the oil is hot enough for sautéing or searing. If you see faint wisps, it’s time to act fast; visible smoke is a sign to remove the pan from heat.
Reusing oil past its prime: Each use lowers an oil’s smoke point further and can introduce off-flavors or safety issues. When in doubt, use fresh oil for frying or high-heat cooking. Reused oil can also pick up food particles, which burn and degrade the oil even faster.
Ignoring food safety basics: Overheated oil can create compounds you don’t want in your food. Always keep an eye on pan temperature and never leave hot oil unattended. For more on safe kitchen habits, see FoodSafety.gov, Keep Food Safe — https://www.foodsafety.gov/keep-food-safe.
Other less obvious pitfalls include using dirty pans (old residues can burn and smoke before the oil itself does), or cooking with wet utensils, which can cause oil to splatter and heat unevenly. Even a small amount of water in the pan can cause oil to break down faster, especially at high temperatures.
Matching Oil to Cooking Task: Skip the Overkill
For most home cooks, there’s no need to buy a dozen specialty oils. Pick one neutral, high-smoke-point oil (like refined canola, sunflower, or grapeseed) for stir-frying, searing, or roasting at high heat. Save flavorful, lower-smoke-point oils (like extra-virgin olive, toasted sesame, or walnut) for drizzling, salad dressings, or gentle sautéing. If recipes call for deep-frying, stick to oils labeled for high heat and never reuse oil indefinitely. Remember, the pan’s cues matter more than the label’s exact number. If you’re unsure about the state of your oil stash, see /posts/spice-jar-refresh-without-waste for tips on keeping ingredients fresh.
A common failure mode here is using a delicate oil for a task that requires durability. For example, using extra-virgin olive oil for stir-frying can result in burnt flavors and wasted ingredients. On the other hand, using only high-smoke-point, flavorless oils for everything can make finished dishes taste flat. The key is matching the oil to the technique: high-heat for searing and frying, flavorful oils for finishing and low-heat applications. For those who want to minimize clutter, a bottle of refined canola or sunflower oil and a bottle of extra-virgin olive oil will cover nearly all bases.
Safe Handling: What to Do When Oil Smokes
If your oil starts to smoke, immediately remove the pan from heat. Let it cool before discarding or wiping out the pan—never try to douse hot oil with water, which can cause splattering or fires. Burned oil should be thrown out, as the breakdown products can affect flavor and safety. Always monitor pans closely, especially when heating oil for frying or searing. For general kitchen safety, including how to handle hot pans and keep surfaces clean, review the guidelines at FoodSafety.gov: https://www.foodsafety.gov/keep-food-safe.
Another common mistake is trying to salvage overheated oil by simply turning down the heat and proceeding as normal. Once oil has started to smoke, its flavor and safety have already been compromised. Continuing to cook with it can result in acrid, unpleasant food and introduce unwanted compounds. If a fire does start, smother it with a lid or baking soda—never water. Keep a metal lid or sheet pan nearby when frying, just in case. If oil spills on the stovetop, clean it up promptly to prevent future smoke and fire hazards.
Pan and Prep: Why Your Technique Matters More Than the Chart
A heavy pan, uneven burner, or wet ingredients can all affect how quickly oil reaches its smoke point. Thin pans heat up fast and unpredictably, while heavy pans (like cast iron) retain heat but can develop hot spots. Wet vegetables or meats add water to the pan, which slows browning and can make oil splatter. Dry your ingredients before adding them to hot oil to minimize risk and ensure better searing. For more on prepping vegetables safely, see U.S. FDA, Selecting and Serving Produce Safely — https://www.fda.gov/food/buy-store-serve-safe-food/selecting-and-serving-produce-safely.
A frequent failure mode is adding cold or wet food to hot oil, which can cause the temperature to drop suddenly, leading to soggy results and uneven browning. Water droplets can also cause oil to spatter, increasing the risk of burns and making cleanup harder. Always pat ingredients dry with paper towels and let them come to room temperature when possible. For produce, wash thoroughly under running water and dry completely before cooking. Avoid cross-contamination by using clean utensils and cutting boards, especially when switching between raw meats and vegetables.
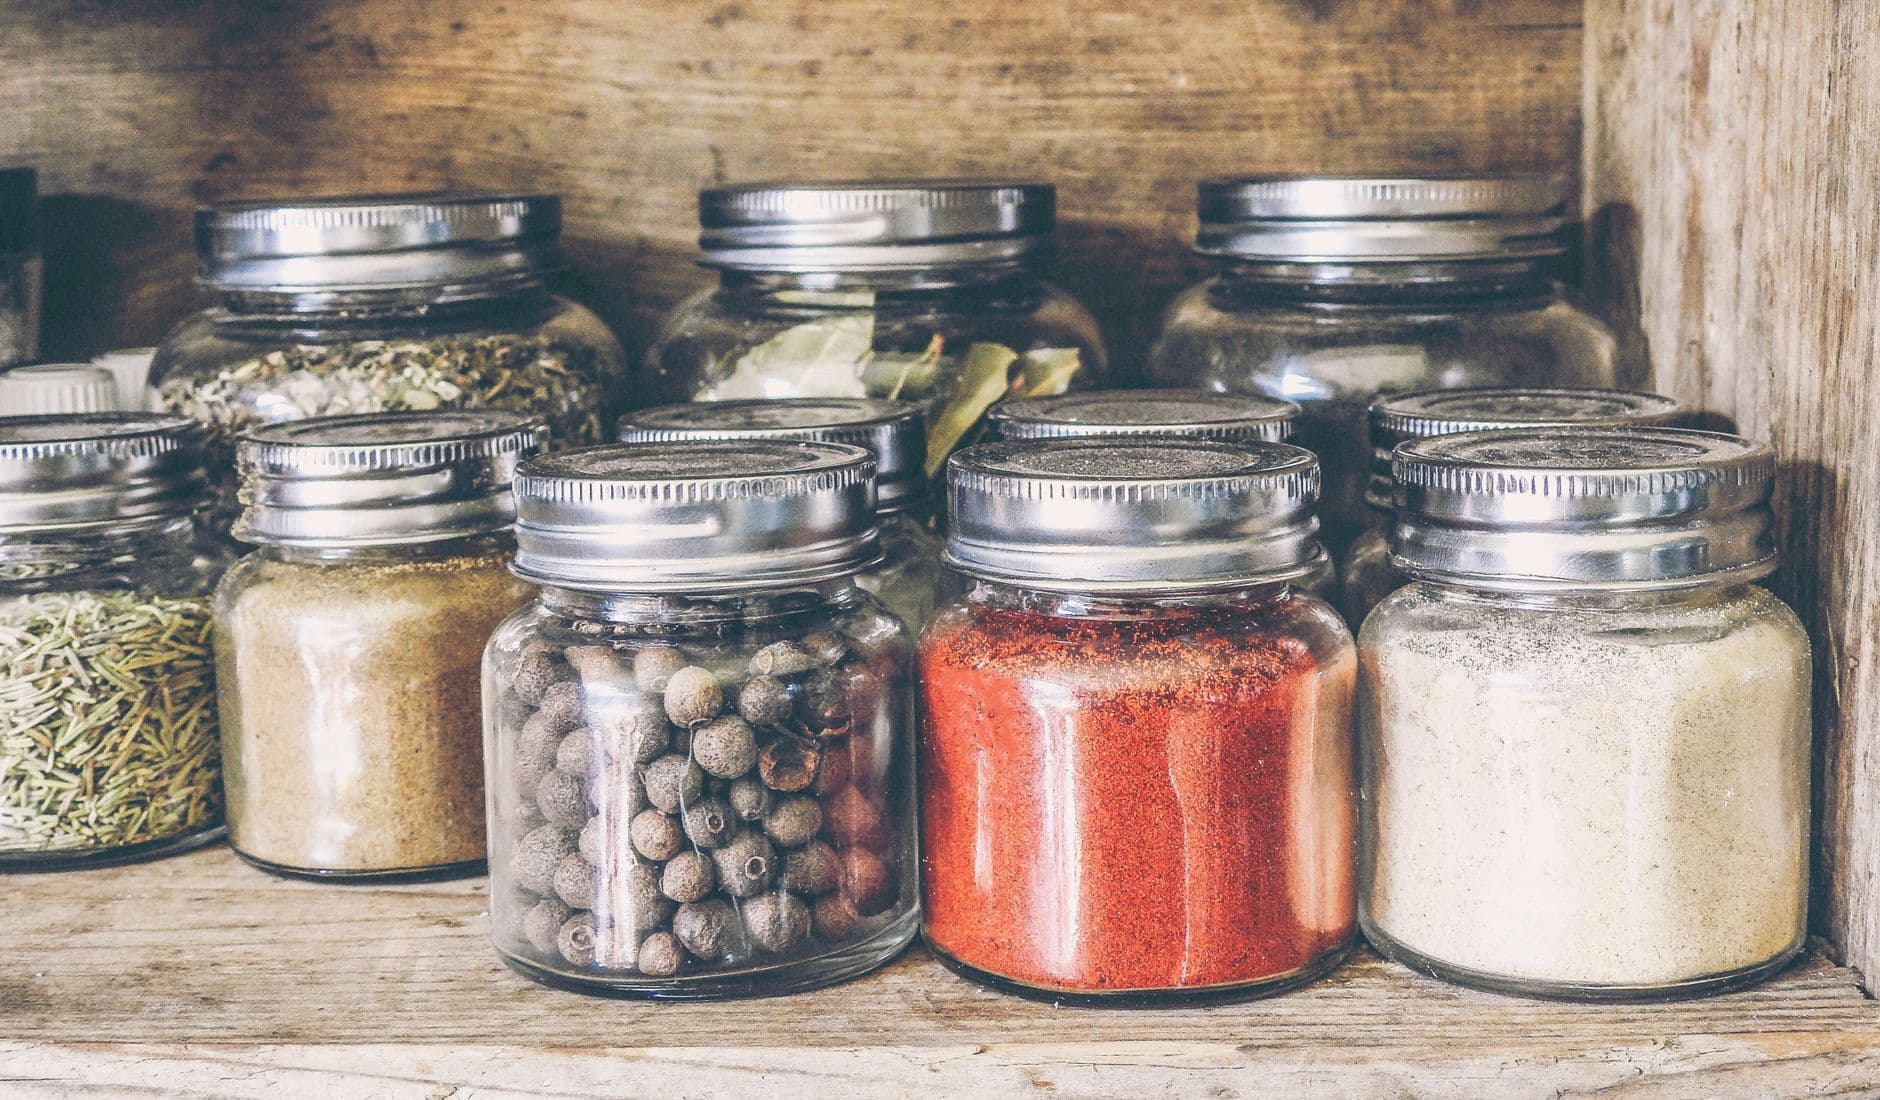
Even the highest-smoke-point oil can go rancid or develop off-flavors if stored poorly. Keep oils in a cool, dark cupboard, tightly sealed. Old oil (especially nut or seed oils) can degrade and smoke at lower temperatures than expected. If your oil smells sharp, bitter, or paint-like, it’s time to toss it. For more on safe food storage, see University of Minnesota Extension, Food Safety — https://extension.umn.edu/food-safety.
Another overlooked failure mode is letting oil sit near the stove or in a warm pantry, where heat and light can speed up oxidation. Buying oil in large containers may seem economical, but unless you cook in bulk, smaller bottles stay fresher. If you notice sediment or cloudiness in a clear oil, or if the flavor seems off, don’t risk it. Rancid oil not only smells and tastes bad, but it can also introduce unhealthy compounds into food. Always check expiration dates and rotate your stock, using older oils first. For specialty oils like walnut or sesame, refrigeration can extend shelf life.
Smoke Point and Food Safety: Beyond Flavor
The smoke point isn’t just about flavor—it’s a safety issue. Overheated oil can produce acrolein and other irritants, which are harsh on the lungs and eyes. In extreme cases, oil can ignite, especially if left unattended. According to FoodSafety.gov and the USDA, keeping a close eye on temperatures and never walking away from hot oil are crucial steps to preventing kitchen fires. For deep-frying, use a thermometer to monitor oil temperature and avoid exceeding the recommended range for your chosen oil. If oil begins to foam, darken, or smell burnt, it’s past its safe use and should be discarded. Never pour used oil down the drain; instead, collect it in a container for proper disposal.
Why “Natural” or “Unrefined” Isn’t Always Better for Cooking
Many home cooks are drawn to unrefined or minimally processed oils for their flavor and perceived health benefits. However, these oils almost always have lower smoke points and are more sensitive to heat. Using unrefined oils for high-heat cooking can lead to rapid breakdown, smoke, and even the formation of unwanted compounds. For tasks like stir-frying, roasting, or searing, refined oils are safer and more reliable. Save unrefined oils for finishing dishes, salad dressings, or gentle heat. This approach preserves both flavor and safety, and helps avoid the disappointment of burnt oil or ruined meals.
The Bottom Line: Pay Attention, Not Just the Chart
Smoke point charts have their place, but real kitchen success comes from watching your pan, choosing the right oil for the job, and keeping ingredients fresh. Trust your senses, keep safety in mind, and don’t let hype or marketing steer you away from practical choices for your home kitchen. The most common failure modes—overheating, mismatched oil and task, ignoring pan cues, and poor storage—are easy to avoid with a little attention. When in doubt, err on the side of caution: use fresh, neutral oil for high heat, and reserve flavorful oils for finishing touches. A little observation and care go further than any chart or trend.
Charlotte Flynn writes FeedsAtlas guides to pantry staples and culinary traditions. The pieces map techniques and ingredients so home cooks can understand a method, not a restaurant visit.
Every home cook eventually faces the canned vs fresh tomatoes dilemma. Whether you’re simmering a sauce or topping a pizza, the decision isn’t just about flavor—it’s about practicality, safety, and the way tomatoes transform in heat. This article walks through the real-world factors that tip the scales in favor of canned tomatoes, and when fresh truly shines, all grounded in the needs and rhythms of a home kitchen.
Stale, faded spices are a quiet culprit behind lackluster home cooking, but dumping every jar after the 'best by' date is wasteful and expensive. This troubleshooting guide untangles when to keep, toss, or revive what’s on your shelf—so you can refresh your spice jars for peak flavor without unnecessary waste. From easy sniff tests to strategies for using up older spices, we’ll help you make the most of every pinch, safely and sensibly.
Staring at a bag of dried beans, you might wonder: Do I really need to soak these, or can I just cook them straight from the pantry? The answer can shape your dinner timeline, the texture of your beans, and even how you store leftovers. Here’s a practical guide to when soaking matters, when it doesn’t, and how to keep food safety and flavor in mind at every step.
The unpredictable fire of dried chilies can turn a weeknight meal into a culinary gamble. Too much and dinner is a dare; too little, and the dish falls flat. Learning to wield dried chili cooking with confidence isn’t about memorizing Scoville numbers or buying specialty gadgets—it’s about understanding how to coax reliable heat and flavor from these pantry staples, with practical steps that fit into real home kitchens. Here’s how to turn dried chilies from a wild card into an ingredient you can count on, with tips for storage, preparation, and food safety.
You reach for vinegar when making vinaigrette, but the bottle lingers in the pantry, half-used, as if waiting for a purpose beyond salad. In reality, vinegar is a quiet workhorse for home cooks, lending brightness, balance, and even safety to a surprising number of weeknight kitchen moments. This article follows a realistic evening’s cooking, showing where vinegar can unlock flavor, help with food safety, and even rescue a dish gone sideways—no chef credentials required.
You’re halfway through a recipe and the instructions call for “salt”—but which kind? The difference between kosher, table, and flaky salt isn’t just about texture or price. How you use them shifts the way flavors develop, how ingredients behave, and even how safely you prepare your meal. This evening-in-the-kitchen narrative explores the practical realities of choosing between types of salt for cooking, from seasoning pasta water to finishing a roast, and offers grounded advice to help you navigate the most common salt decisions at home.