Batch-Cooking Grains Without Ending Up With a Gluey Pot
Benjamin Shaw··12 min read
Batch-cooking grains can turn weeknight meals from stressful to seamless, but it’s also where many home cooks stumble—ending up with sticky, overcooked, or bland results. This editorial walks through a realistic evening of prepping big-batch grains, from choosing which ones to cook to chilling and storing them safely. You’ll learn how to avoid mush, keep flavors fresh, and make future dinners far easier (and tastier) without risking food safety missteps.
It’s Tuesday night. You’re eyeing that bag of farro in the pantry, knowing that tomorrow’s dinner could be halfway done if you just batch cook grains tonight. But maybe last time you tried this, you ended up with a gluey pot of rice and a fridge full of clumpy, flavorless leftovers. The promise of meal-prepping grains is real—so are the pitfalls. The challenge lies in making enough for the week without sacrificing texture or food safety. Here’s how to walk that line, one practical step at a time.
Choosing Your Grains (and Why It Matters)
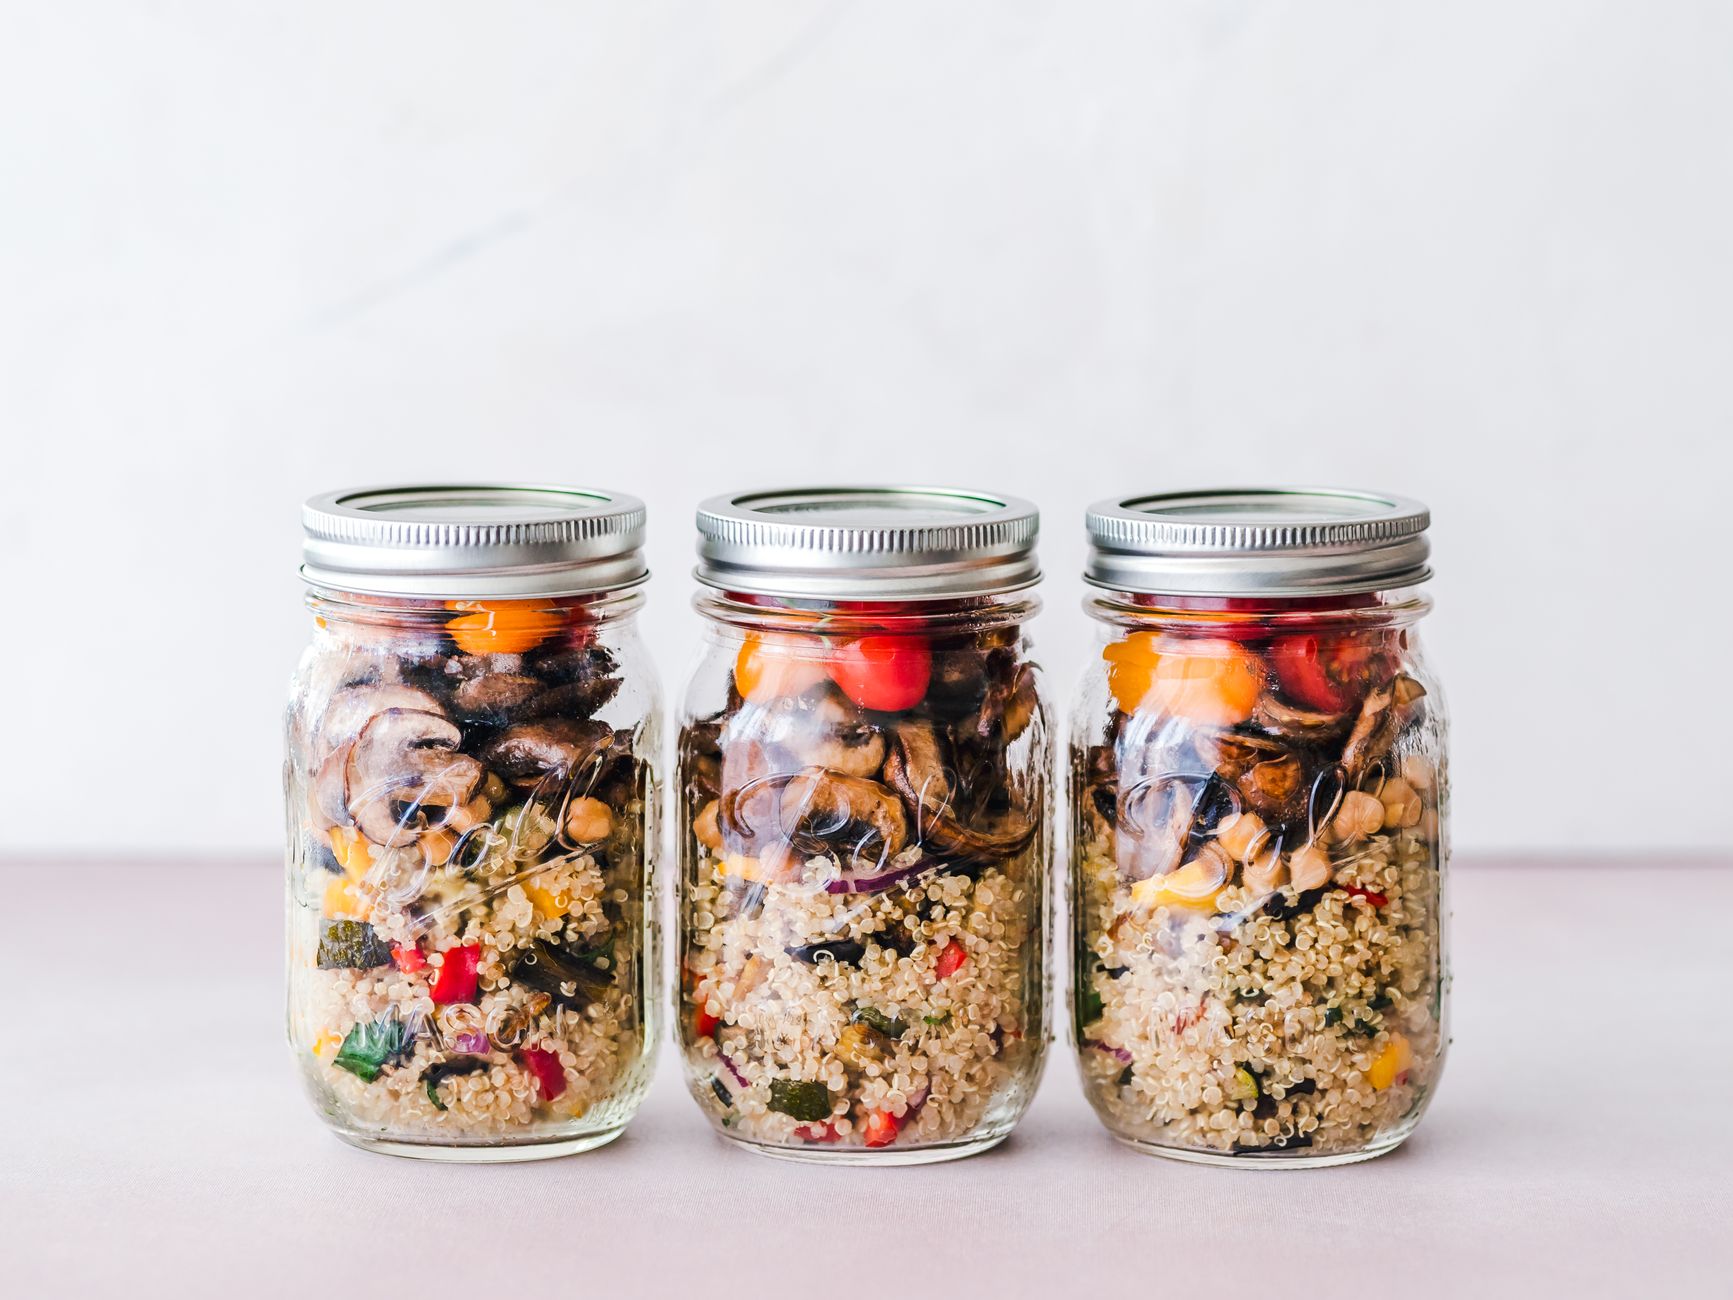
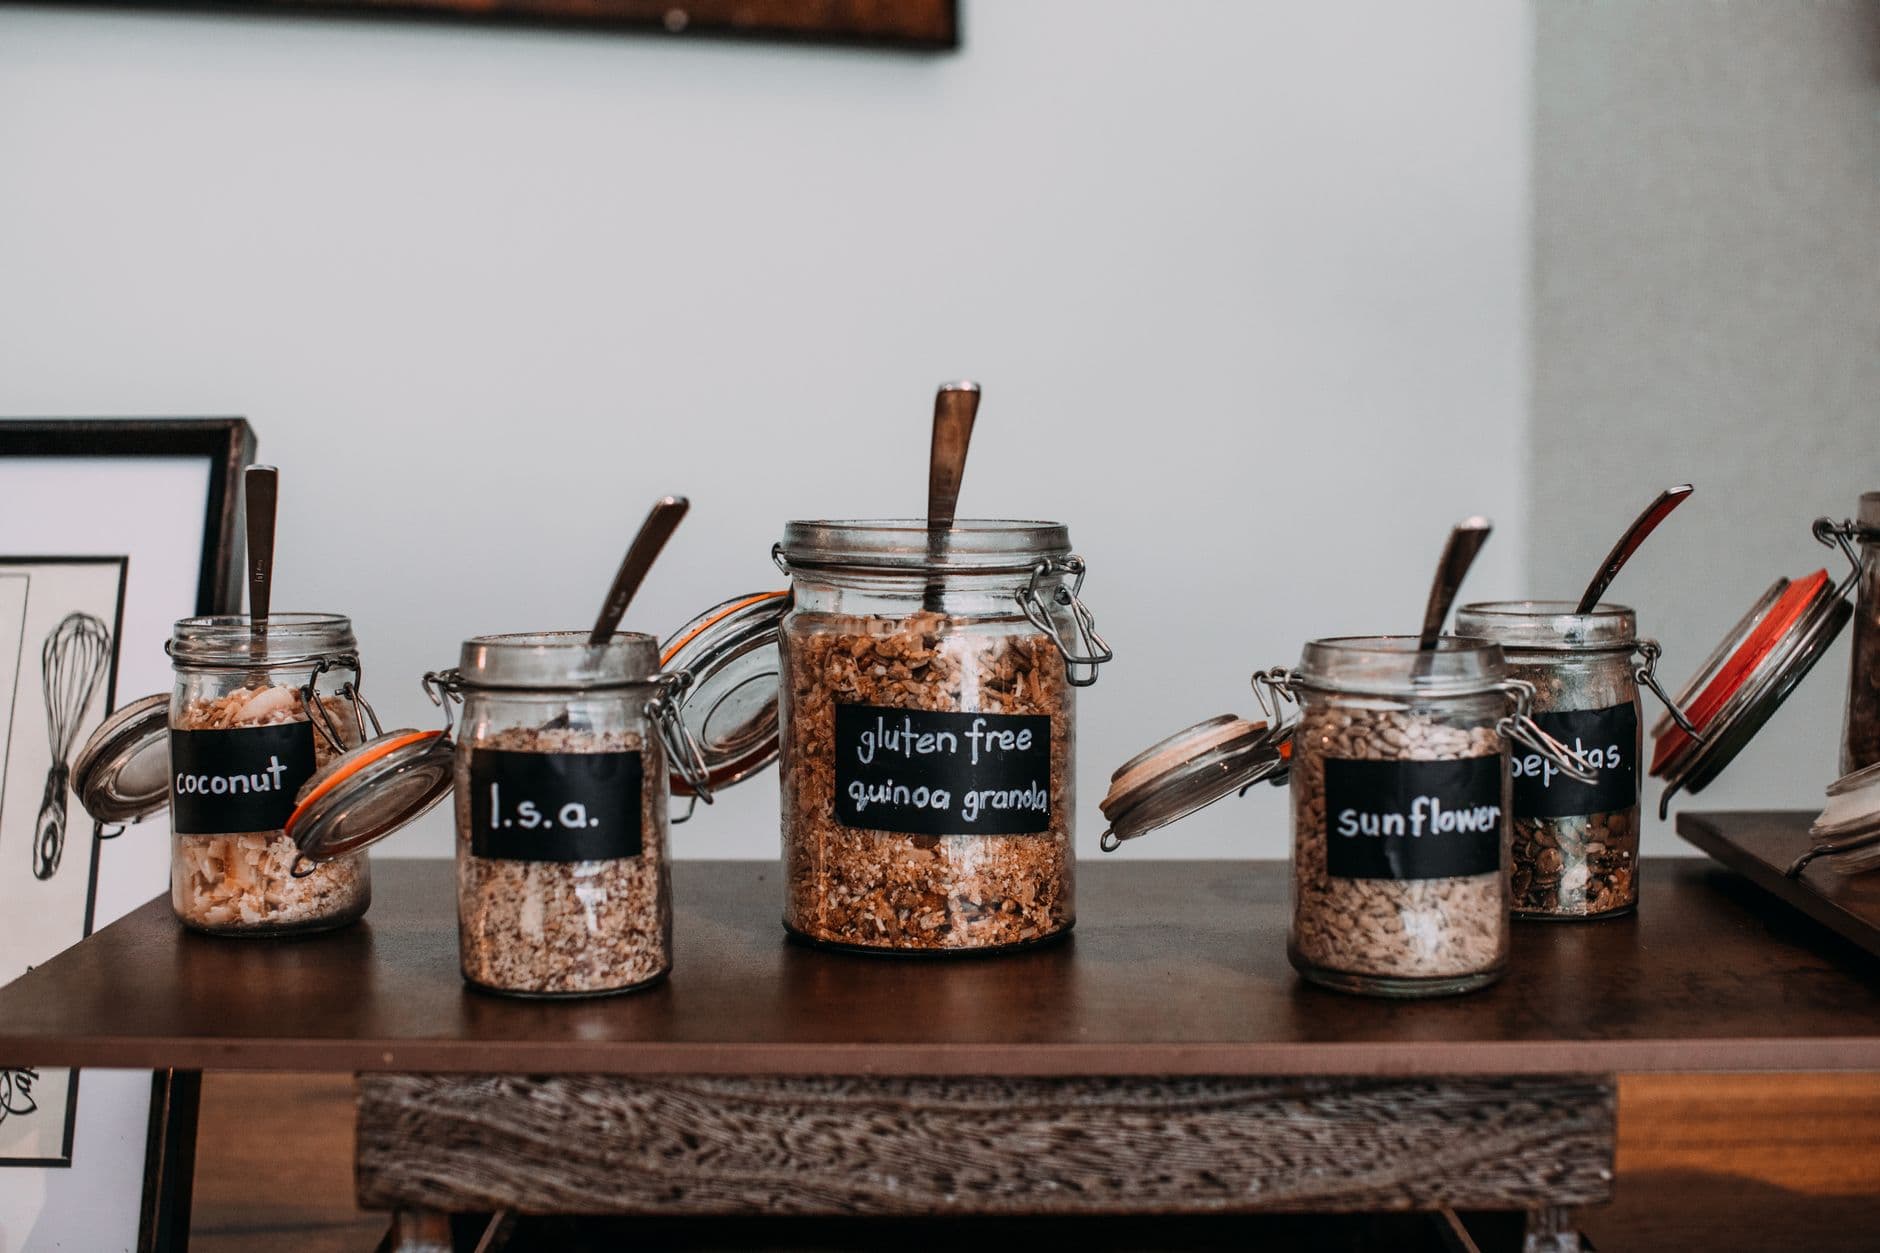
Not all grains behave the same when cooked in bulk. Brown rice, farro, barley, and quinoa tend to hold up well to reheating, while short-grain white rice and pearl couscous can get sticky or mushy. If you’re new to batch cooking, start with sturdy grains—think brown rice, wild rice, or wheat berries. The structure of these grains stands up to chilling, reheating, and even freezing, making them reliable for meal prep. Lighter grains like bulgur and millet can work, but require more careful handling to avoid a pasty texture. For a deep dive into rice specifically, see /posts/rice-cooking-families-home-kitchen.
Setting Up: The Right Gear and Ratios
A heavy-bottomed pot or a rice cooker with a large insert prevents scorching and ensures even cooking. Use a wide pot for grains that need room to expand, like barley, and always measure both grain and water. Resist the urge to double water for double grain—check the package or a trusted reference for scaled-up ratios. For example, brown rice typically needs about 2 cups of water per cup of rice, but this can vary with the batch size and the pot used. If you’re cooking multiple grains at once, stagger their start times so you’re not juggling draining, fluffing, and cooling all at once. Set up a clean workspace with a colander, rimmed baking sheet, and containers for storage. Having everything ready before you start helps avoid overcooking while you hunt for lids or utensils.
Batch Cooking Without the Glue: Smart Techniques
Here’s where many home cooks go astray: Overstirring, skipping rinsing, or letting cooked grains sit in hot water. Rinse grains like rice and quinoa until the water runs clear to remove excess starch. For barley or farro, a quick rinse under cold water is usually enough. Once cooked, immediately spread the grains out on a rimmed baking sheet to release steam and stop the cooking process. This single step keeps the grains from clumping and turning to paste by tomorrow. Letting grains cool in a thin layer is especially important for large batches, as it prevents the residual heat from continuing to cook the grains and making them mushy. If you’re short on space, use two trays or a large platter. Fluff the grains gently with a fork as they cool to keep them separate.
References
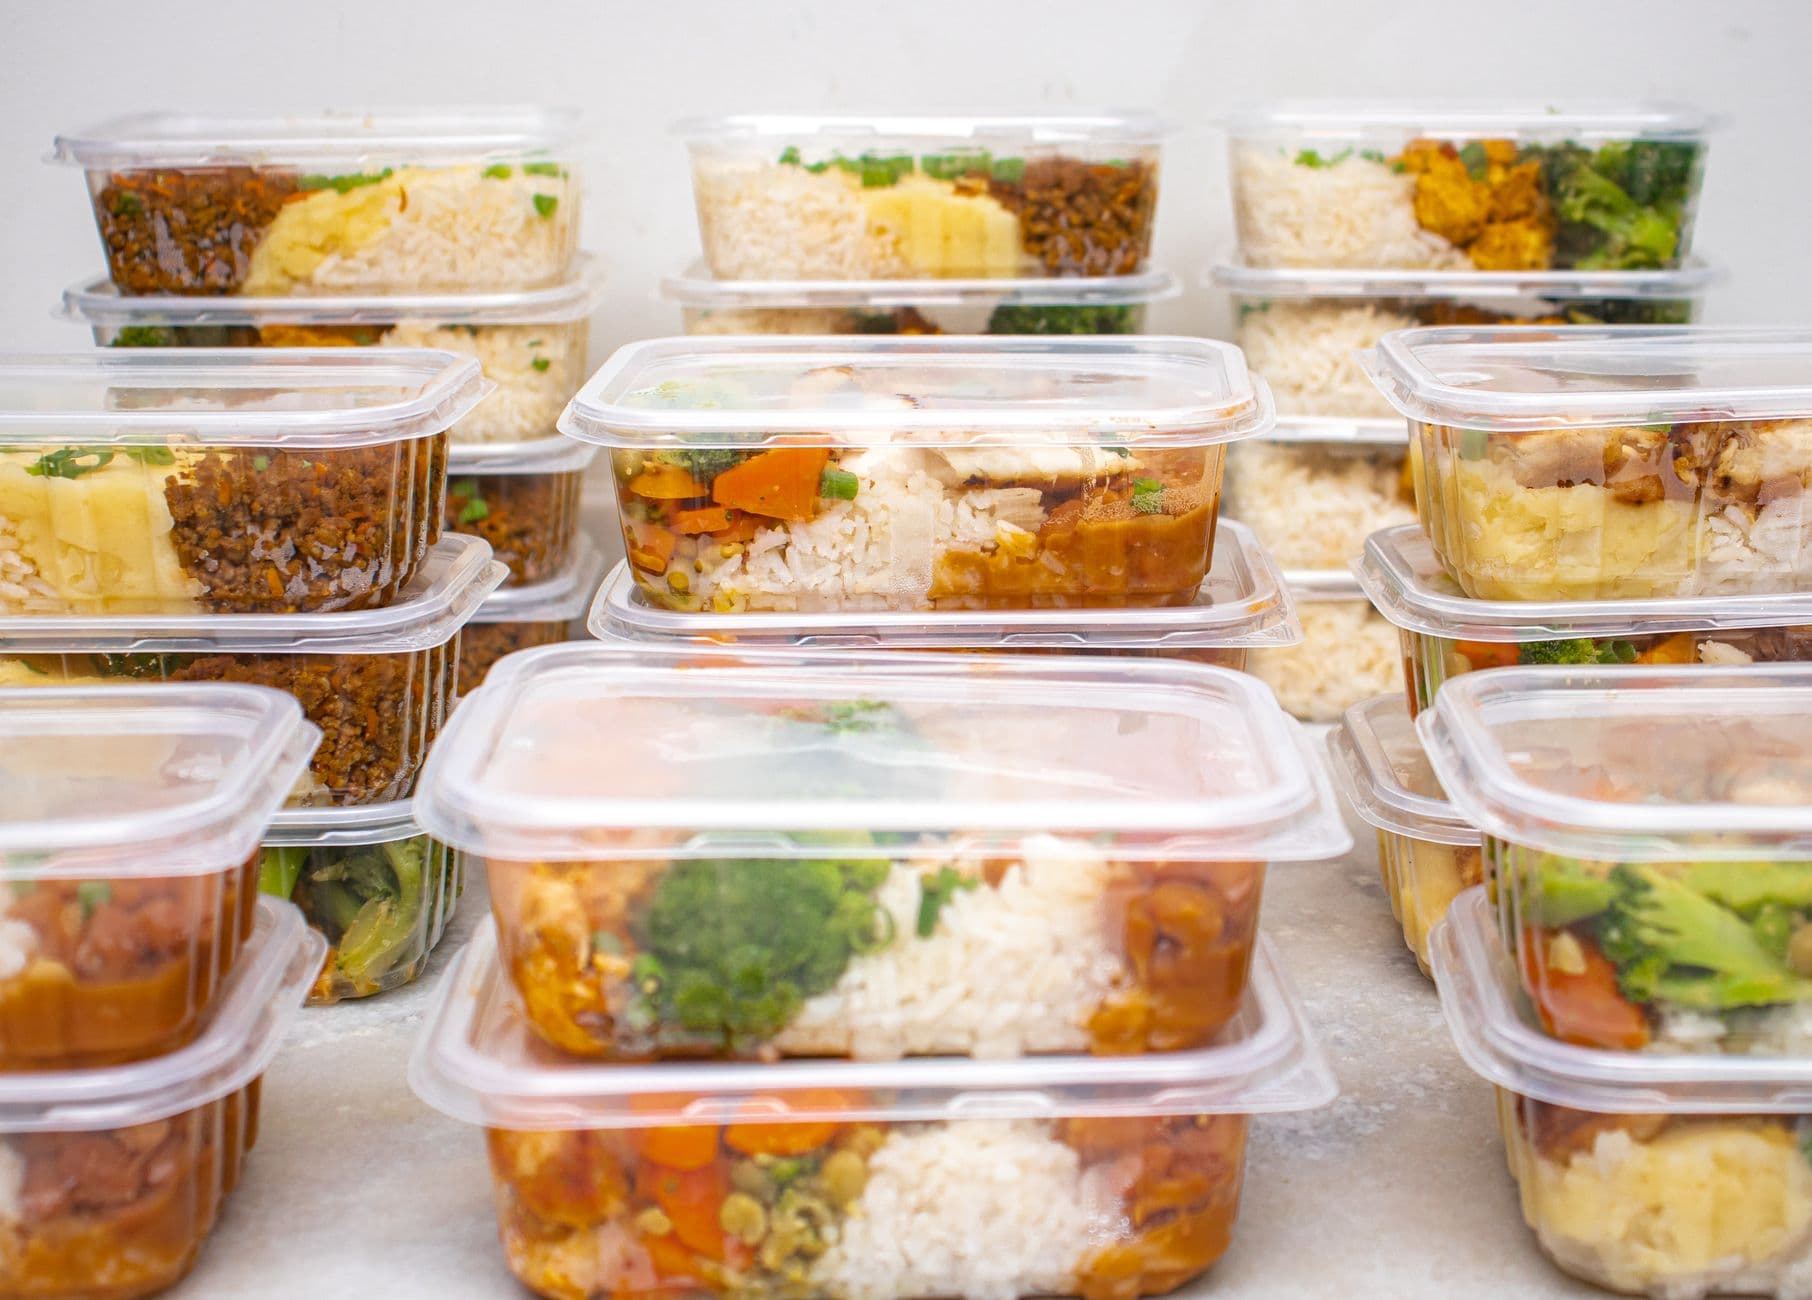
Cooked grains are prime real estate for bacteria if left out too long. The window between steaming-hot and refrigerator-cold is where food safety issues can creep in. Once off the heat, get them into shallow containers and into the fridge within two hours—ideally sooner. Don’t stack hot containers in the fridge; let them cool slightly on the counter first, then refrigerate uncovered until cold before sealing. According to FoodSafety.gov, cooked grains keep safely in the refrigerator for 3–4 days and up to 2–3 months in the freezer (see source). For more on labeling and freezer organization, see /posts/freezer-label-system-home-kitchen. If you’re prepping a large batch, divide it into smaller containers to speed up cooling and reduce the risk of spoilage. Always check for off smells or sliminess before using leftovers, and when in doubt, throw it out.
Freezer burn and soggy defrosted grains are both avoidable. Once your grains are cool, portion them into freezer-safe bags or containers, pressing out as much air as possible. Lay bags flat to freeze for quick thawing later. Label each bag with the grain type and date. When you’re ready to use frozen grains, thaw them in the refrigerator overnight or use the microwave or cold-water method for a quicker fix. For safe thawing, always follow the guidance from the USDA’s Big Thaw (see source). Never thaw grains at room temperature, as this can allow bacteria to multiply rapidly. If using the cold-water method, submerge the sealed bag in cold water, changing the water every 30 minutes until thawed. For microwave thawing, use the defrost setting and transfer the grains to a dish immediately after. Once thawed, use grains within a day or two for best texture.
Reheating Without Ruining Texture
To reheat, add a splash of water or broth to loosen the grains and cover before microwaving or steaming. Stir gently to avoid breaking up the kernels. For extra flavor, toast the chilled grains briefly in a skillet with olive oil before serving. This brings back some of the original texture and adds a nutty note. Avoid reheating more than you’ll eat—grains degrade with each cycle, and repeated reheating can raise food safety concerns. If reheating on the stovetop, use low heat and stir occasionally, adding liquid as needed to keep the grains from sticking. For salads, let grains come to room temperature or rinse briefly under warm water to separate before tossing with other ingredients.
Using Batch-Cooked Grains All Week
With a fridge full of ready grains, you can assemble grain bowls, stir fries, or soups in minutes. Mix with chopped vegetables (washed according to U.S. FDA guidance—see source), beans, or leftover proteins for endlessly customizable meals. Batch-cooked grains also make excellent bases for salads and can be stirred into breakfast porridge with fruit and nuts. For a quick lunch, toss chilled grains with olive oil, lemon juice, and whatever fresh herbs or vegetables are on hand. For dinner, reheat grains with sautéed greens and a fried egg, or fold into a soup for added body. Always wash produce thoroughly before mixing with grains, especially if using raw vegetables, to reduce the risk of contamination. The FDA recommends rinsing fruits and vegetables under running water and drying with a clean towel before use.
If You Have Extra: Freezing and Preserving Options
When you’ve cooked more than you can use, freezing is your best bet. For those interested in longer-term preservation, the National Center for Home Food Preservation offers research-based advice on freezing and drying grains (see source). Spread cooked grains in a thin layer on a baking sheet and freeze until firm, then transfer to bags or containers. This keeps the grains separate and easier to portion later. Avoid canning cooked grains at home—this is not recommended due to food safety risks. If you’re considering dehydrating grains, cook them until just tender, spread on dehydrator trays, and dry at the recommended temperature. Store dried grains in airtight containers in a cool, dry place. Rehydrate by simmering in water or broth until plump. Always consult trusted sources for safe preservation methods.
Kitchen Flow: A Realistic Evening in Sequence
Picture the kitchen as the sun sets. The first step is rinsing a couple of cups of brown rice and farro, letting the water run clear. While the grains drain, a heavy-bottomed pot goes on the stove, water measured precisely. The grains hit the simmering water, and the kitchen fills with a warm, nutty aroma. A quick check of the timer, and the workspace is set up: a rimmed baking sheet, a fork, and a few shallow containers ready for cooling. As the grains finish, they’re drained and spread out, steam rising in the cool air. A gentle fluff with a fork, and the grains glisten without sticking. The clock is ticking—containers are filled in shallow layers, left uncovered to cool. After about 20 minutes, lids go on, and the containers slide into the fridge, spaced apart. A portion is set aside to freeze, pressed flat in a labeled bag. The kitchen is tidied, and by the time the dishes are done, tomorrow’s meals are halfway prepped. The next evening, those grains become the backbone of a quick stir fry and a hearty salad, saving time and effort while keeping flavor and safety front and center.
Troubleshooting: Common Batch Cooking Pitfalls
Even with a plan, a few hiccups can happen. If the grains come out undercooked, add a splash of water and steam gently until tender. If they’re overcooked and sticky, spread them on a tray and let them air-dry for a few minutes, then refrigerate uncovered until cool. For grains that clump in the fridge, break them up with wet hands before reheating. If you notice any sour smell, sliminess, or discoloration, discard the batch—these are signs of spoilage. For those who forget to label containers, a simple masking tape and marker system helps keep track of dates and grain types, reducing waste and guesswork. If freezer space is tight, store grains in stackable containers or freeze in single-serve portions for easy access. When in doubt about safety, consult the latest guidance from FoodSafety.gov or your local extension office.
Benjamin Shaw covers kitchen skills and meal planning for FeedsAtlas. The writing stays practical: knife setup, heat cues, leftover plans, and shopping from a short list.
You’re staring at a short grocery list, feeling efficient—until you get home and realize you forgot olive oil, salt, or coffee. Balancing concise shopping with the everyday staples your kitchen relies on is a dilemma for every home cook. Stick to a short list for the meal, then give the pantry a 30-second scan for oil, salt, and the one condiment you always run out of.
You reach into your freezer for a quick dinner and discover a half-dozen unmarked containers, all frosted and anonymous. Was that stew from last month or last winter? If you’ve ever played the guessing game with your frozen leftovers, you know the stress—and the waste—of a poorly labeled freezer. A practical freezer food label system doesn’t need to be fussy, but it does need to be readable, consistent, and actually used. Here’s a realistic look at how to set up a labeling habit you’ll stick with, through the lens of a typical evening in the home kitchen.
Cook once, eat twice plans often sound like a weeknight miracle—until you find yourself dreading round two of leftovers. Avoiding repetition isn’t magic; it’s a matter of understanding the points where most home cooks get tripped up, like limp reheats, flavor fatigue, and unsafe storage. Choose a flexible base, store it safely, and change the second night’s garnish, starch, or sauce so dinner does not feel like a rerun.
Turning dinner leftovers into tomorrow’s lunch is a practical way to save time, reduce food waste, and simplify your meal planning. But doing it well means more than just scooping last night’s meal into a container. The right approach can keep your lunch appetizing, safe, and actually something you’ll look forward to. Here’s how to make packing lunch from dinner leftovers a reliable, rewarding habit, with a step-by-step example to guide you.
Every home cook has faced the wilted arugula or forgotten half-onion at the back of the fridge. A weekly vegetable meal plan doesn’t just save money—it lets you enjoy the best of your market haul, from the delicate greens that barely last a day to the sturdy roots that can anchor next week’s meals. This narrative walks through a realistic evening in the kitchen, sequencing what to use when, with food safety worked into each step and pragmatic tips for keeping both flavor and freshness at their peak.
The moment you open the fridge and spot last night’s dinner, you’re faced with a choice: reheat and repeat, or transform leftovers dinner into something that feels fresh. With a little planning and a dash of creativity, you can turn yesterday’s meal into a satisfying second act—one that feels like a reward, not a rerun. Here’s how to rethink leftovers, keep food safety in mind, and build a new dinner with minimal fuss.