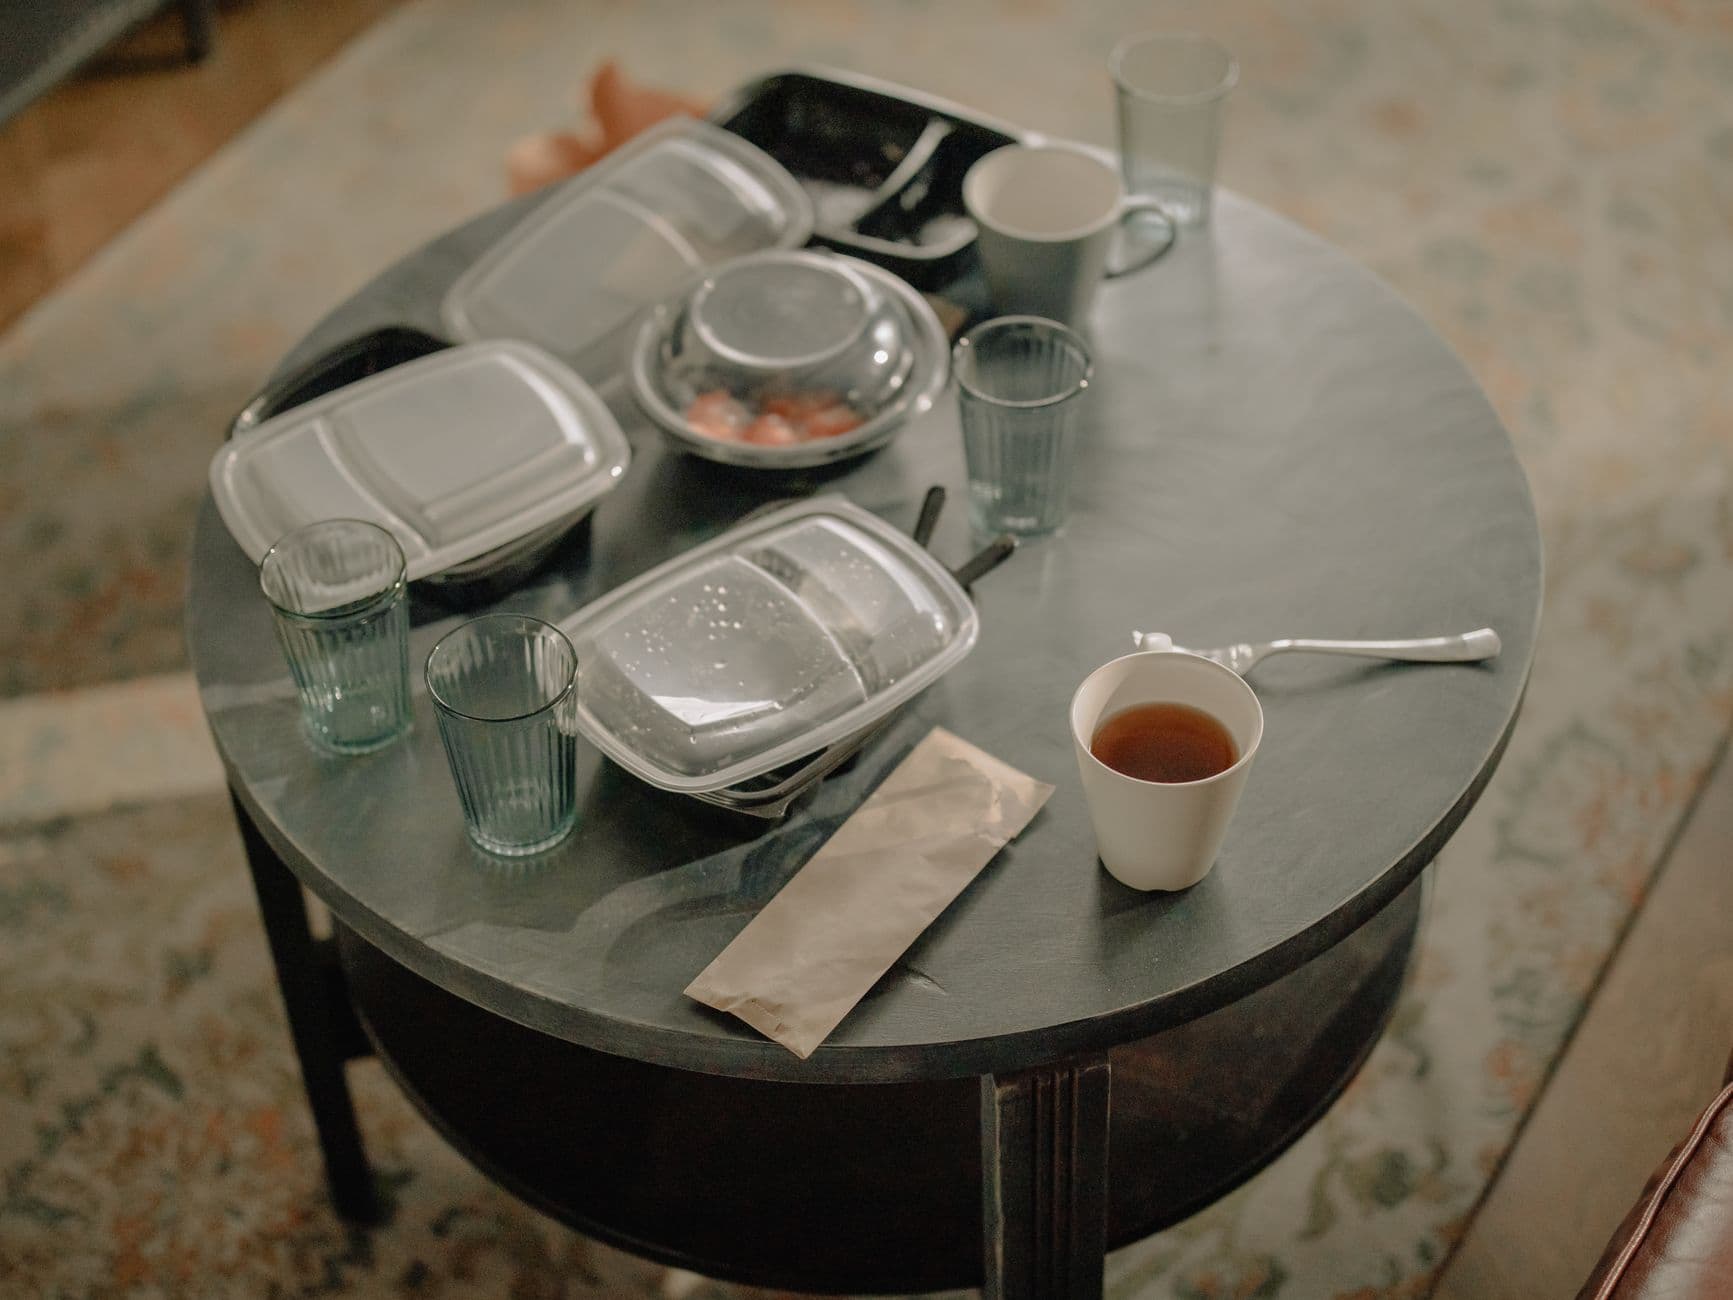
Turning dinner leftovers into tomorrow’s lunch is a practical way to save time, reduce food waste, and simplify your meal planning. But doing it well means more than just scooping last night’s meal into a container. The right approach can keep your lunch appetizing, safe, and actually something you’ll look forward to. Here’s how to make packing lunch from dinner leftovers a reliable, rewarding habit, with a step-by-step example to guide you.
You stare at the half-full casserole dish after dinner. It’s enough for another meal, but will anyone want it reheated tomorrow? Should you pack it as-is, or try to rework it into something new? The challenge is turning what’s left from dinner into a lunch that’s safe, appealing, and easy to grab on a busy morning. With a little planning, leftovers can be a midday meal instead of a soggy repeat.
Why Plan Lunch While Cooking Dinner?
Packing lunch from dinner leftovers isn’t just about convenience. Planning ahead lets you portion out tomorrow’s meal before leftovers get picked over or forgotten. You can also separate out components (like rice, sauce, or salad) to keep textures fresh. This habit helps you waste less food and saves time, since you’re already prepping and cleaning up. It also helps you make better use of ingredients that might otherwise go to waste—think of that half-bunch of herbs, the last scoop of roasted vegetables, or the final bit of sauce. By intentionally setting aside portions for lunch, you avoid the morning scramble and ensure a balanced, satisfying meal is ready to go.
Safety First: Cool, Store, and Reheat Correctly
The top priority with leftovers is always food safety. According to the USDA FSIS, perishable leftovers should be refrigerated within two hours of cooking; in hot weather (above 90°F), this window shrinks to one hour. Divide large amounts into shallow containers so the food cools quickly and evenly before refrigerating. For most cooked foods, leftovers should be used within 3–4 days. When reheating, ensure the food reaches an internal temperature of 165°F (74°C) throughout, as recommended by the USDA Food Safety and Inspection Service. This prevents harmful bacteria from multiplying and keeps your packed lunch safe to eat. For more on safe handling, see FoodSafety.gov’s overview on keeping food safe during storage and reheating.
When cooling leftovers, avoid stacking containers in the fridge until their contents have cooled to refrigerator temperature. Stacking can trap heat and slow cooling, increasing the risk of bacterial growth. Label containers with the date they were packed, and always check for signs of spoilage—off smells, unusual textures, or mold—before packing or eating leftovers. If in doubt, throw it out.
For those preparing lunch for children or others at higher risk of foodborne illness, extra vigilance is key. Use insulated lunch bags with ice packs if the lunch won’t be refrigerated before eating. This helps keep food below 40°F (4°C), the safe zone to slow bacterial growth.
Choosing the Right Container
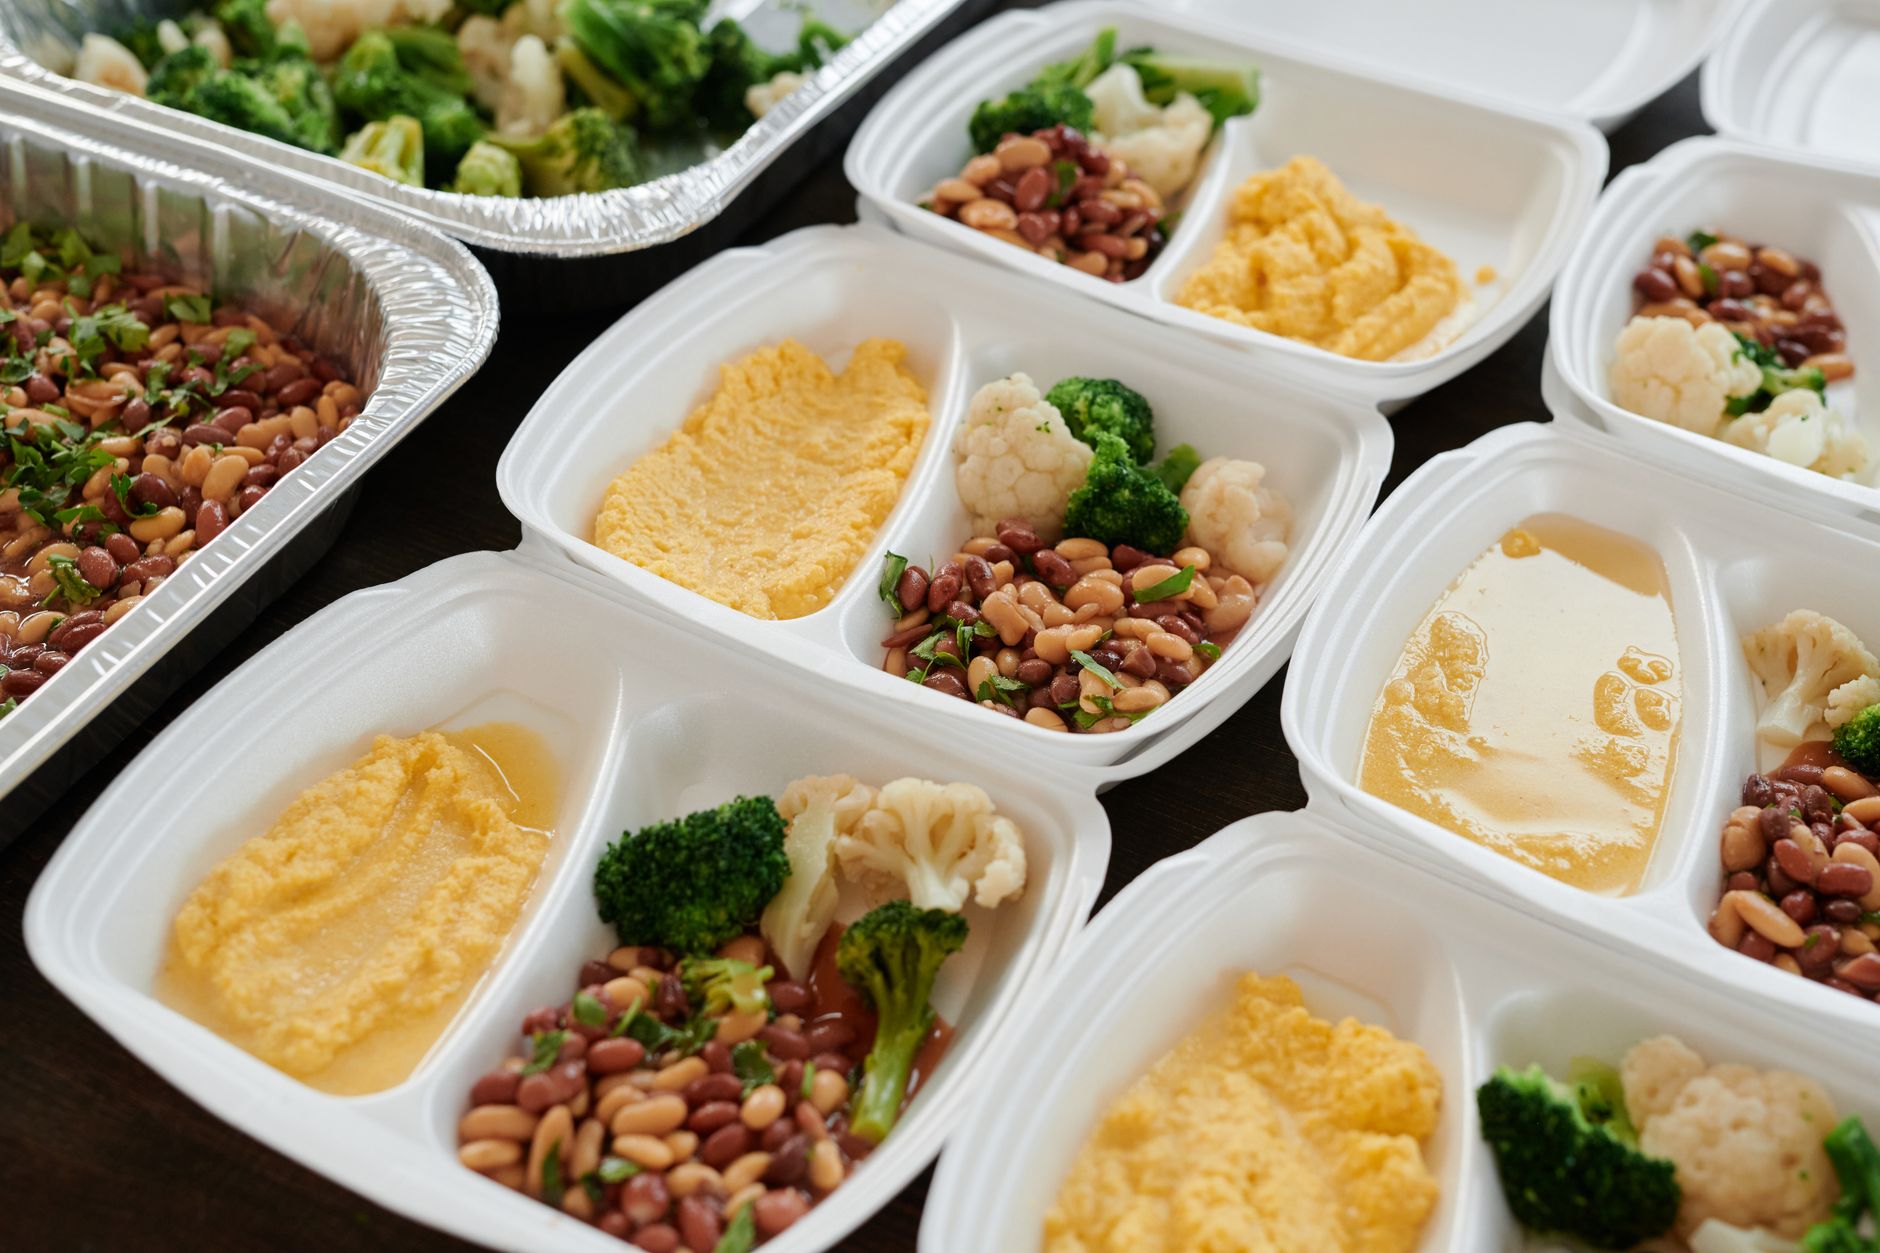
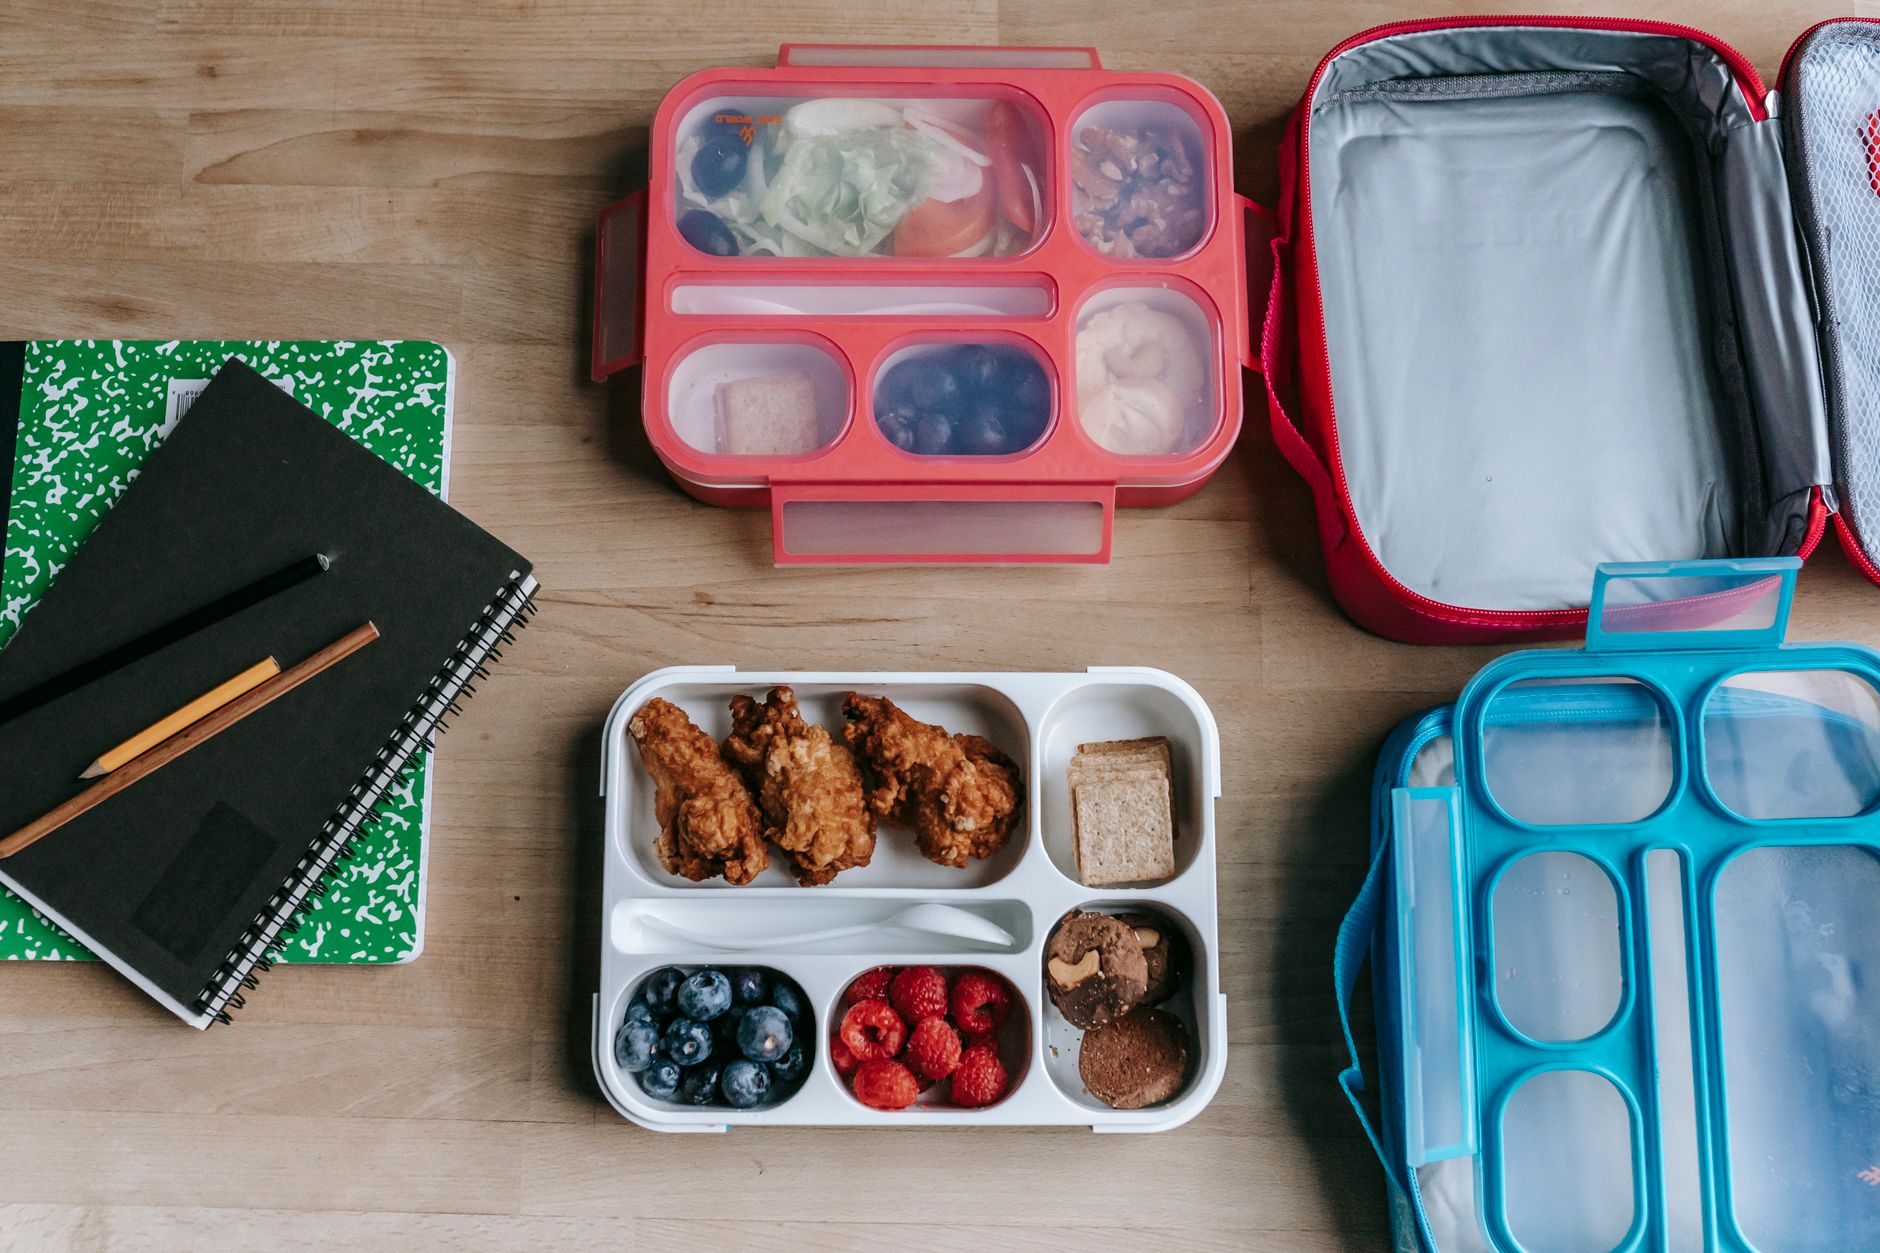
The container you pick matters. Use airtight, leakproof containers to prevent spills and keep flavors from mingling in your lunch bag. For meals with separate components (like grain bowls or salads), choose containers with compartments, or pack sauces and dressings separately to avoid sogginess. Glass or BPA-free plastic containers work well; just make sure they’re microwave-safe if you’ll be reheating.
Portion control is easier with the right container size. Shallow containers help food cool quickly and allow for even reheating. For soups, stews, or saucy dishes, look for containers with tight-fitting lids to prevent leaks. If you’re packing a lunch that will be eaten cold, consider containers that keep greens and crunchy toppings separate until just before eating. Bento-style boxes or divided containers are especially useful for keeping textures distinct.
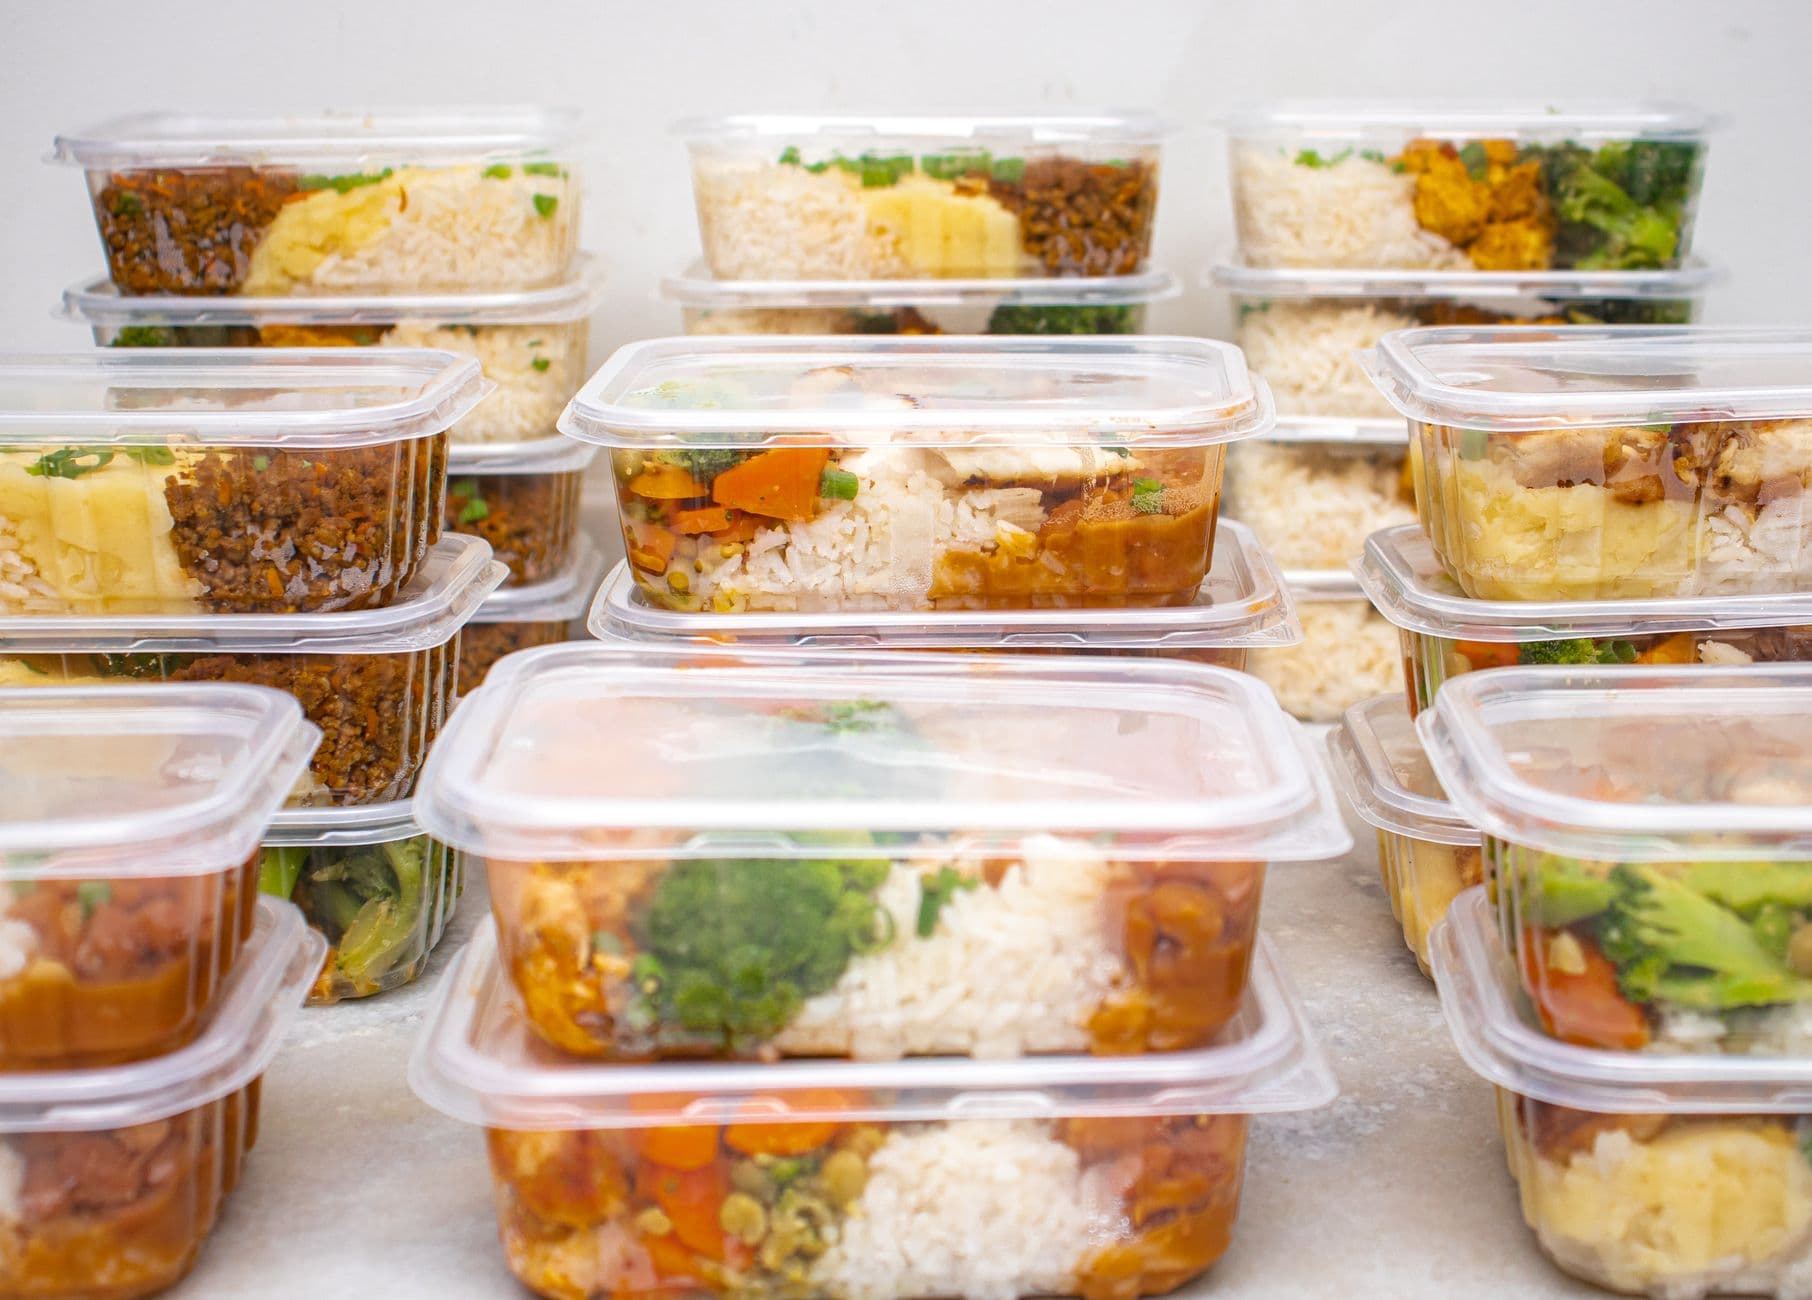
For those who pack lunch daily, investing in a few high-quality containers can make the process smoother and more enjoyable. Stackable containers save fridge space and make it easy to spot what’s available for lunch at a glance.
A Concrete Example: Roast Chicken to Grain Bowl Lunch
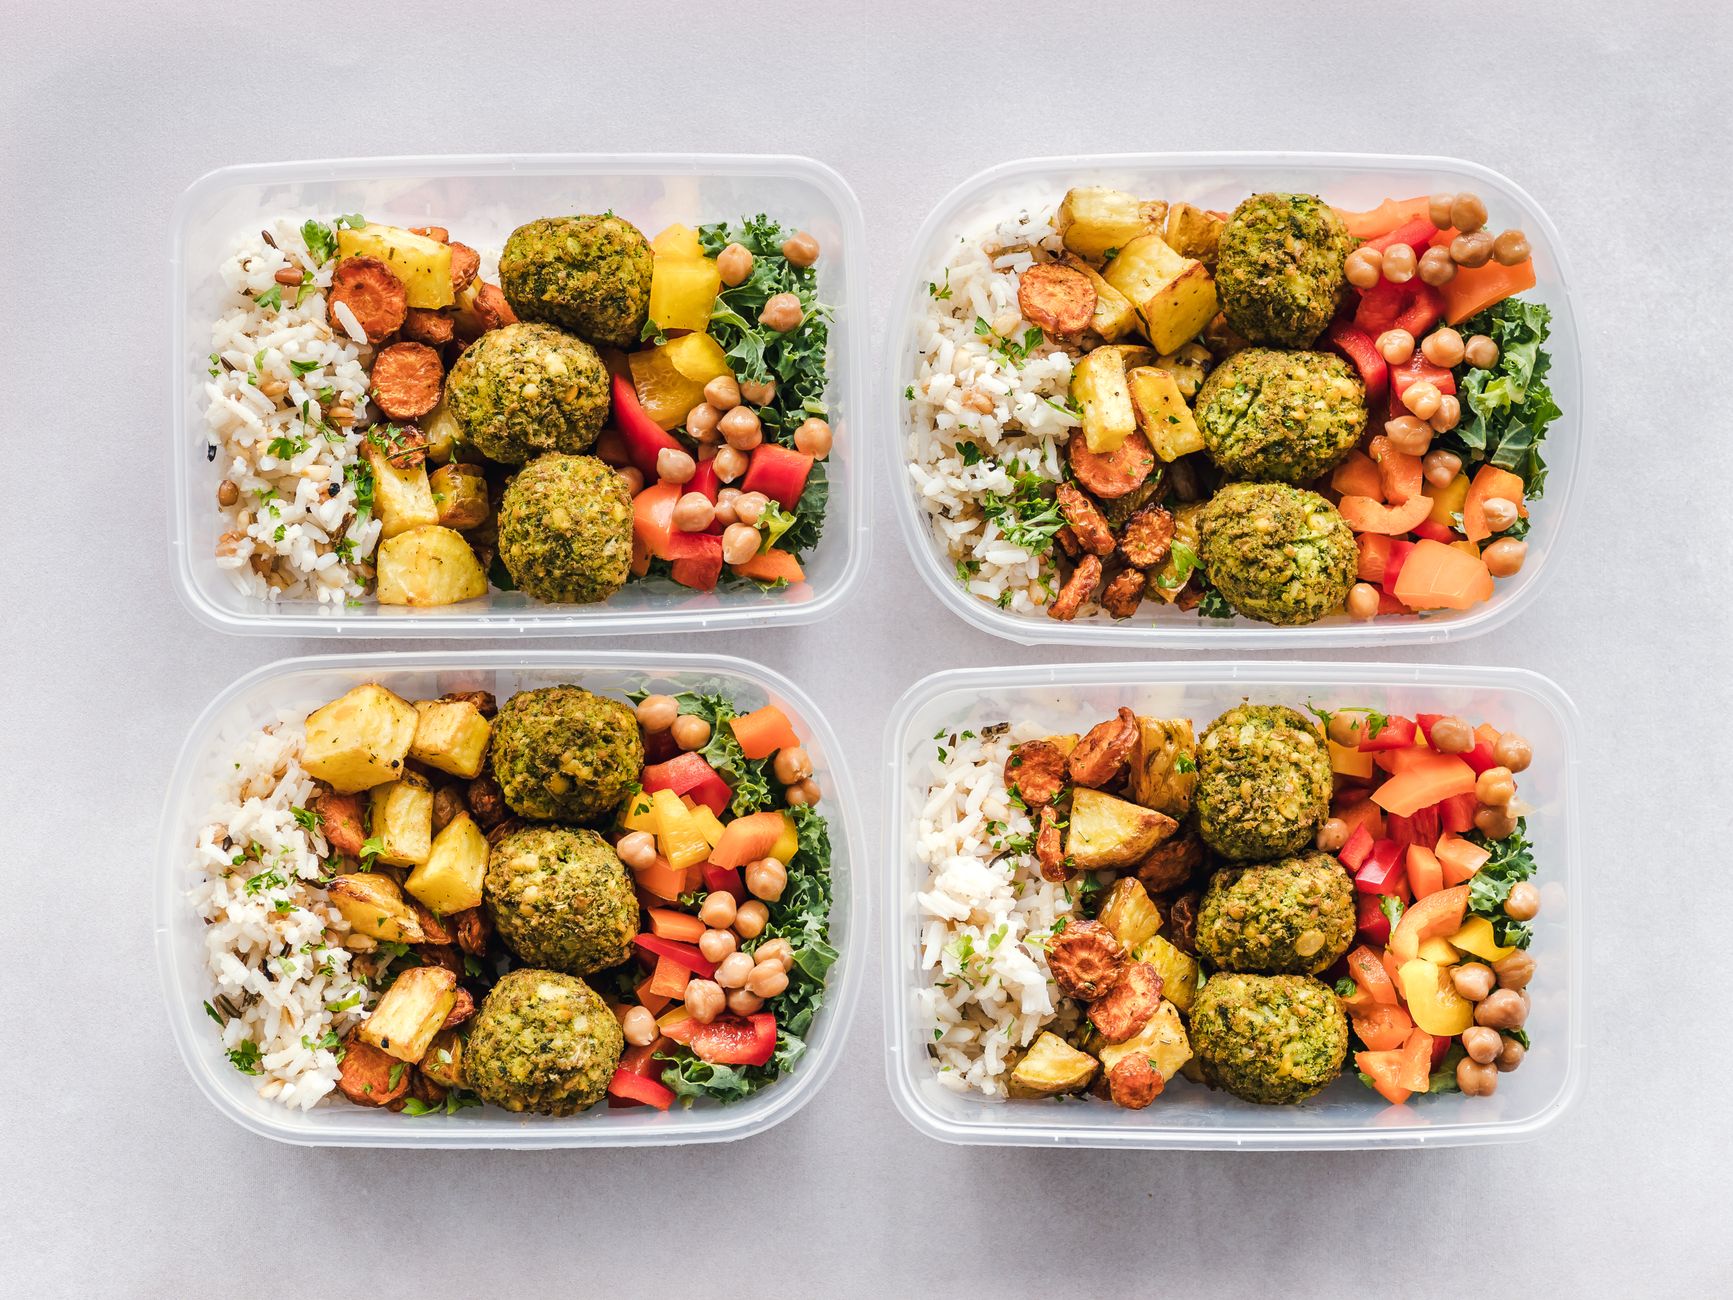
Let’s walk through a common scenario: you roast a whole chicken for dinner, served with roasted vegetables and rice. After the meal, you have leftover chicken pieces, some vegetables, and a scoop of rice. Here’s how to turn those leftovers into a fresh-feeling lunch:
1. Cool and Store Promptly: As soon as dinner’s over, remove any remaining chicken from the bones and transfer it, along with vegetables and rice, into shallow containers. Get them into the fridge within two hours, per USDA FSIS guidance. If you have a large amount of chicken, divide it into smaller portions to cool faster.
2. Pack with Variety: In the morning (or the night before), layer the rice, chopped vegetables, and shredded chicken into a lunch container. Add a handful of washed greens or sliced raw vegetables for freshness—be sure to wash all produce thoroughly, following FDA recommendations for produce safety. If you want to bulk up the meal, add a scoop of beans, a boiled egg, or a sprinkle of cheese.
3. Keep It Interesting: Pack a small container of vinaigrette or sauce on the side to drizzle over at lunchtime. This prevents sogginess and lets you customize flavor. For a more substantial meal, toss in nuts, seeds, or a few olives. If you have leftover herbs or citrus wedges, pack them separately to brighten the meal just before eating.
4. Reheat Safely: If you’ll be reheating your lunch, microwave it until it’s steaming hot throughout (165°F/74°C). If your lunch includes raw greens, add them after reheating the rest so they stay crisp. Stir the food partway through reheating to ensure even temperature.
5. Lunchbox Assembly: Place the cold items (greens, fresh veggies, sauce) in separate compartments or containers. This keeps textures distinct and lets you assemble your lunch just before eating. If you’re packing for a child or someone who won’t have access to a microwave, assemble the bowl with all ingredients cold and include a fork or spoon for easy eating.
This method works for many dinner-to-lunch transformations. Roasted meats, grains, and cooked vegetables can be repurposed as wraps, salads, or bowls. Leftover stir-fry can be paired with fresh greens and a new sauce for a different flavor profile. Even pasta dishes can be reinvented as pasta salads by adding chopped vegetables and a vinaigrette. The key is to think about how the components will taste and feel after being stored, and to keep sauces and crunchy elements separate until serving.
Washing Produce for Packed Lunches
Any fresh fruits or vegetables you add to your packed lunch should be washed well, even if you plan to peel them. The U.S. FDA advises rinsing produce under running water before cutting or eating, and drying with a clean cloth or paper towel. This step reduces the risk of bacteria and keeps your lunch safer and more appealing.
For firm produce like apples or cucumbers, scrub gently with a clean brush under running water. Leafy greens should be separated and rinsed thoroughly to remove dirt and potential contaminants. Even pre-washed, bagged salads can benefit from a quick rinse, especially if they’ve been opened previously. Drying produce before packing helps prevent sogginess and keeps your lunch crisp. For berries or delicate fruits, rinse just before packing to avoid excess moisture in your lunch container.
Not all leftovers are equally suited to lunch. Fried foods, foods with a lot of breading, or dishes that rely on crispness often lose their appeal when reheated or served cold. Instead, focus on hearty grains, stews, roasted meats, and cooked vegetables, which hold up well. If in doubt, try reworking leftovers into wraps, salads, or grain bowls—formats that embrace a mix of textures and flavors.
Some foods, like casseroles, chili, or braised dishes, actually improve in flavor after a night in the fridge. These make excellent lunch options. For sandwiches, pack bread and fillings separately to prevent sogginess, assembling just before eating. If you’re making a salad from leftovers, keep dressing in a separate container and add it right before eating. For pasta, consider tossing with a little olive oil or vinaigrette to prevent sticking and add flavor.
When packing lunch for kids, consider bite-sized portions and finger foods. Leftover roasted vegetables, cubes of cheese, and slices of cooked chicken can be packed alongside crackers or pita for a DIY lunchbox platter. For adults, a little variety—like a few olives, pickles, or a piece of fruit—can make lunch more satisfying and less monotonous.
Make It a Habit: Streamline Your Routine
The easiest way to stick with packing lunch from dinner leftovers is to build it into your dinner cleanup. As you put away the meal, portion out tomorrow’s lunch at the same time. Label containers with the date so you don’t lose track of what’s safe to eat. If you’re feeding kids or multiple adults, let everyone customize their own lunch box with favorite add-ins. Soon enough, you’ll find your fridge stocked with ready-to-go lunches—no extra effort required.
A little organization goes a long way. Keep a section of your fridge reserved for packed lunches and ingredients that are ready to go. Store a few ice packs in the freezer for days when lunch won’t be refrigerated. Stock up on small containers for sauces, dips, or crunchy toppings.
Over time, packing lunch from dinner leftovers becomes second nature. It saves money, reduces food waste, and makes weekday mornings less stressful. With a few simple techniques and a focus on safety, leftovers can become the foundation of lunches that are both practical and enjoyable.
Benjamin Shaw covers kitchen skills and meal planning for FeedsAtlas. The writing stays practical: knife setup, heat cues, leftover plans, and shopping from a short list.
You’re staring at a short grocery list, feeling efficient—until you get home and realize you forgot olive oil, salt, or coffee. Balancing concise shopping with the everyday staples your kitchen relies on is a dilemma for every home cook. Stick to a short list for the meal, then give the pantry a 30-second scan for oil, salt, and the one condiment you always run out of.
You reach into your freezer for a quick dinner and discover a half-dozen unmarked containers, all frosted and anonymous. Was that stew from last month or last winter? If you’ve ever played the guessing game with your frozen leftovers, you know the stress—and the waste—of a poorly labeled freezer. A practical freezer food label system doesn’t need to be fussy, but it does need to be readable, consistent, and actually used. Here’s a realistic look at how to set up a labeling habit you’ll stick with, through the lens of a typical evening in the home kitchen.
Cook once, eat twice plans often sound like a weeknight miracle—until you find yourself dreading round two of leftovers. Avoiding repetition isn’t magic; it’s a matter of understanding the points where most home cooks get tripped up, like limp reheats, flavor fatigue, and unsafe storage. Choose a flexible base, store it safely, and change the second night’s garnish, starch, or sauce so dinner does not feel like a rerun.
Every home cook has faced the wilted arugula or forgotten half-onion at the back of the fridge. A weekly vegetable meal plan doesn’t just save money—it lets you enjoy the best of your market haul, from the delicate greens that barely last a day to the sturdy roots that can anchor next week’s meals. This narrative walks through a realistic evening in the kitchen, sequencing what to use when, with food safety worked into each step and pragmatic tips for keeping both flavor and freshness at their peak.
Batch-cooking grains can turn weeknight meals from stressful to seamless, but it’s also where many home cooks stumble—ending up with sticky, overcooked, or bland results. This editorial walks through a realistic evening of prepping big-batch grains, from choosing which ones to cook to chilling and storing them safely. You’ll learn how to avoid mush, keep flavors fresh, and make future dinners far easier (and tastier) without risking food safety missteps.
The moment you open the fridge and spot last night’s dinner, you’re faced with a choice: reheat and repeat, or transform leftovers dinner into something that feels fresh. With a little planning and a dash of creativity, you can turn yesterday’s meal into a satisfying second act—one that feels like a reward, not a rerun. Here’s how to rethink leftovers, keep food safety in mind, and build a new dinner with minimal fuss.